Kaydeethree (talk | contribs) |
Baalqliphoth (talk | contribs) |
||
| (40 intermediate revisions by 10 users not shown) | |||
| Line 13: | Line 13: | ||
}} |
}} |
||
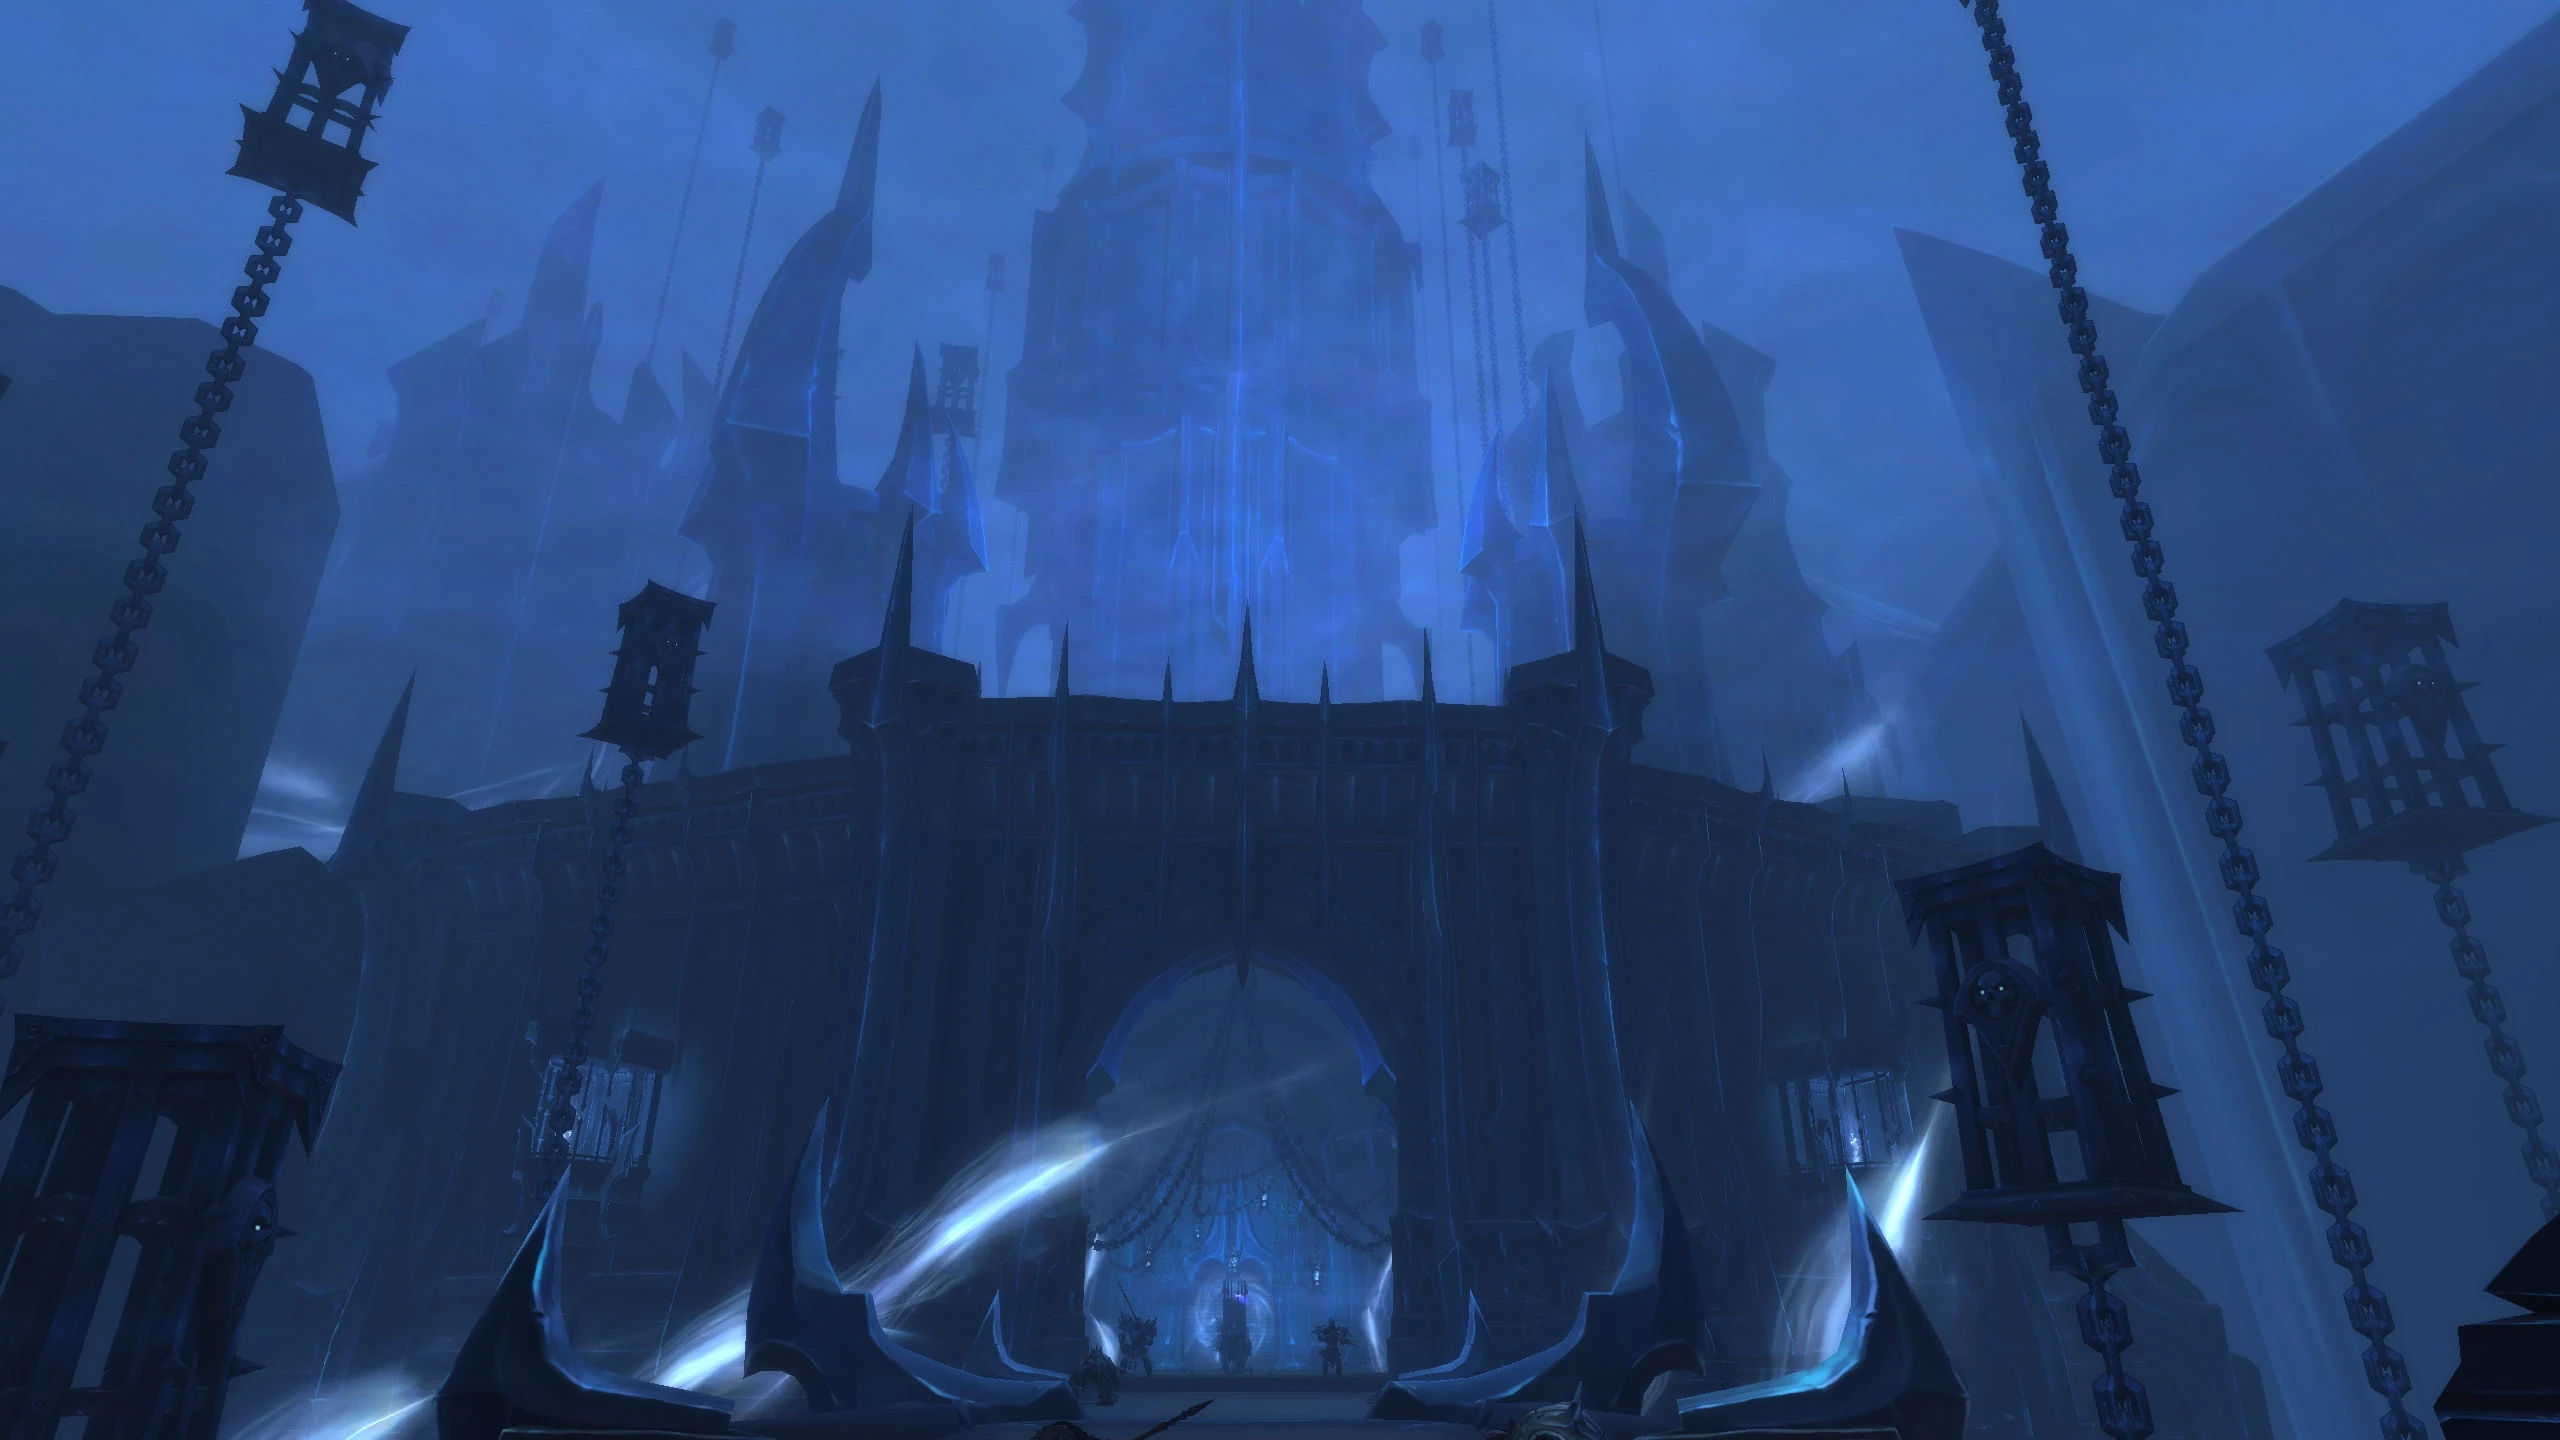
| − | '''Torghast, Tower of the Damned''' is an [[Dungeon#Infinite dungeon|infinite dungeon]] in ''[[World of Warcraft: Shadowlands]]'' that can be played by 1 to up to 5 players. It sits at the center of the [[Maw]]. |
+ | '''Torghast, Tower of the Damned''' is an [[Dungeon#Infinite dungeon|infinite dungeon]] in ''[[World of Warcraft: Shadowlands]]'' that can be played by 1 to up to 5 players. It sits at the center of the [[Maw]]. Torghast is an endlessly replayable, ever-changing dungeon that can be challenged alone or in a group. Each run will differ, and adventurers will need to explore cautiously, as death comes at a terrible cost. Advance through Torghast's unpredictable challenges to unlock anima powers to enhance damage output or survivability. The goal is [[Soul Ash]], used to craft the legendary weapons and armor that will help restore balance to the Shadowlands.<ref name="Official website">[https://worldofwarcraft.com/en-us/shadowlands Official website]</ref> |
| − | |||
| − | Torghast is an endlessly replayable, ever-changing dungeon that can be challenged alone or in a group. Each run will differ, and adventurers will need to explore cautiously, as death comes at a terrible cost. Advance through Torghast's unpredictable challenges to unlock anima powers to enhance damage output or survivability. The goal is Soul Ash, used to craft the legendary weapons and armor that will help restore balance to the Shadowlands.<ref name="Official website">[https://worldofwarcraft.com/en-us/shadowlands Official website]</ref> |
||
==History== |
==History== |
||
| + | Torghast is the seat of power for [[the Jailer]], the ruler of the Maw. It serves as an eternal prison for the most dangerous souls in the cosmos<ref name="Official website"/> and is one of the most dangerous towers in all of existence.<ref name="Torghast quest">[[Torghast, Tower of the Damned (quest)]]</ref> Like the Maw itself, the power of [[Domination]] is woven into Torghast's very fabric,<ref>[[Taelia Fordragon#Shadowlands 2|Taelia, Jaina, and Calia dialogue in Oribos]]</ref> and the Jailer's malevolence permeates everything within it.<ref name="The Captive King">[[The Captive King]]</ref> It is a place devoid of all hope or redemption. Each floor that rises into the endless abyss is crueler than the last; to climb Torghast is to ascend deeper into despair.<ref>''[[The Art of World of Warcraft: Shadowlands]]'', pg. 201</ref> The tower's interior defies all traditional logic:<ref name="Torghast quest"/> its corridors are vast and seemingly endless, to the point where one could spend an eternity wandering them,<ref name="The Captive King"/><ref>[[Finding a Witness]]</ref> and they are constantly shifting and changing according to the will of the Jailer.<ref>[[Explore Torghast]]</ref><ref>[[The Search for Baine]]</ref> The deeper one journeys into Torghast, the closer one also gets to the Jailer himself.<ref>[[Torment Chamber: Thrall]]</ref> |
||
| − | ''Torghast: the [[The Jailer|dark one's]] seat of power is a place devoid of hope or redemption. Each floor that rises into the endless abyss is more vile and cruel than the last. To climb that tower is to ascend deeper into despair.''<ref>[[The Art of World of Warcraft: Shadowlands]], page 201</ref> |
||
| − | |||
| − | Once, [[the Jailer]] kept only the most dangerous souls in the cosmos confined in this eternal prison. Now, some of Azeroth's greatest heroes are trapped here, and you'll need to rescue them from the Jailer's tower before he expends their very souls.<ref name="Official website" /> |
||
==Gaining access and storyline== |
==Gaining access and storyline== |
||
| Line 28: | Line 24: | ||
For alts, access to Torghast is on an account-wide basis. Unlock access on one character and all subsequent characters will gain access after reaching level 60. |
For alts, access to Torghast is on an account-wide basis. Unlock access on one character and all subsequent characters will gain access after reaching level 60. |
||
| − | The campaign covers freeing some of the characters that were left behind and unlocking the [[Runecarver]]. Quests are generally on a 20-hour time gate. If Bolvar does not immediately offer a follow-up quest, check back with him 20 hours later. |
+ | The campaign covers freeing some of the characters that were left behind and unlocking the [[Runecarver]]. Quests are generally offered on a weekly basis, or on a 20-hour time gate for players who are catching up. If Bolvar does not immediately offer a follow-up quest, check back with him 20 hours later. |
{{The Maw and Torghast}} |
{{The Maw and Torghast}} |
||
| Line 45: | Line 41: | ||
===Wings, layers, and floors=== |
===Wings, layers, and floors=== |
||
| − | [[File:WorldMap-Torghast Entrance.jpg|thumb|Map of Torghast's antechamber<ref>[[Prison of the Forgotten]]</ref>, entered by [[Portal to Torghast]] in [[Ve'nari's Refuge]].]] |
+ | [[File:WorldMap-Torghast Entrance.jpg|thumb|Map of [[Torghast Antechamber|Torghast's antechamber]]<ref>[[Prison of the Forgotten]]</ref>, entered by [[Portal to Torghast]] in [[Ve'nari's Refuge]].]] |
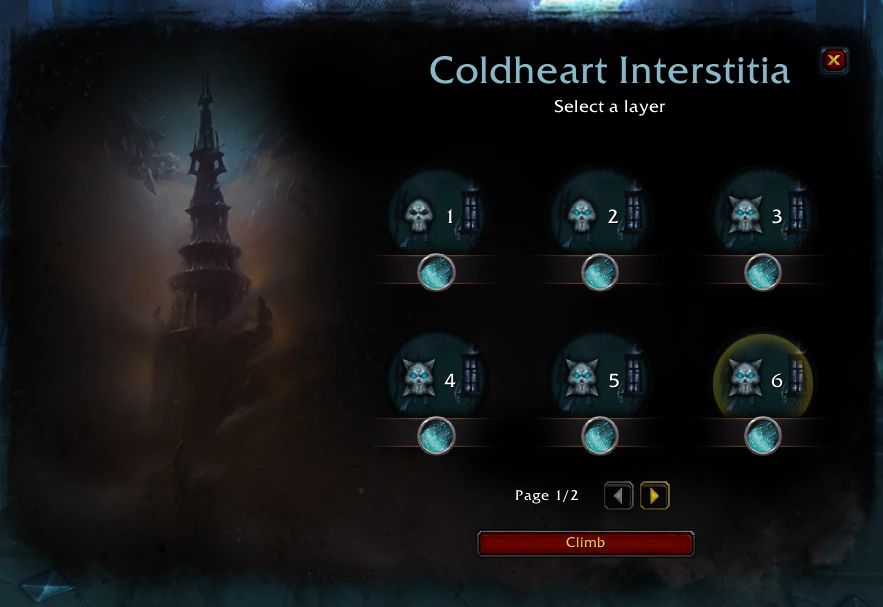
[[File:Torghast level selection.png|thumb|The layer selection interface for Coldheart Interstitia]] |
[[File:Torghast level selection.png|thumb|The layer selection interface for Coldheart Interstitia]] |
||
| − | Torghast is divided into six primary wings, with eight layers of six floors per layer. All wings play similarly, but each wing has |
+ | Players first arrive in the [[Torghast Antechamber]], which provides access to all of the wings. Torghast is divided into six primary wings, with eight layers of six floors per layer. All wings play similarly, but each wing has its own twist on a mechanic. |
A normal Torghast run is of a single six-floor layer. Floors have the following pattern: |
A normal Torghast run is of a single six-floor layer. Floors have the following pattern: |
||
| Line 61: | Line 57: | ||
At expansion launch, higher layers were locked behind a weekly gate: |
At expansion launch, higher layers were locked behind a weekly gate: |
||
| − | |||
{|class="darktable zebra" |
{|class="darktable zebra" |
||
!Week !! Layers |
!Week !! Layers |
||
| Line 74: | Line 69: | ||
|} |
|} |
||
| − | Players must complete a run on any given layer to unlock the next. The layer-unlocking carries over between the six primary wings. For instance, once players complete layer five in [[Skoldus Halls]], they will be able to attempt layer six in Skoldus or any of the other wings, like [[Coldheart Interstitia]]. However, the layer-unlocking does not apply to the [[Twisting Corridors]], which keeps track of |
+ | Players must complete a run on any given layer to unlock the next. The layer-unlocking carries over between the six primary wings. For instance, once players complete layer five in [[Skoldus Halls]], they will be able to attempt layer six in Skoldus or any of the other wings, like [[Coldheart Interstitia]]. However, the layer-unlocking does not apply to the [[Twisting Corridors]], which keeps track of its own layer unlocks. |
| − | |||
| ⚫ | |||
| ⚫ | |||
{| class="darktable zebra" |
{| class="darktable zebra" |
||
! rowspan=2|Layer !! colspan = 3 | Floor |
! rowspan=2|Layer !! colspan = 3 | Floor |
||
| Line 124: | Line 118: | ||
*{{npc||Partially-Infused Soul Remnant}} |
*{{npc||Partially-Infused Soul Remnant}} |
||
*{{npc||Tormented Soul Remnant}} |
*{{npc||Tormented Soul Remnant}} |
||
| − | *{{npc|| |
+ | *{{npc||Unraveling Soul Remnant}} |
<gallery mode="packed"> |
<gallery mode="packed"> |
||
| Line 166: | Line 160: | ||
===Soul ash=== |
===Soul ash=== |
||
| + | {{Soul Ash|class=floatright}} |
||
| − | {|class="darktable zebra floatleft" style="margin-right:1em" |
||
| − | !Layer !! Ash |
||
| − | |- |
||
| − | | 1 || 120 |
||
| − | |- |
||
| − | | 2 || 100 |
||
| − | |- |
||
| − | | 3 || 85 |
||
| − | |- |
||
| − | | 4 || 70 |
||
| − | |- |
||
| − | | 5 || 60 |
||
| − | |- |
||
| − | | 6 || 50 |
||
| − | |- |
||
| − | | 7 || 45 |
||
| − | |- |
||
| − | | 8 || 40 |
||
| − | |} |
||
Once per week, layer bosses will drop [[Soul Ash]], with the amount increasing based on the layer cleared. Soul ash is used by the [[Runecarver]] to make {{quality|legendary}} equipment, with a base (item level 190) item costing 1250 Soul Ash. Only the six normal wing bosses will drop Soul Ash - bosses in the Twisting Corridors or any quest-specific wings will not have any Ash to loot. |
Once per week, layer bosses will drop [[Soul Ash]], with the amount increasing based on the layer cleared. Soul ash is used by the [[Runecarver]] to make {{quality|legendary}} equipment, with a base (item level 190) item costing 1250 Soul Ash. Only the six normal wing bosses will drop Soul Ash - bosses in the Twisting Corridors or any quest-specific wings will not have any Ash to loot. |
||
| − | In an effort to not force players to run every layer in a wing, they can skip back to that layer in future runs. The end boss will drop all soul ash from lower layers. Thus, if players skip to layer three for their first run of a week, they will loot 305 Soul Ash from the wing boss, as seen in the table to the |
+ | In an effort to not force players to run every layer in a wing, they can skip back to that layer in future runs. The end boss will drop all soul ash from lower layers. Thus, if players skip to layer three for their first run of a week, they will loot 305 Soul Ash from the wing boss, as seen in the table to the right. Afterwards, should the player clear layer 4 of the same wing, they will come up with 70 more Soul Ash. |
By virtue of two wings being available each week, should players manage to full-clear both wings they will gain 1140 Soul Ash each week. |
By virtue of two wings being available each week, should players manage to full-clear both wings they will gain 1140 Soul Ash each week. |
||
===Torments=== |
===Torments=== |
||
| − | Starting in layer three, torments will be added to the mix. The effect increases on every floor (with the exception of the break room on floor three). So, if an enemy has +5% health on floor 1, it will have +25% health on floor six. Torments include: |
+ | Starting in layer three, torments will be added to the mix. The effect increases on every floor (with the exception of the break room on floor three). So, if an enemy has +5% health on floor 1, it will have +25% health on floor six. Higher layers start with additional stacks of the buff. So on layer five, the first floor will have three stacks. Torments include: |
*{{abilities|Torment: Eye of Skoldus|Skoldus' Eye is upon the target, calling forth Mawsworn Seekers every 40 sec while the target is not in combat. These minions have 10% increased health. This effect stacks.|id=331148|image=sha_ability_rogue_bloodyeye}} |
*{{abilities|Torment: Eye of Skoldus|Skoldus' Eye is upon the target, calling forth Mawsworn Seekers every 40 sec while the target is not in combat. These minions have 10% increased health. This effect stacks.|id=331148|image=sha_ability_rogue_bloodyeye}} |
||
*{{abilities|Torment: Fracturing Forces|The Fracture Chambers seeks out new prey, calling forth a Mawsworn Shadestalker every 30 sec while the target is not in combat. These minions have 10% increased health. This effect stacks.|id=331149|image=inv_weapon_shortblade_76}} |
*{{abilities|Torment: Fracturing Forces|The Fracture Chambers seeks out new prey, calling forth a Mawsworn Shadestalker every 30 sec while the target is not in combat. These minions have 10% increased health. This effect stacks.|id=331149|image=inv_weapon_shortblade_76}} |
||
| Line 203: | Line 179: | ||
===Ve'nari upgrades=== |
===Ve'nari upgrades=== |
||
[[Ve'nari]], at [[Ve'nari's Refuge|her refuge]] in the [[Maw]] sells some permanent upgrades to a few mechanics in Torghast, as a form of meta-progression. They require [[Stygia]] gathered from the Maw and higher reputation standings with her: |
[[Ve'nari]], at [[Ve'nari's Refuge|her refuge]] in the [[Maw]] sells some permanent upgrades to a few mechanics in Torghast, as a form of meta-progression. They require [[Stygia]] gathered from the Maw and higher reputation standings with her: |
||
| − | |||
{|class="darktable zebra" |
{|class="darktable zebra" |
||
|+[[Ve'nari]] |
|+[[Ve'nari]] |
||
| Line 240: | Line 215: | ||
===Skoldus Hall=== |
===Skoldus Hall=== |
||
[[File:Skoldus Hall.jpg|thumb|Skoldus Hall]] |
[[File:Skoldus Hall.jpg|thumb|Skoldus Hall]] |
||
| + | ''Skoldus Hall is but one of Torghast's countless cell blocks. [[Warden Skoldus]] utilizes beasts, chains, and traps to torment his prisoners as well as those who intrude upon his domain.'' |
||
[[Skoldus Hall]] is the baseline version of Torghast. |
[[Skoldus Hall]] is the baseline version of Torghast. |
||
| Line 257: | Line 233: | ||
===Fracture Chambers=== |
===Fracture Chambers=== |
||
[[File:Fracture Chambers cauldron room.jpg|thumb|A cauldron room in the Fracture Chambers]] |
[[File:Fracture Chambers cauldron room.jpg|thumb|A cauldron room in the Fracture Chambers]] |
||
| + | ''Within the Fracture Chambers, prisoners from across the Shadowlands have their bones endlessly broken and mended in a cruel cycle of torture. Release them so they might claim their vengeance.'' |
||
Full of necromancy and with a green theme, skeletal mobs in the [[Fracture Chambers]], like [[Lumbering Creation]]s or [[Skeletal Remains]], explode when they die for a decent chunk of damage. Large packs of Skeletal Remains are notorious for this -- make sure to not kill them all point-blank, or the feedback may kill the player in return... Unlike exploding [[Mawrat]]s, this damage only affects players so this cannot be used to clear out packs of enemies. |
Full of necromancy and with a green theme, skeletal mobs in the [[Fracture Chambers]], like [[Lumbering Creation]]s or [[Skeletal Remains]], explode when they die for a decent chunk of damage. Large packs of Skeletal Remains are notorious for this -- make sure to not kill them all point-blank, or the feedback may kill the player in return... Unlike exploding [[Mawrat]]s, this damage only affects players so this cannot be used to clear out packs of enemies. |
||
| Line 279: | Line 256: | ||
===Soulforges=== |
===Soulforges=== |
||
[[File:Soulforges.jpg|thumb|Soulforges]] |
[[File:Soulforges.jpg|thumb|Soulforges]] |
||
| + | |||
| + | ''Doomed souls are brought to the Soulforges to be melted down into weapons and armor for the Jailer's army. Beware the rampant flames that burn within these falls.'' |
||
In the lava and fire-filled [[Soulforges]], the [[Partially-Infused Soul Remnant]]s found here have been partially bound into armor. Players can choose to finish the binding ritual, gaining a stacking +10% crit damage/healing and +10% haste buff for three minutes, or they can be freed as normal for the usual untimed 1% agility/intellect/strength buff. |
In the lava and fire-filled [[Soulforges]], the [[Partially-Infused Soul Remnant]]s found here have been partially bound into armor. Players can choose to finish the binding ritual, gaining a stacking +10% crit damage/healing and +10% haste buff for three minutes, or they can be freed as normal for the usual untimed 1% agility/intellect/strength buff. |
||
| Line 285: | Line 264: | ||
Enemies include: |
Enemies include: |
||
<div class="hlist"> |
<div class="hlist"> |
||
| − | *[[Blazing Elemental]] |
+ | *[[Blazing Elemental (Shadowlands)|Blazing Elemental]] |
*[[Flameforge Enforcer]] |
*[[Flameforge Enforcer]] |
||
*[[Flameforge Master]] |
*[[Flameforge Master]] |
||
| Line 301: | Line 280: | ||
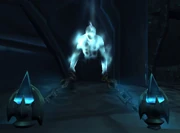
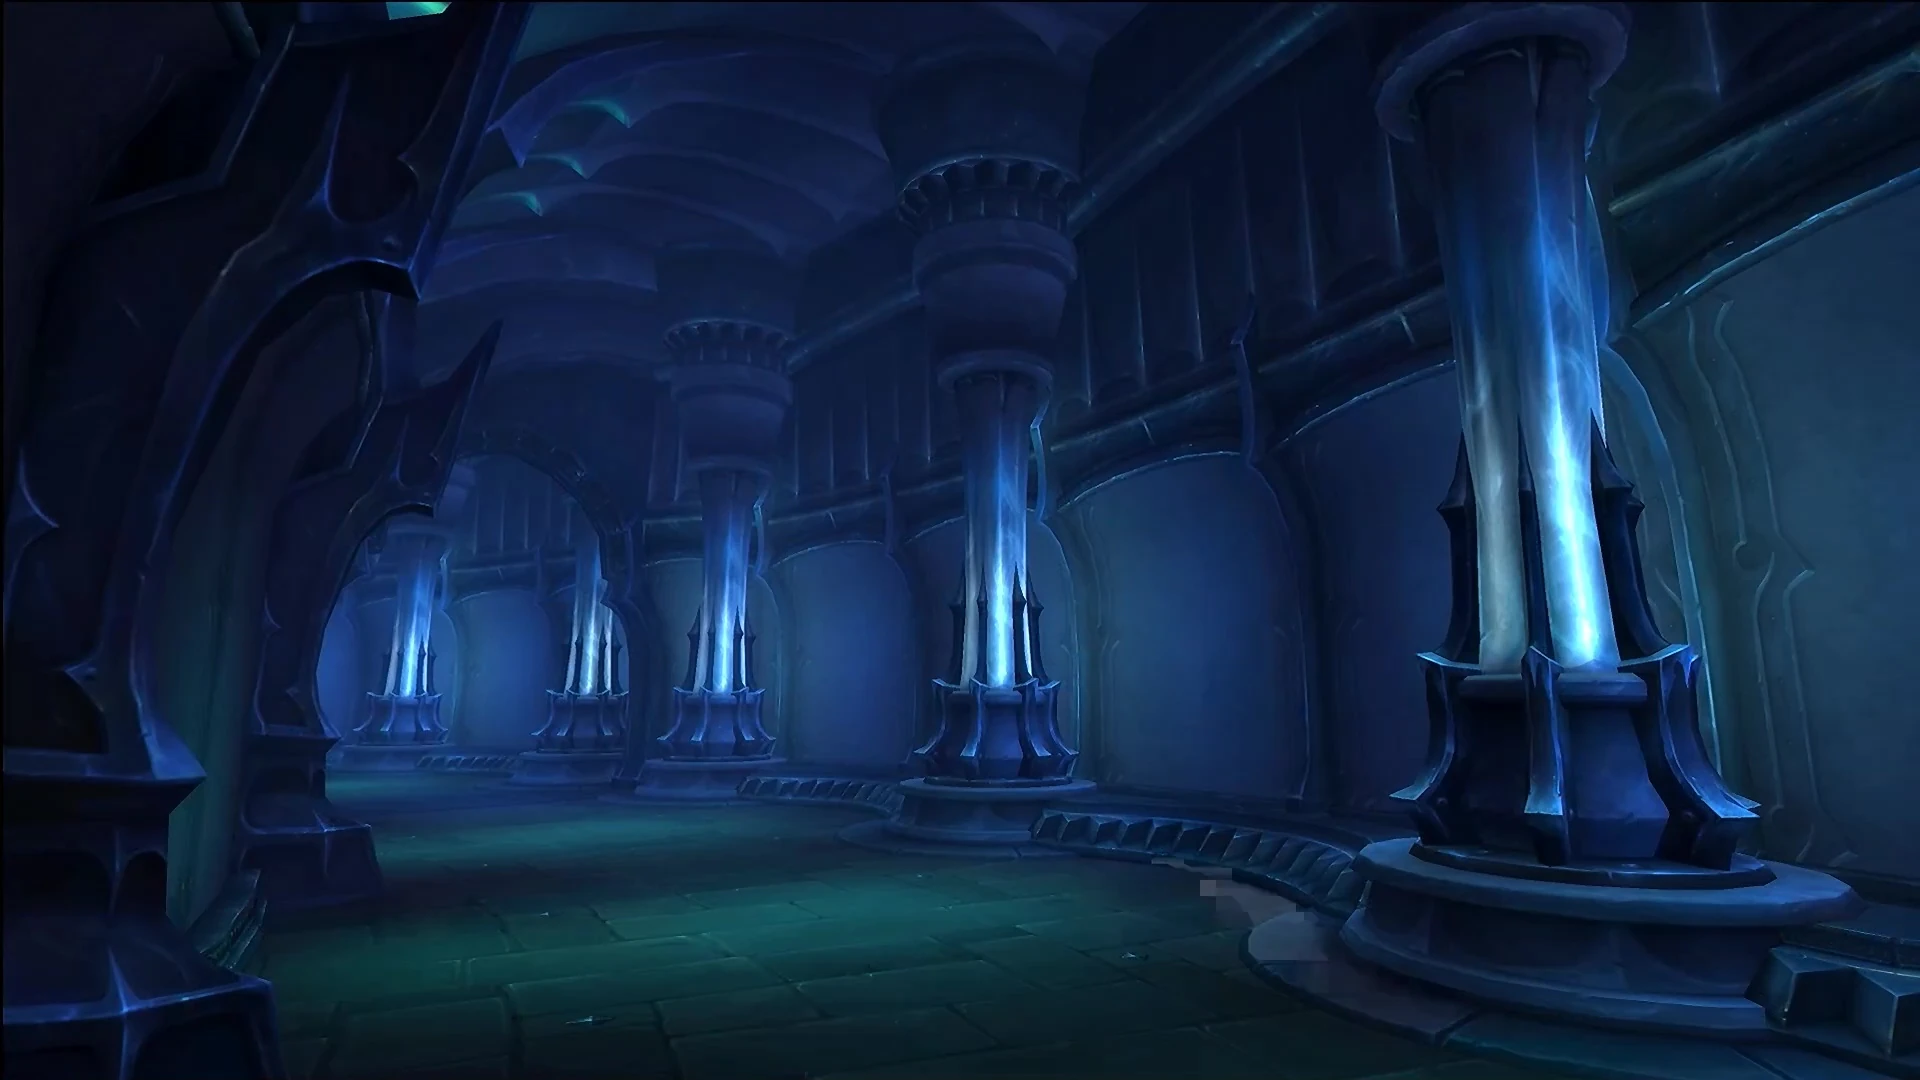
[[File:Coldheart Interstitia.jpg|thumb|Coldheart Interstitia]] |
[[File:Coldheart Interstitia.jpg|thumb|Coldheart Interstitia]] |
||
| + | ''Suspended between the towering spires of Torghast, the Coldheart Interstitia is where the [[Mawsworn]] [[Kyrian#Mawsworn|kyrian]] make their lair. Striking from above, they fling foolhardy interlopers into the darkness below.'' |
||
| − | Think teal and snow. [[Coldheart Interstitia]] is full of mawsworn kyrian. Watch out for the ambushing kyrian! <!--is the Dissonant Bells. Interact with them to gain one of several kiss/curse buffs, some of which are best avoided for solo players without self-healing, either natively or via anima powers.--> |
||
| + | |||
| + | Think teal and Mawsworn kyrian in the [[Coldheart Interstitia]]. Watch out for the ambushers! |
||
Enemies include: |
Enemies include: |
||
| Line 319: | Line 300: | ||
===Mort'regar=== |
===Mort'regar=== |
||
[[File:Mort'regar.jpg|thumb|Mort'regar]] |
[[File:Mort'regar.jpg|thumb|Mort'regar]] |
||
| + | ''Like the shifting and malformed terrain itself, the souls trapped within Mort'regar have lost all semblance of who they once were. The Jailer's forces subject them to necromantic experiments, transforming them into horrible monstrosities.'' |
||
In [[Mort'regar]], the corpses of most mobs slowly spread Death Pools that ''do not despawn''. Take care to avoid killing them in inconvenient spots. Additionally, [[Deadsoul Spirit]]s cannot be fully killed, and will respawn after 30 seconds with 40% health. |
In [[Mort'regar]], the corpses of most mobs slowly spread Death Pools that ''do not despawn''. Take care to avoid killing them in inconvenient spots. Additionally, [[Deadsoul Spirit]]s cannot be fully killed, and will respawn after 30 seconds with 40% health. |
||
| Line 338: | Line 320: | ||
===The Upper Reaches=== |
===The Upper Reaches=== |
||
[[File:Upper Reaches.jpg|thumb|The Upper Reaches]] |
[[File:Upper Reaches.jpg|thumb|The Upper Reaches]] |
||
| + | ''The Upper Reaches are the domain of the Jailer's most devoted servants. Elite [[Mawsworn]] forces and their [[Venthyr]] allies patrol these halls and maintain their master's most powerful defenses.'' |
||
| ⚫ | |||
| ⚫ | |||
<div class="hlist"> |
<div class="hlist"> |
||
*[[Armed Prisoner]] |
*[[Armed Prisoner]] |
||
| Line 366: | Line 349: | ||
===Twisting Corridors=== |
===Twisting Corridors=== |
||
| + | ''True to their name, the Twisting Corridors wind unpredictably throughout the entirety of Torghast's myriad cell blocks and are guarded by all manner of the Jailer's minions. Those intrepid enough to venture into its 18 floors seldom return.'' |
||
| ⚫ | For players seeking cosmetic rewards, the [[Twisting Corridors]] will stitch together three wings of floors for a total of 18 floors (six per wing), with the usual break rooms on the third floor and a boss on the sixth. No [[Soul Ash]] will be found here. In a small concession to run time, floors are generally much smaller than in normal wing runs; usually a small or medium-sized room per floor. |
||
| + | |||
| ⚫ | For players seeking cosmetic rewards, the [[Twisting Corridors]] will stitch together three wings of floors for a total of 18 floors (six per wing), with the usual break rooms on the third floor and a boss on the sixth. No [[Soul Ash]] will be found here. In a small concession to run time, floors are generally much smaller than in normal wing runs; usually a small or medium-sized room per floor. Twisting Corridor wings can be from any of the other six wings listed above, and it is possible two have two Corridor wings be of the same Torghast wing in a row (i.e. first wing is Skoldus Hall, second is Mort'regar, but third is Skoldus Hall again). The difficulty rises steadily within a given wing like normal, and jumps in difficulty between wings. |
||
| + | |||
| + | In Layer 3 and above, the standard torments start applying. Players will gain five stacks of a torment over the six floors of each layer, and that debuff will persist for the rest of the run. Should players wind up in the same wing again, the debuff will continue to stack. |
||
Completing specified Twisting Corridors layers will grant cosmetic rewards: |
Completing specified Twisting Corridors layers will grant cosmetic rewards: |
||
| Line 393: | Line 380: | ||
==Quests== |
==Quests== |
||
| − | Players are directed to Torghast several times in the [[Shadowlands campaign]]. The first time is late in the [[Revendreth storyline]] when [[Prince Renathal]], freed from a cage in the [[Maw]] sneaks himself, the [[ |
+ | Players are directed to Torghast several times in the [[Shadowlands campaign]]. The first time is late in the [[Revendreth storyline]] when [[Prince Renathal]], freed from a cage in the [[Maw]] sneaks himself, the [[Maw Walker]], and his enchanted sword into Torghast during [[Torghast, Tower of the Damned (quest)]] to free some more allies. |
Later, after players have joined their [[covenant]], the second chapter of their covenant campaign will send them to Torghast multiple times to be introduced to the wings and to free some Azerothian champions. Additionally, they will unlock access to the [[Runecarver]], who will create and upgrade {{quality|legendary}} items over the course of the expansion. |
Later, after players have joined their [[covenant]], the second chapter of their covenant campaign will send them to Torghast multiple times to be introduced to the wings and to free some Azerothian champions. Additionally, they will unlock access to the [[Runecarver]], who will create and upgrade {{quality|legendary}} items over the course of the expansion. |
||
| Line 406: | Line 393: | ||
==Captured souls and bonus objectives== |
==Captured souls and bonus objectives== |
||
| − | Captured souls offer a bonus objective, and after completing it, can become the Maw Walker's follower in their covenant sanctum for [[Adventures]] |
+ | Captured souls offer a bonus objective, and after completing it, can become the Maw Walker's follower in their covenant sanctum for [[Adventures]]. Players will eventually be able to come up with eight followers for their adventures - six covenant-bound and two neutral. |
| + | |||
| + | Additionally, there are a handful of frequent-flyer quest givers that the Maw Walker does not save -- they will continually reappear in Torghast. |
||
{| class="darktable zebra sortable" |
{| class="darktable zebra sortable" |
||
| − | !NPC !! Bonus objective !! Follower quest |
+ | ! Covenant !! NPC !! Bonus objective !! Follower quest |
|- |
|- |
||
| + | !rowspan=8| N/A |
||
| ⚫ | |||
| ⚫ | |||
|- |
|- |
||
| − | | {{npc|| |
+ | | {{npc||Gallath|icon=Kyrian Female}} || [[Gallath's Bell (quest)]] || |
|- |
|- |
||
| − | | {{npc|| |
+ | | {{npc||Indigo|icon=Faerie}} || [[Help Indigo find Penthia]] || |
|- |
|- |
||
| − | | {{npc|| |
+ | | {{npc||Indri the Treesinger|icon=Faerie}} || [[Indri's Flute (quest)]] || |
|- |
|- |
||
| − | | {{npc|| |
+ | | {{npc||Moriaz the Red|icon=Necrolord}} || [[Help Moriaz find Buttons]] || |
|- |
|- |
||
| − | | {{npc|| |
+ | | {{npc||Bloodletter Phantoriax|icon=Necrolord}} || [[Phantoriax's Warsword]] || |
|- |
|- |
||
| − | | {{npc|| |
+ | | {{npc||Renavyth|icon=Venthyr Male}} || [[Renavyth's Medallion (quest)]] || |
|- |
|- |
||
| − | | {{npc|| |
+ | | {{npc||Sawn|icon=Venthyr Male}} || [[Help Sawn find Varrik]] || |
|- |
|- |
||
| + | !rowspan=2| All |
||
| − | | {{npc||Gallath|icon=Kyrian Female}} || [[Gallath's Bell (quest)]] || |
||
| + | | {{npc||Croman|icon=Human Male}} || [[The Riddle of Death]] || [[Champion: Croman]] |
||
|- |
|- |
||
| − | | {{npc|| |
+ | | {{npc||Meatball|icon=Gnoll}} || [[Meatball's Revenge]] || [[Champion: Meatball]] |
|- |
|- |
||
| + | !rowspan=6| Kyrian |
||
| {{npc||Hala|icon=Aspirant Female}} || [[Hala's Sword (quest)]] || [[Champion: Hala]] |
| {{npc||Hala|icon=Aspirant Female}} || [[Hala's Sword (quest)]] || [[Champion: Hala]] |
||
|- |
|- |
||
| − | | {{npc|| |
+ | | {{npc||Ispiron|icon=Phalynx}} || [[Spare Parts (Shadowlands)]] || [[Champion: Ispiron]] |
|- |
|- |
||
| − | | {{npc|| |
+ | | {{npc||Kythekios|icon=Aspirant Male}} || [[Kythekios' Memory Stone (quest)]] || [[Champion: Kythekios]] |
|- |
|- |
||
| − | | {{npc|| |
+ | | {{npc||Molako|icon=}} || [[Molako's Freedom]] || [[Champion: Molako]] |
|- |
|- |
||
| − | | {{npc|| |
+ | | {{npc||Telethakas|icon=Steward}} || [[Telethakas' Revenge]] || [[Champion: Telethakas]] |
|- |
|- |
||
| − | | {{npc|| |
+ | | {{npc||Teliah|icon=}} || [[Teliah's Stolen Spear]] || [[Champion: Teliah]] |
|- |
|- |
||
| + | !rowspan=6| Necrolords |
||
| ⚫ | |||
| ⚫ | |||
|- |
|- |
||
| − | | |
+ | |{{npc||Gorgelimb|icon=Abomination2}} || || [[Champion: Gorgelimb]] |
|- |
|- |
||
| − | | {{npc|| |
+ | | {{npc||Rattlebag|icon=}} || [[Rattlebag's Lost Armor]] || [[Champion: Rattlebag]] |
|- |
|- |
||
| − | | {{npc|| |
+ | | {{npc||Talethi|icon=}} || [[Talethi's Desire]] || [[Champion: Talethi]] |
|- |
|- |
||
| − | | {{npc|| |
+ | | {{npc||Velkein|icon=}} || [[Velkein's Blade]] || [[Champion: Velkein]] |
|- |
|- |
||
| − | | {{npc|| |
+ | | {{npc||Assembler Xertora|icon=}} || [[Xertora's Construct]] || [[Champion: Xertora]] |
|- |
|- |
||
| + | !rowspan=6| Night Fae |
||
| − | | {{npc||Bloodletter Phantoriax|icon=Necrolord}} || [[Phantoriax's Warsword]] || |
||
| ⚫ | |||
|- |
|- |
||
| − | | {{npc|| |
+ | | {{npc||Chalkyth|icon=Vorkai Male}} || [[Chalkyth's Saber (quest)]] || [[Champion: Chalkyth]] |
|- |
|- |
||
| − | | {{npc|| |
+ | | {{npc||Duskleaf|icon=Faerie}} || [[Duskleaf's Revenge]] || [[Champion: Duskleaf]] |
|- |
|- |
||
| − | | {{npc|| |
+ | | {{npc||Karynmwylyann|icon=Tirnenn}} || [[Karynmwylyann's Roots]] || [[Champion: Karynmwylyann]] |
|- |
|- |
||
| − | | {{npc|| |
+ | | {{npc||Lloth'wellyn|icon=Sylvar Male}} || [[Lloth'wellyn's Breakthrough]] || [[Champion: Lloth'wellyn]] |
|- |
|- |
||
| − | | {{npc|| |
+ | | {{npc||Yira'lya|icon=}} || || [[Champion: Yira'lya]] |
|- |
|- |
||
| + | !rowspan=6| Venthyr |
||
| ⚫ | |||
| + | | {{npc||Ayeleth|icon=}} || [[Ayeleth's Hunger]] || [[Champion: Ayeleth the Deprived]] |
||
|- |
|- |
||
| − | | {{npc|| |
+ | | {{npc||Dug Gravewell|icon=Dredger}} || [[Dug's Missing Shovel]] || [[Champion: Dug Gravewell]] |
|- |
|- |
||
| − | | {{npc|| |
+ | | {{npc||Kaletar|icon=Venthyr Female}} || [[Kaletar's Freedom]] || [[Champion: Kaletar the Mender]] |
|- |
|- |
||
| − | | {{npc|| |
+ | | {{npc||Nerith Darkwing|icon=}} || [[Nerith's Vengeance]] || [[Champion: Nerith Darkwing]] |
|- |
|- |
||
| − | | {{npc|| |
+ | | {{npc||Stonehuck|icon=}} || [[Stonehuck's Sinstone (quest)]] || [[Champion: Stonehuck]] |
|- |
|- |
||
| − | | {{npc|| |
+ | | {{npc||Thela Soulsipper|icon=Venthyr Female}} || [[Thela's Memory Stone (quest)]] || [[Champion: Thela Soulsipper]] |
|} |
|} |
||
| Line 485: | Line 480: | ||
*#[[Traversing Torghast]] |
*#[[Traversing Torghast]] |
||
*#[[Terror of Torghast]] |
*#[[Terror of Torghast]] |
||
| − | **Skoldus Hall |
+ | **[[Skoldus Hall (achievement)]] |
| − | ** |
+ | **[[Fracture Chambers (achievement)]] |
| − | ** |
+ | **[[The Soulforges (achievement)]] |
| ⚫ | |||
| − | **#[[Skoldus Hall: Layer 3]] |
||
| − | ** |
+ | **[[Mort'regar (achievement)]] |
| − | ** |
+ | **[[The Upper Reaches (achievement)]] |
| − | **#[[Skoldus Hall: Layer 6]] |
||
| − | **#[[Skoldus Hall: Layer 7]] |
||
| − | **#[[Skoldus Hall: Layer 8]] |
||
| − | **#[[Skoldus Hall: Layer 9]] |
||
| − | **Fracture Chambers |
||
| − | **#[[Fracture Chambers (achievement)]] |
||
| − | **#[[Fracture Chambers: Layer 2]] |
||
| − | **#[[Fracture Chambers: Layer 3]] |
||
| − | **#[[Fracture Chambers: Layer 4]] |
||
| − | **#[[Fracture Chambers: Layer 5]] |
||
| − | **#[[Fracture Chambers: Layer 6]] |
||
| − | **#[[Fracture Chambers: Layer 7]] |
||
| − | **#[[Fracture Chambers: Layer 8]] |
||
| − | **#[[Fracture Chambers: Layer 9]] |
||
| − | **The Soulforges |
||
| − | **#[[The Soulforges (achievement)]] |
||
| − | **#[[The Soulforges: Layer 2]] |
||
| − | **#[[The Soulforges: Layer 3]] |
||
| − | **#[[The Soulforges: Layer 4]] |
||
| − | **#[[The Soulforges: Layer 5]] |
||
| − | **#[[The Soulforges: Layer 6]] |
||
| − | **#[[The Soulforges: Layer 7]] |
||
| − | **#[[The Soulforges: Layer 8]] |
||
| − | **#[[The Soulforges: Layer 9]] |
||
| − | **Coldheart Interstitia |
||
| ⚫ | |||
| − | **#[[Coldheart Interstitia: Layer 2]] |
||
| − | **#[[Coldheart Interstitia: Layer 3]] |
||
| − | **#[[Coldheart Interstitia: Layer 4]] |
||
| − | **#[[Coldheart Interstitia: Layer 5]] |
||
| − | **#[[Coldheart Interstitia: Layer 6]] |
||
| − | **#[[Coldheart Interstitia: Layer 7]] |
||
| − | **#[[Coldheart Interstitia: Layer 8]] |
||
| − | **#[[Coldheart Interstitia: Layer 9]] |
||
| − | **Mort'regar |
||
| − | **#[[Mort'regar (achievement)]] |
||
| − | **#[[Mort'regar: Layer 2]] |
||
| − | **#[[Mort'regar: Layer 3]] |
||
| − | **#[[Mort'regar: Layer 4]] |
||
| − | **#[[Mort'regar: Layer 5]] |
||
| − | **#[[Mort'regar: Layer 6]] |
||
| − | **#[[Mort'regar: Layer 7]] |
||
| − | **#[[Mort'regar: Layer 8]] |
||
| − | **#[[Mort'regar: Layer 9]] |
||
| − | **The Upper Reaches |
||
| − | **#[[The Upper Reaches (achievement)]] |
||
| − | **#[[The Upper Reaches: Layer 2]] |
||
| − | **#[[The Upper Reaches: Layer 3]] |
||
| − | **#[[The Upper Reaches: Layer 4]] |
||
| − | **#[[The Upper Reaches: Layer 5]] |
||
| − | **#[[The Upper Reaches: Layer 6]] |
||
| − | **#[[The Upper Reaches: Layer 7]] |
||
| − | **#[[The Upper Reaches: Layer 8]] |
||
| − | **#[[The Upper Reaches: Layer 9]] |
||
**Twisting Corridors |
**Twisting Corridors |
||
| − | **#[[Twisting Corridors: |
+ | **#[[Twisting Corridors: Layer 1]] |
| − | **#[[Twisting Corridors: |
+ | **#[[Twisting Corridors: Layer 2]] |
| − | **#[[Twisting Corridors: |
+ | **#[[Twisting Corridors: Layer 3]] |
| − | **#[[Twisting Corridors: |
+ | **#[[Twisting Corridors: Layer 4]] |
| − | **#[[Twisting Corridors: |
+ | **#[[Twisting Corridors: Layer 5]] |
| − | **#[[Twisting Corridors: |
+ | **#[[Twisting Corridors: Layer 6]] |
| − | **#[[Twisting Corridors: |
+ | **#[[Twisting Corridors: Layer 7]] |
| − | **#[[Twisting Corridors: |
+ | **#[[Twisting Corridors: Layer 8]] |
| − | **#[[Twisting Corridors: Level 9]] |
||
*Runecarver |
*Runecarver |
||
*#[[The Forgotten One]] |
*#[[The Forgotten One]] |
||
| Line 572: | Line 512: | ||
==Notes== |
==Notes== |
||
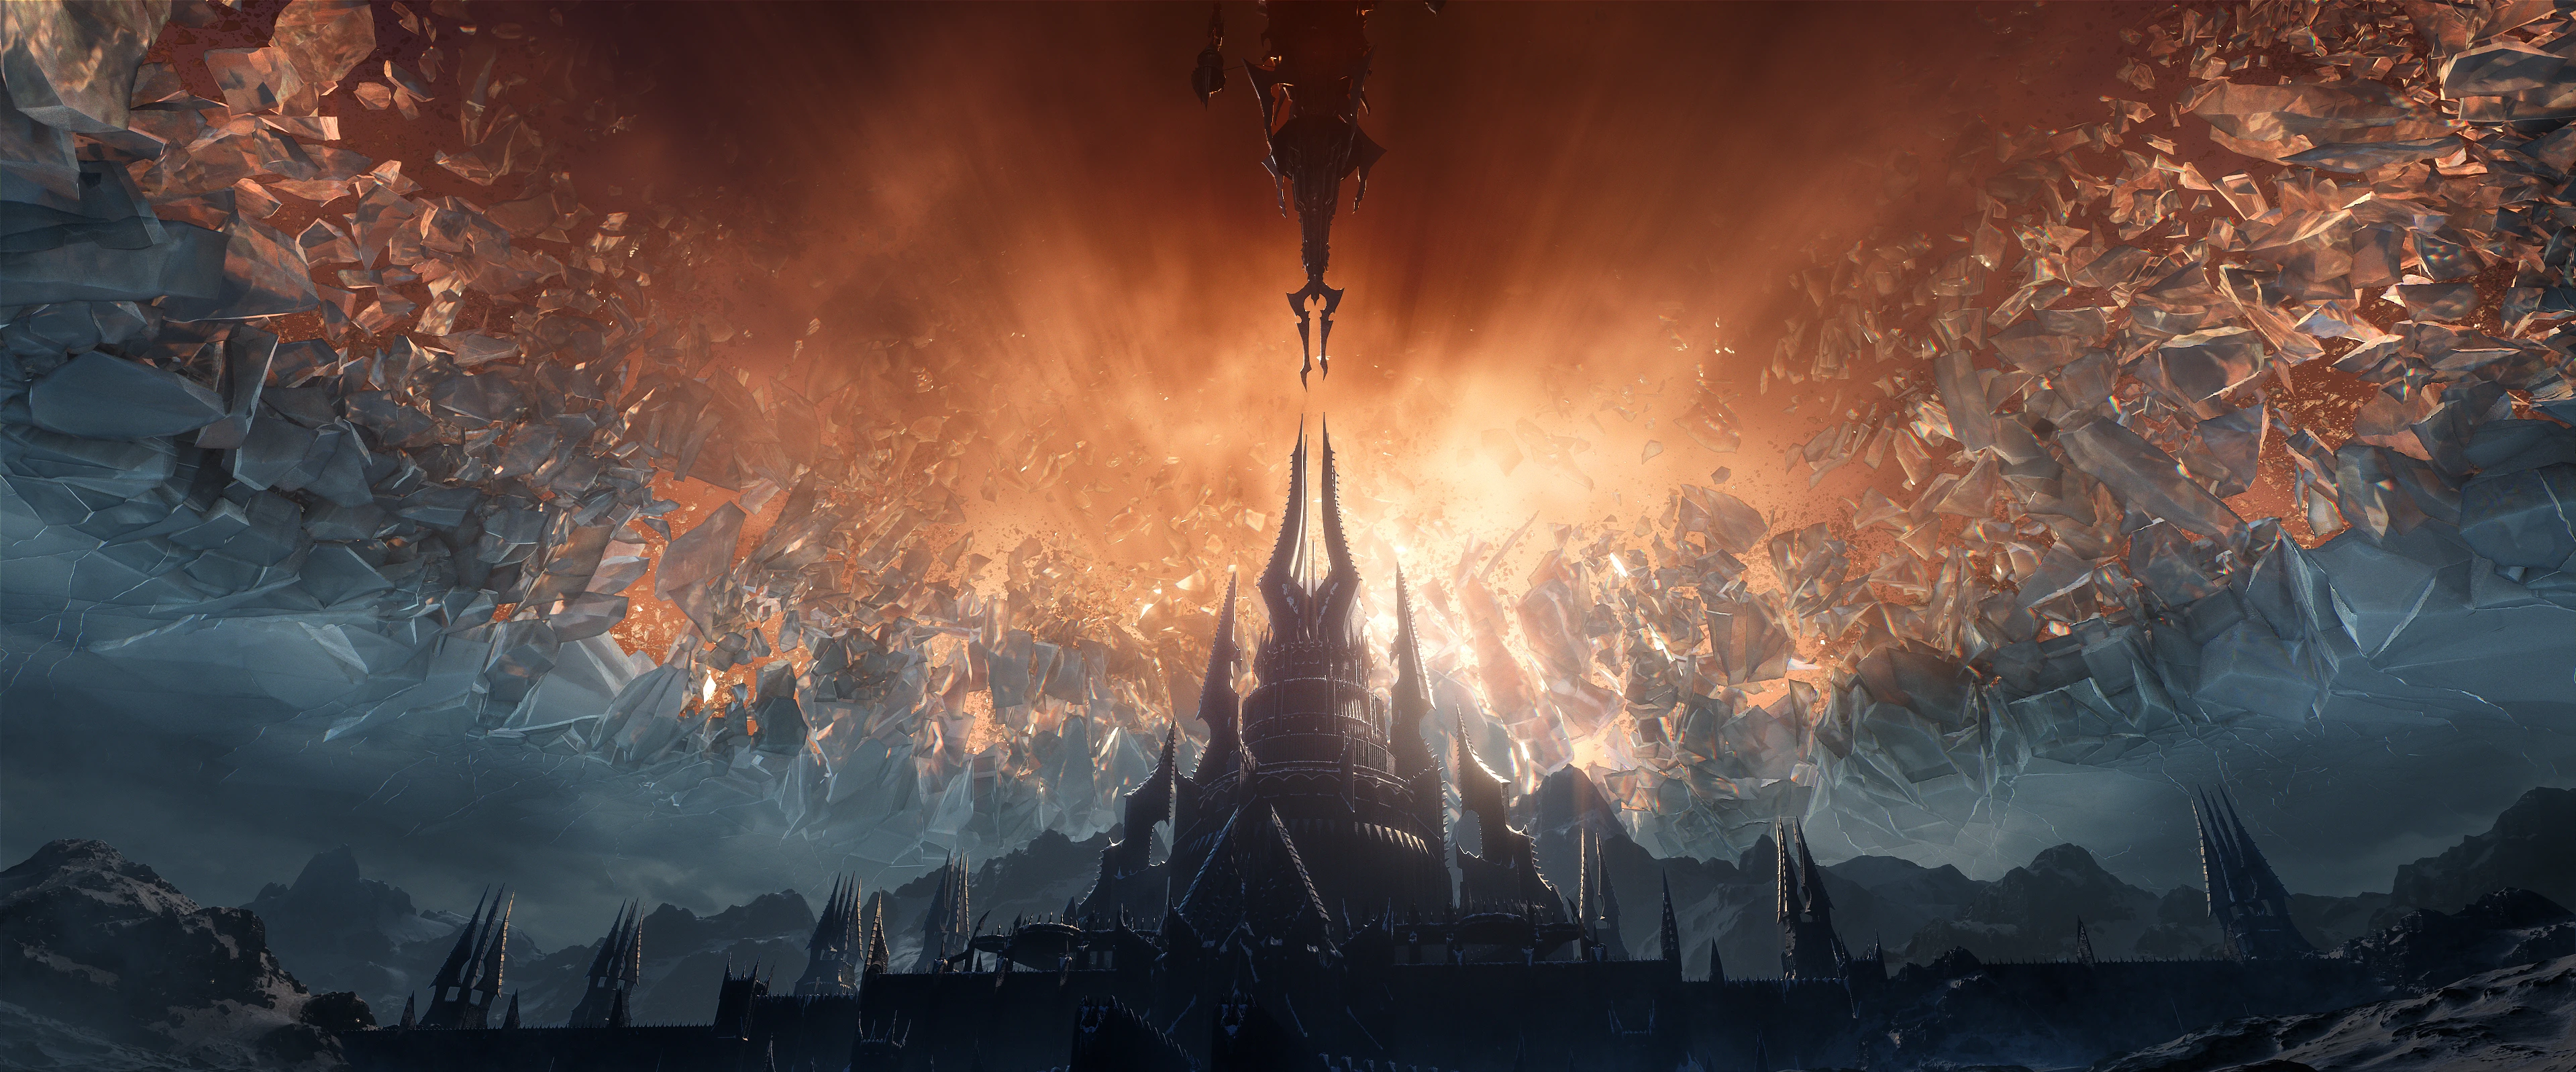
| − | *As shown in the [[Shadowlands cinematic|''Shadowlands'' cinematic]], the spire of Torghast points directly at the spire of [[Icecrown Citadel]], implying a connection between the two structures. Moreover, according to the ''Shadowlands'' presentation at BlizzCon, |
+ | *As shown in the [[Shadowlands cinematic|''Shadowlands'' cinematic]], the spire of Torghast points directly at the spire of [[Icecrown Citadel]], implying a connection between the two structures. Moreover, according to the ''Shadowlands'' presentation at BlizzCon, Torghast's interior also "definitely calls upon the architecture that we saw in Icecrown Citadel, and elsewhere",<ref>[https://warcraft.blizzplanet.com/blog/comments/blizzcon-2019-world-of-warcraft-shadowlands-panel-transcript/7 warcraft.blizzplanet.com: BlizzCon 2019 World of Warcraft: Shadowlands Panel Transcript]</ref> and concept art for Torghast directly describes it as the source of Icecrown Citadel architecture.<ref name="gallery">[https://blizzardwatch.com/gallery/blizzcon-2019-shadowlands-art-gallrey?slide_pos=9 Shadowlands gallery]</ref> |
| + | * Some of the wing names have small references of varied sources. |
||
| − | *Both [[Frostmourne]] and the [[Helm of Domination]] were made at the [[Forge of Domination]]<ref>[https://www.wowhead.com/guides/world-of-warcraft-shadowlands-expansion-overview Wowhead BlizzCon interviews: Shadowlands: Craft Your Own Custom Legendary in the Forge of Domination] ([https://www.wowhead.com/news=295988.17/shadowlands-craft-your-own-custom-legendary-in-the-forge-of-domination section])</ref> within Torghast.<ref name="gallery" /> |
||
| + | ** Skoldus Hall and [[Warden Skoldus]] are likely a reference to the Norse {{wp|norn}} {{wp|Skuld}}, whose name means "debt" |
||
| + | ** Coldheart Interstitia is likely a reference to the myocardial {{wp|interstitium}} of the heart, whose damage is common in all heart disease. |
||
| + | ** Mort'Regar could be based on the Latin words ''mors'' and ''rex'', from which we derive words like mortal and regal respectively, and thus could mean Death King. |
||
| + | **[[Patrician Cromwell]] may be a reference to {{wp|Oliver Cromwell}}, who led the armies of English Parliament against the king during the English Civil War, here instead serving Zovaal. |
||
| + | **The [[Watchers of Death]] may be a reference to how the {{wp|Watcher (angel)|Watchers}} within Abrahamic mythos had their spirits bound to the earth for all eternity and were part of necromantic practices in antiquity. |
||
| + | **[[Custodian Thonar]] may be a reference to [https://elderscrolls.fandom.com/wiki/Thonar_Silver-Blood Thonar Silver-Blood] from ''Elder Scrolls''. |
||
==Gallery== |
==Gallery== |
||
| Line 582: | Line 528: | ||
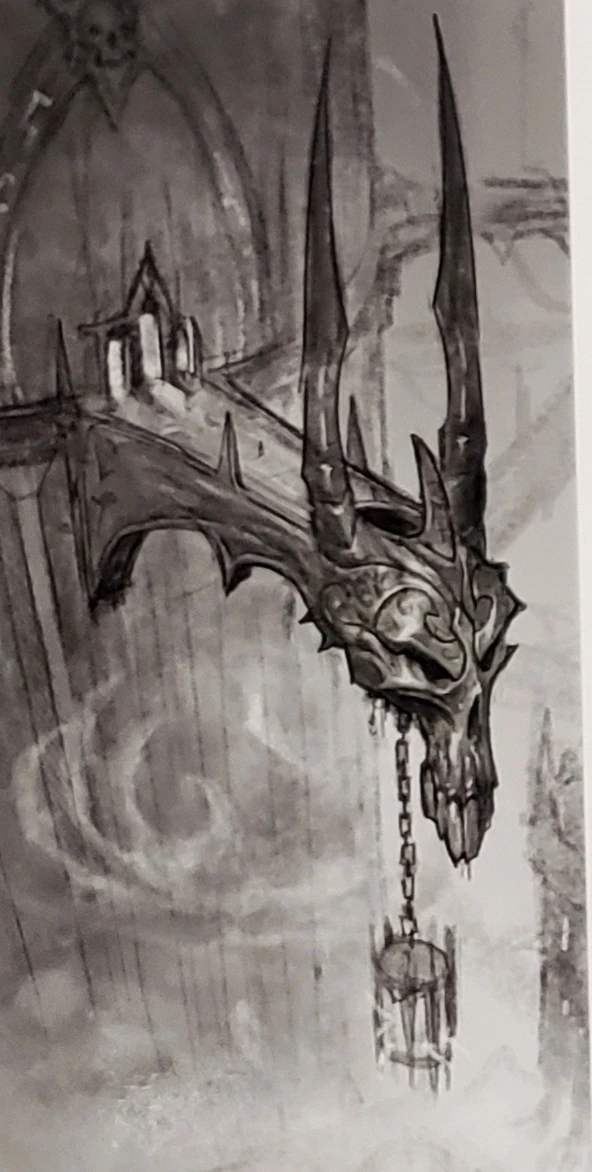
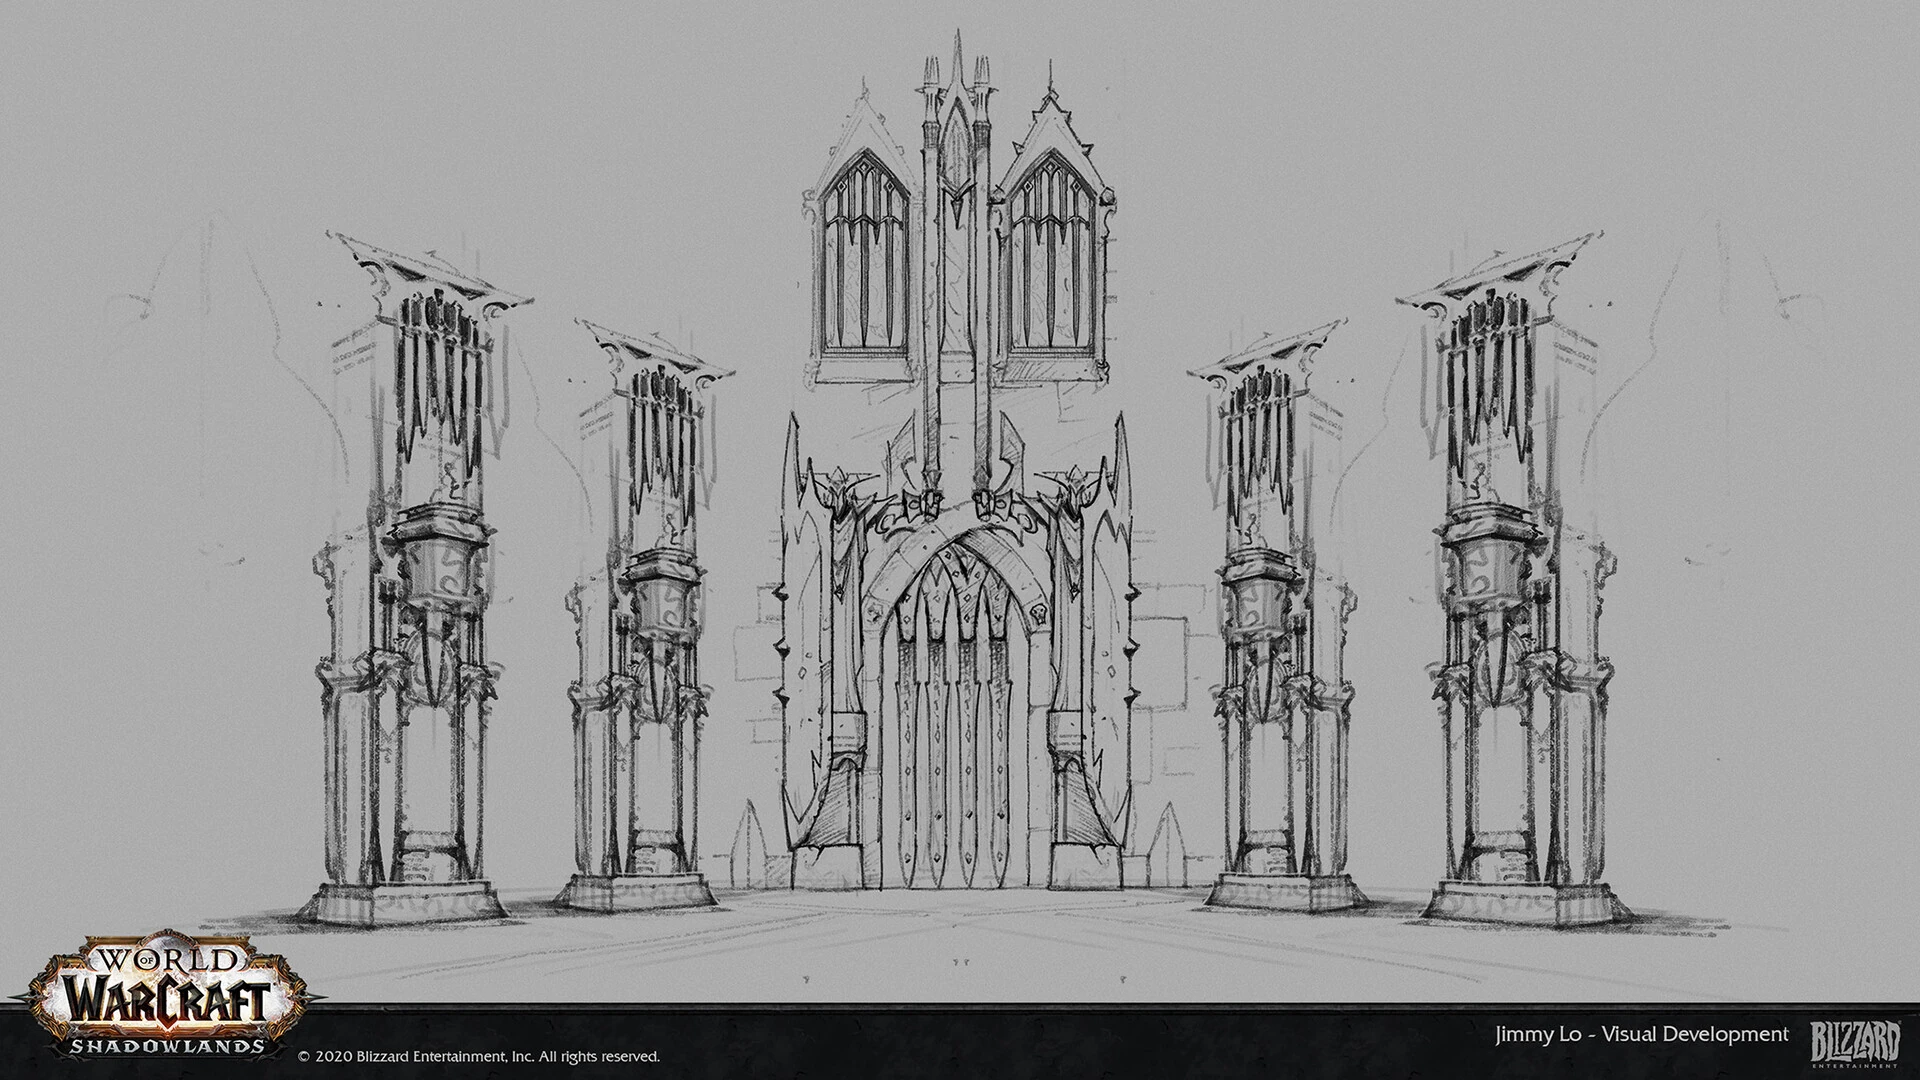
BlizzCon 2019 art 15.jpg|Concept art. |
BlizzCon 2019 art 15.jpg|Concept art. |
||
BlizzCon 2019 art 17.jpg|Concept art. |
BlizzCon 2019 art 17.jpg|Concept art. |
||
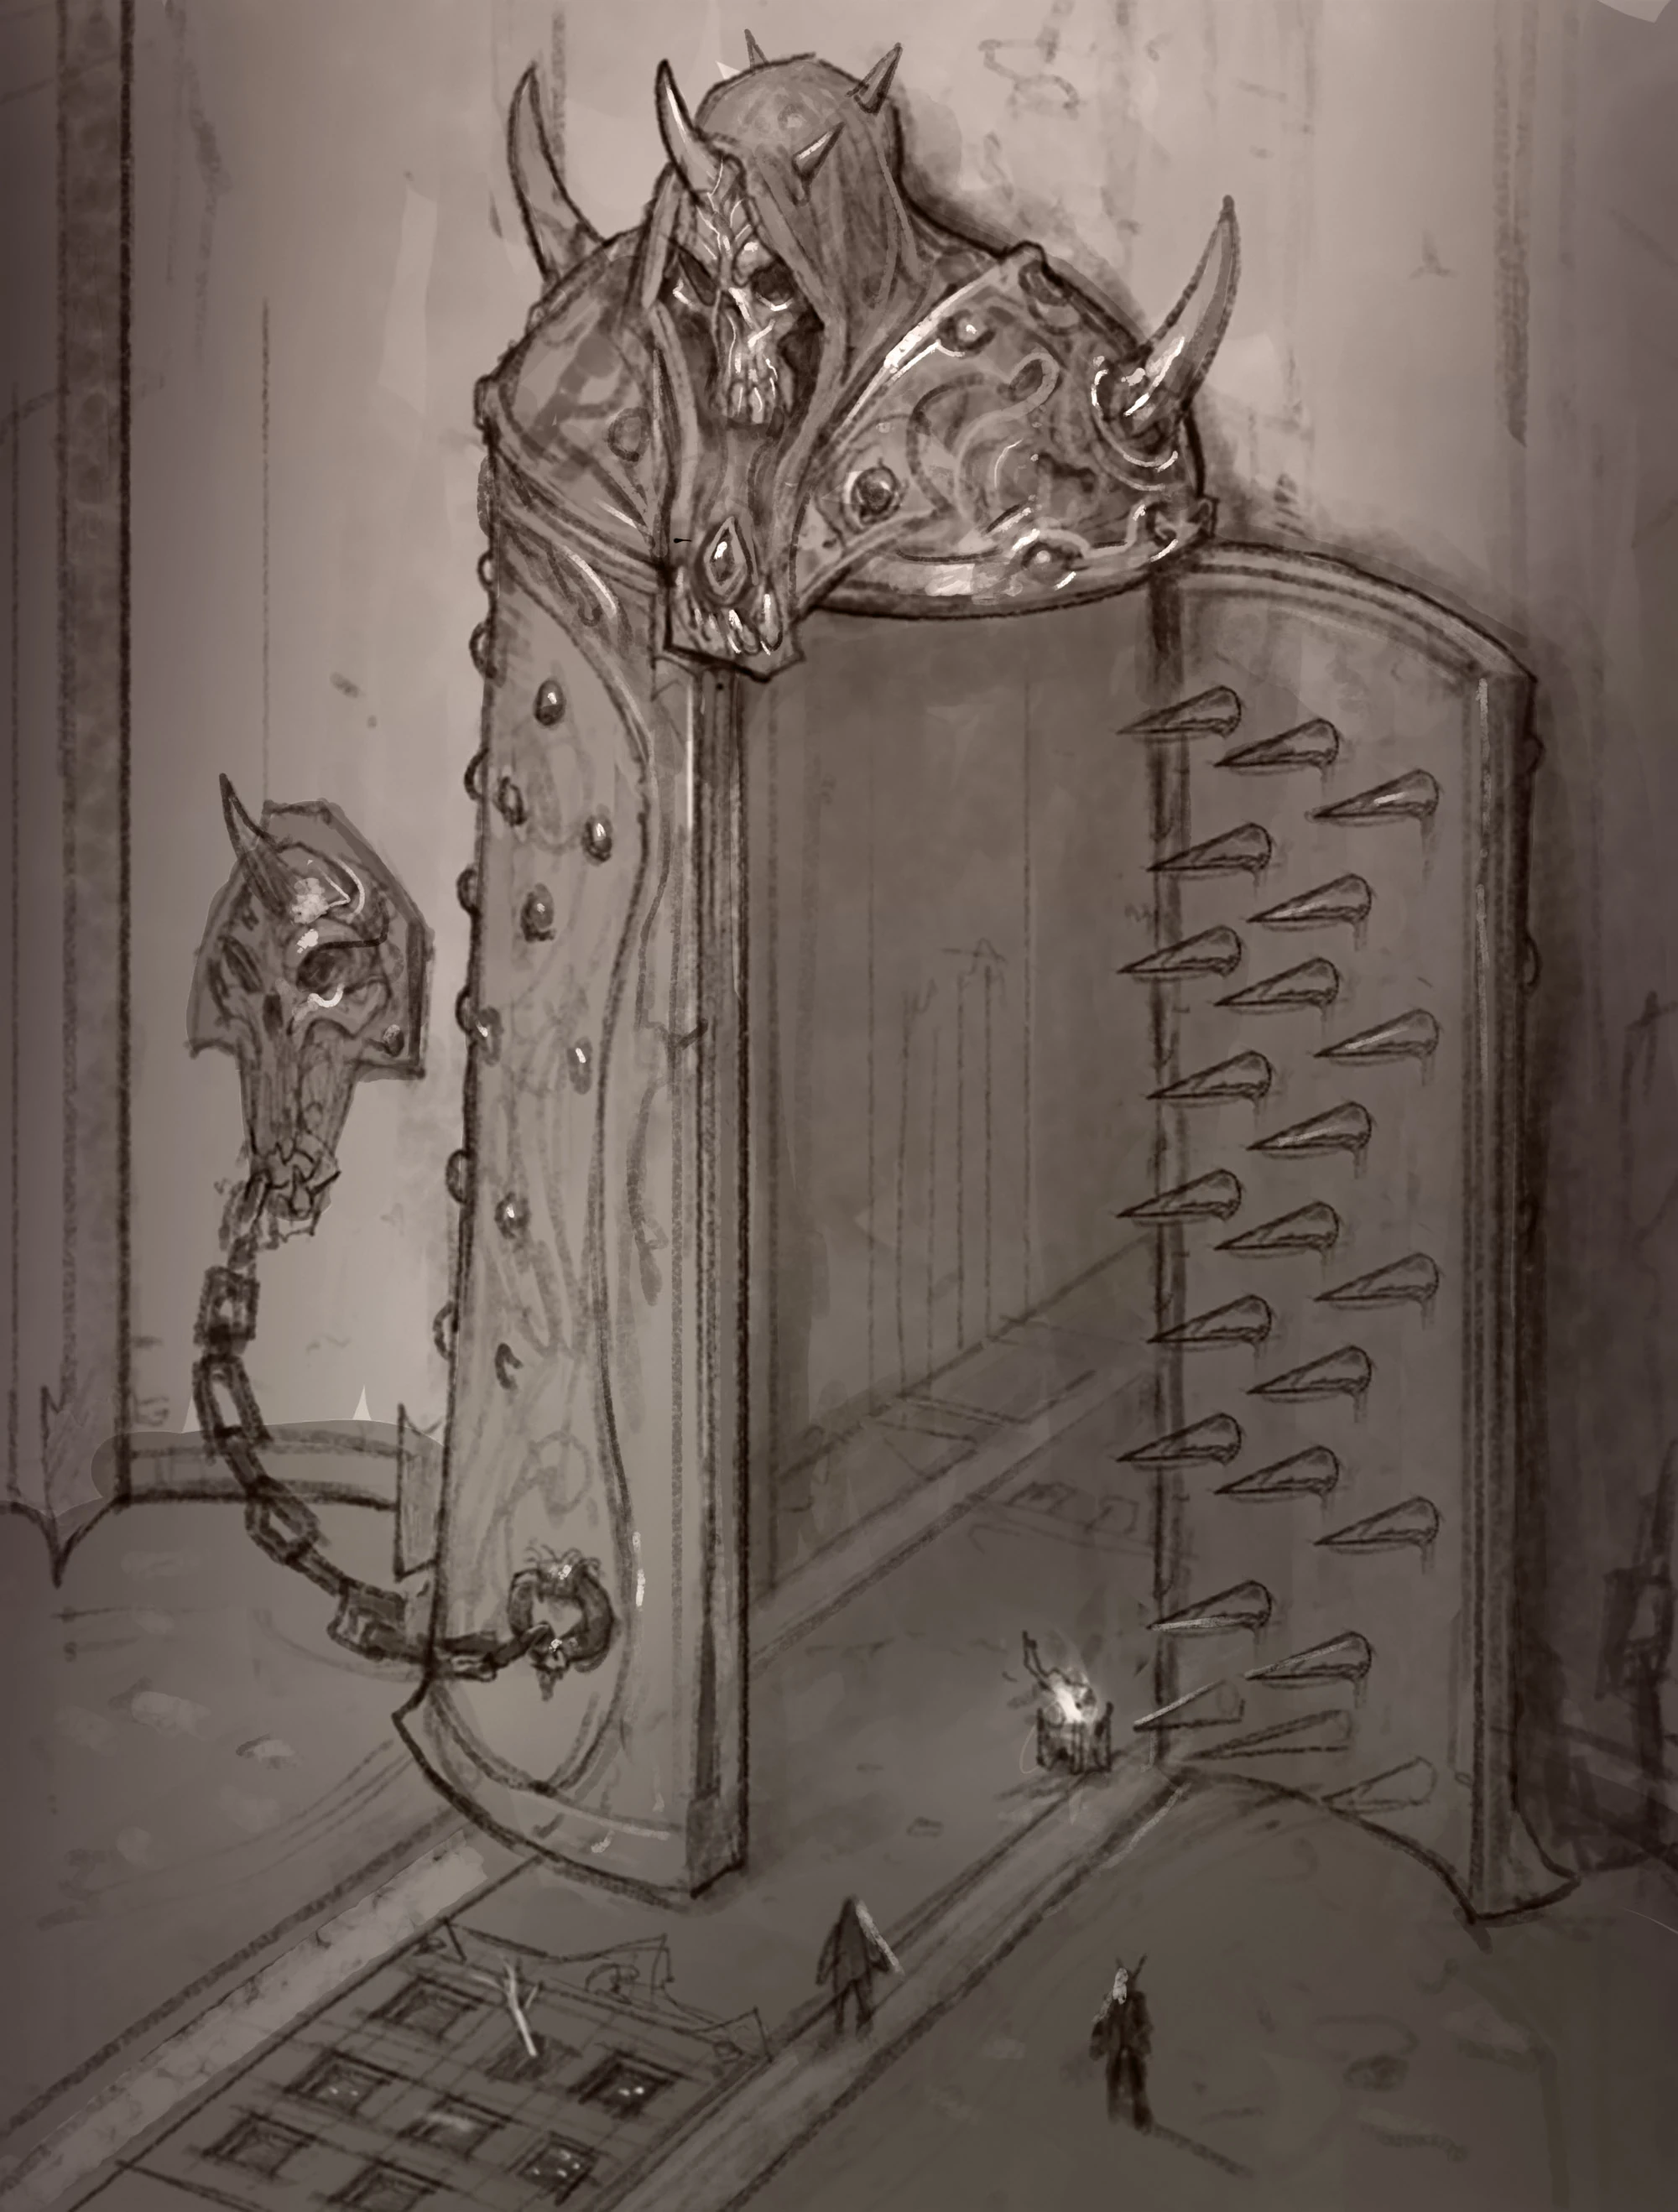
| + | Chains of Domination Iron Maiden.jpg|Concept art. |
||
BlizzCon 2019 art 18.jpg|Concept art. |
BlizzCon 2019 art 18.jpg|Concept art. |
||
BlizzCon 2019 art 20.jpg|Concept art. |
BlizzCon 2019 art 20.jpg|Concept art. |
||
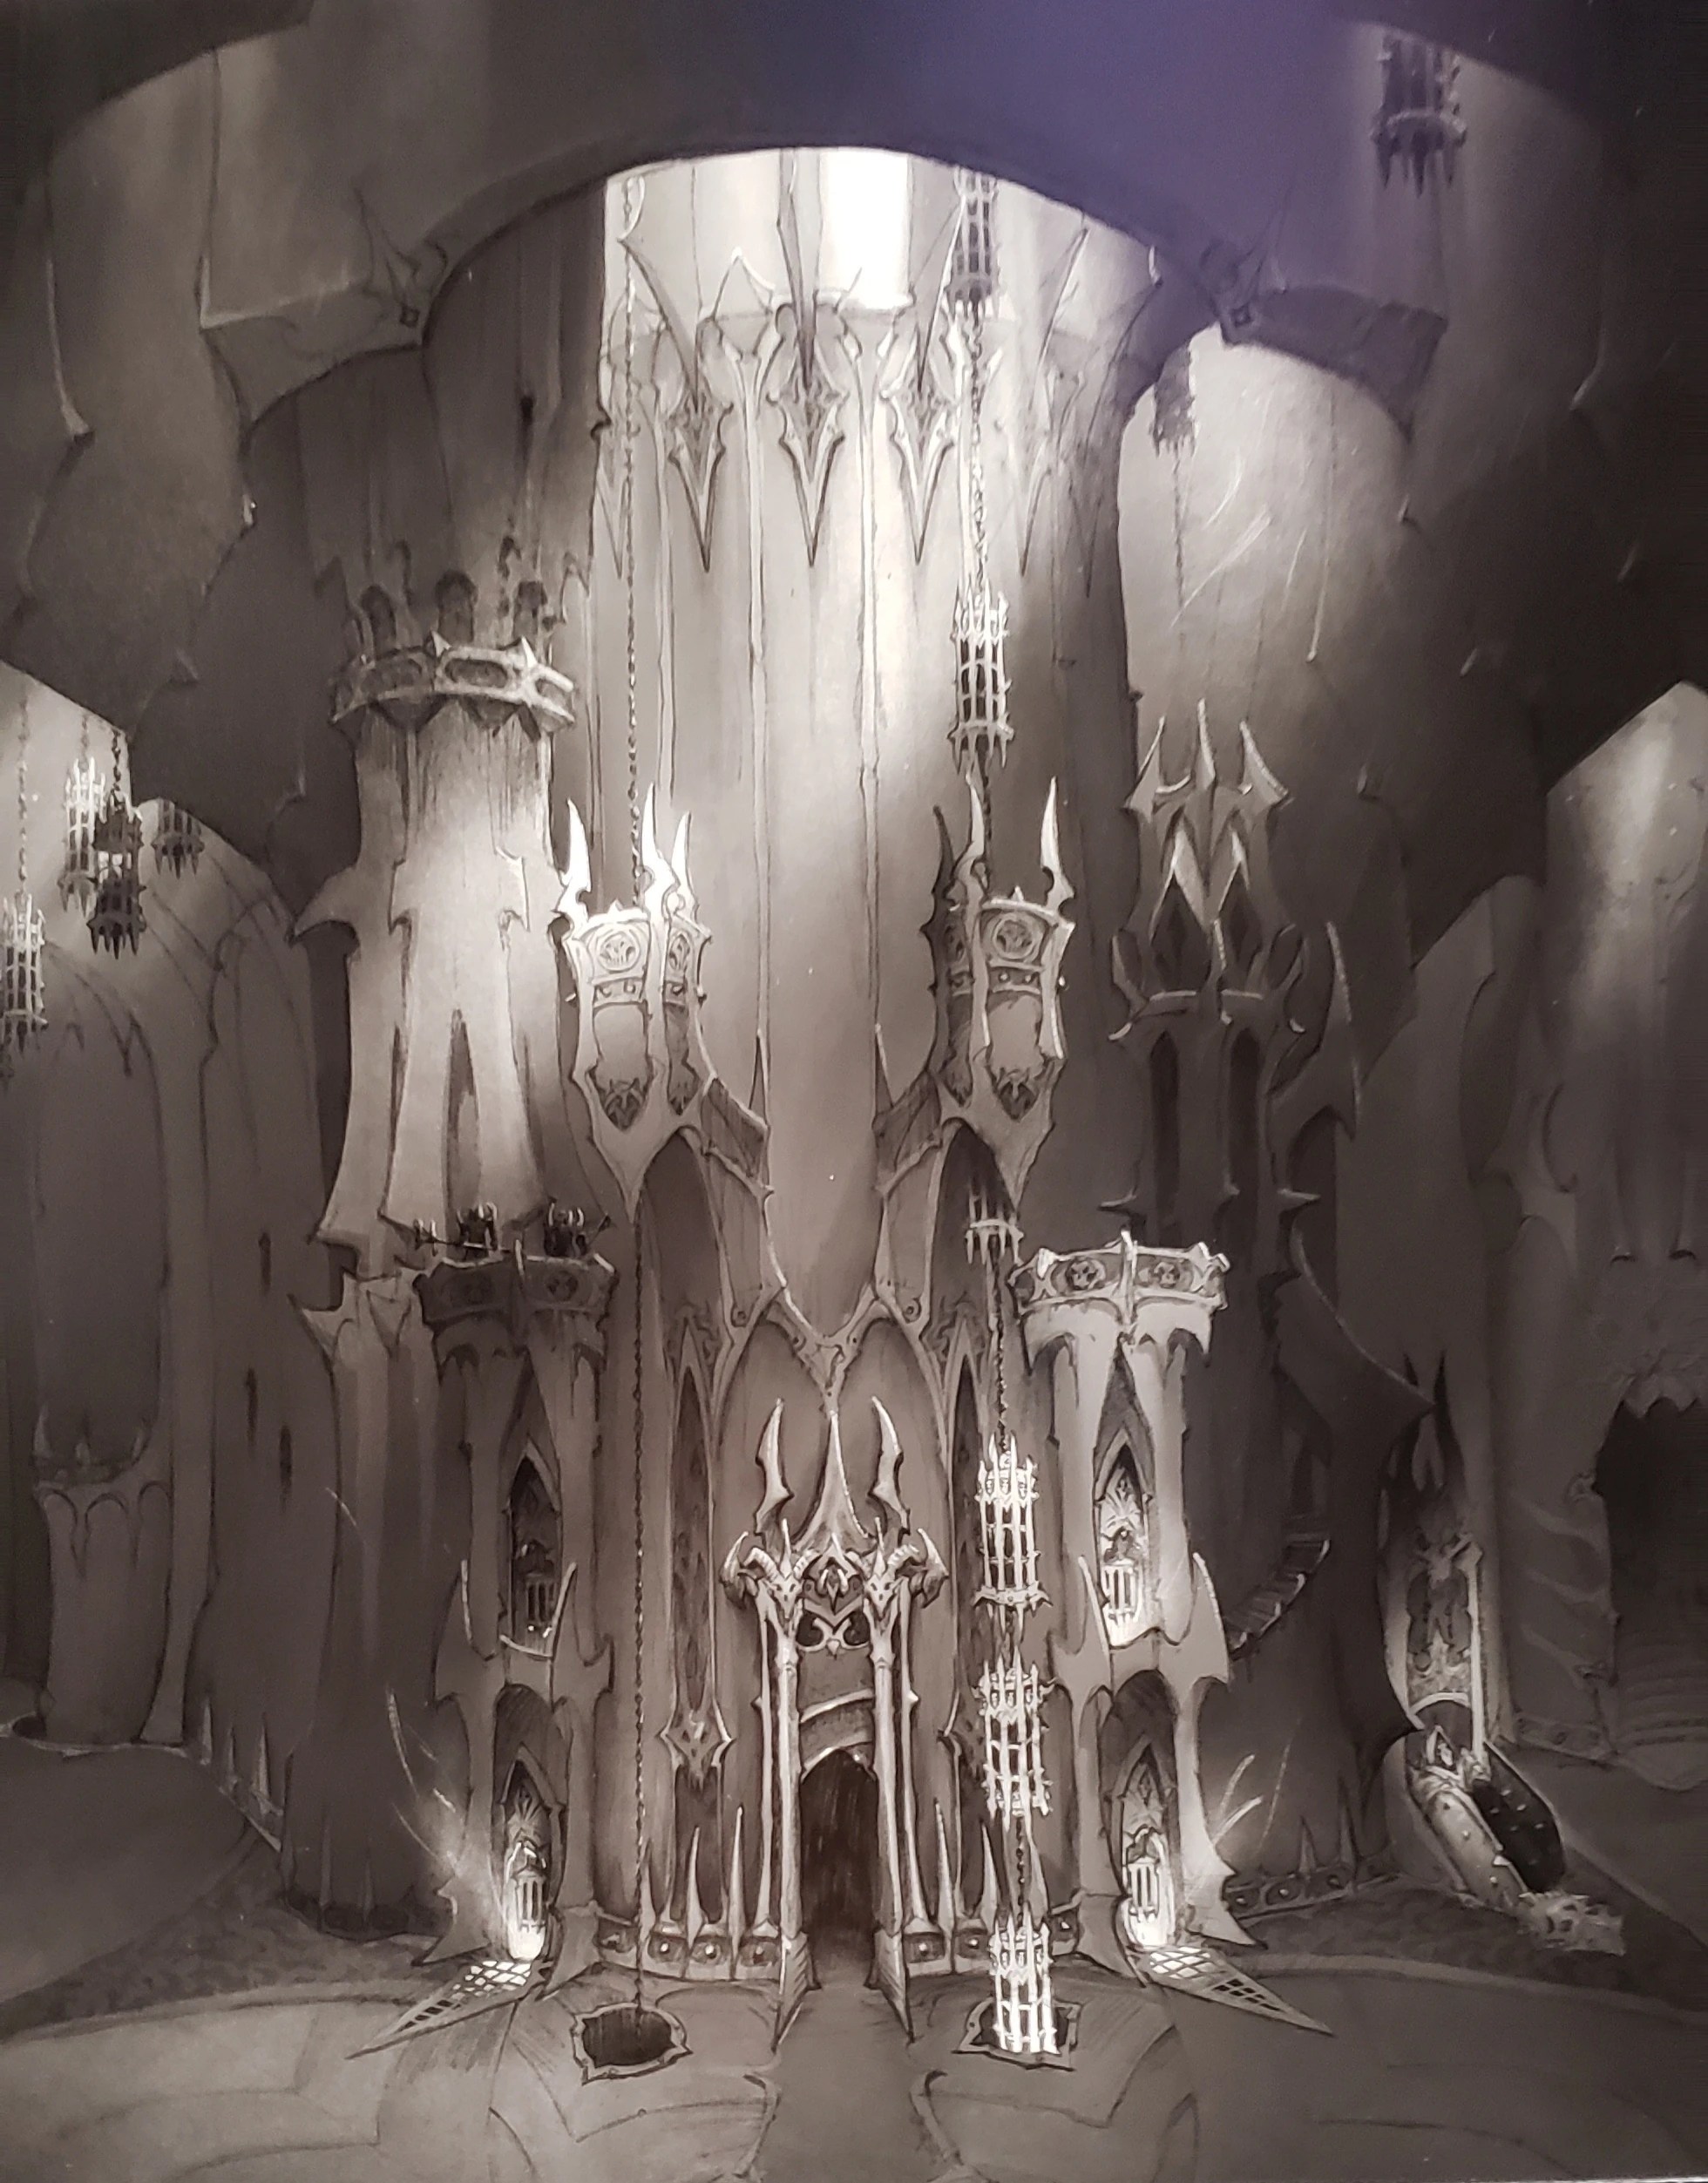
BlizzCon 2019 Shadowlands panel transcript Torghast interior.jpg|Interior of Torghast. |
BlizzCon 2019 Shadowlands panel transcript Torghast interior.jpg|Interior of Torghast. |
||
| − | Torghast antechamber.jpg |
+ | Torghast antechamber.jpg|Antechamber with [[Wayfinder]] visible |
</gallery> |
</gallery> |
||
| Line 602: | Line 549: | ||
[[Category:Instances]] |
[[Category:Instances]] |
||
[[Category:Towers]] |
[[Category:Towers]] |
||
| + | [[Category:Prisons]] |
||
[[Category:Maw]] |
[[Category:Maw]] |
||
Revision as of 20:52, 6 April 2021
- This article is about the Shadowlands feature. For the Scourge structure in the Ghostlands, see Tower of the Damned. For the quest of the same name, see
 [58-60] Torghast, Tower of the Damned.
| Torghast, Tower of the Damned | |
|---|---|
| TTD | |
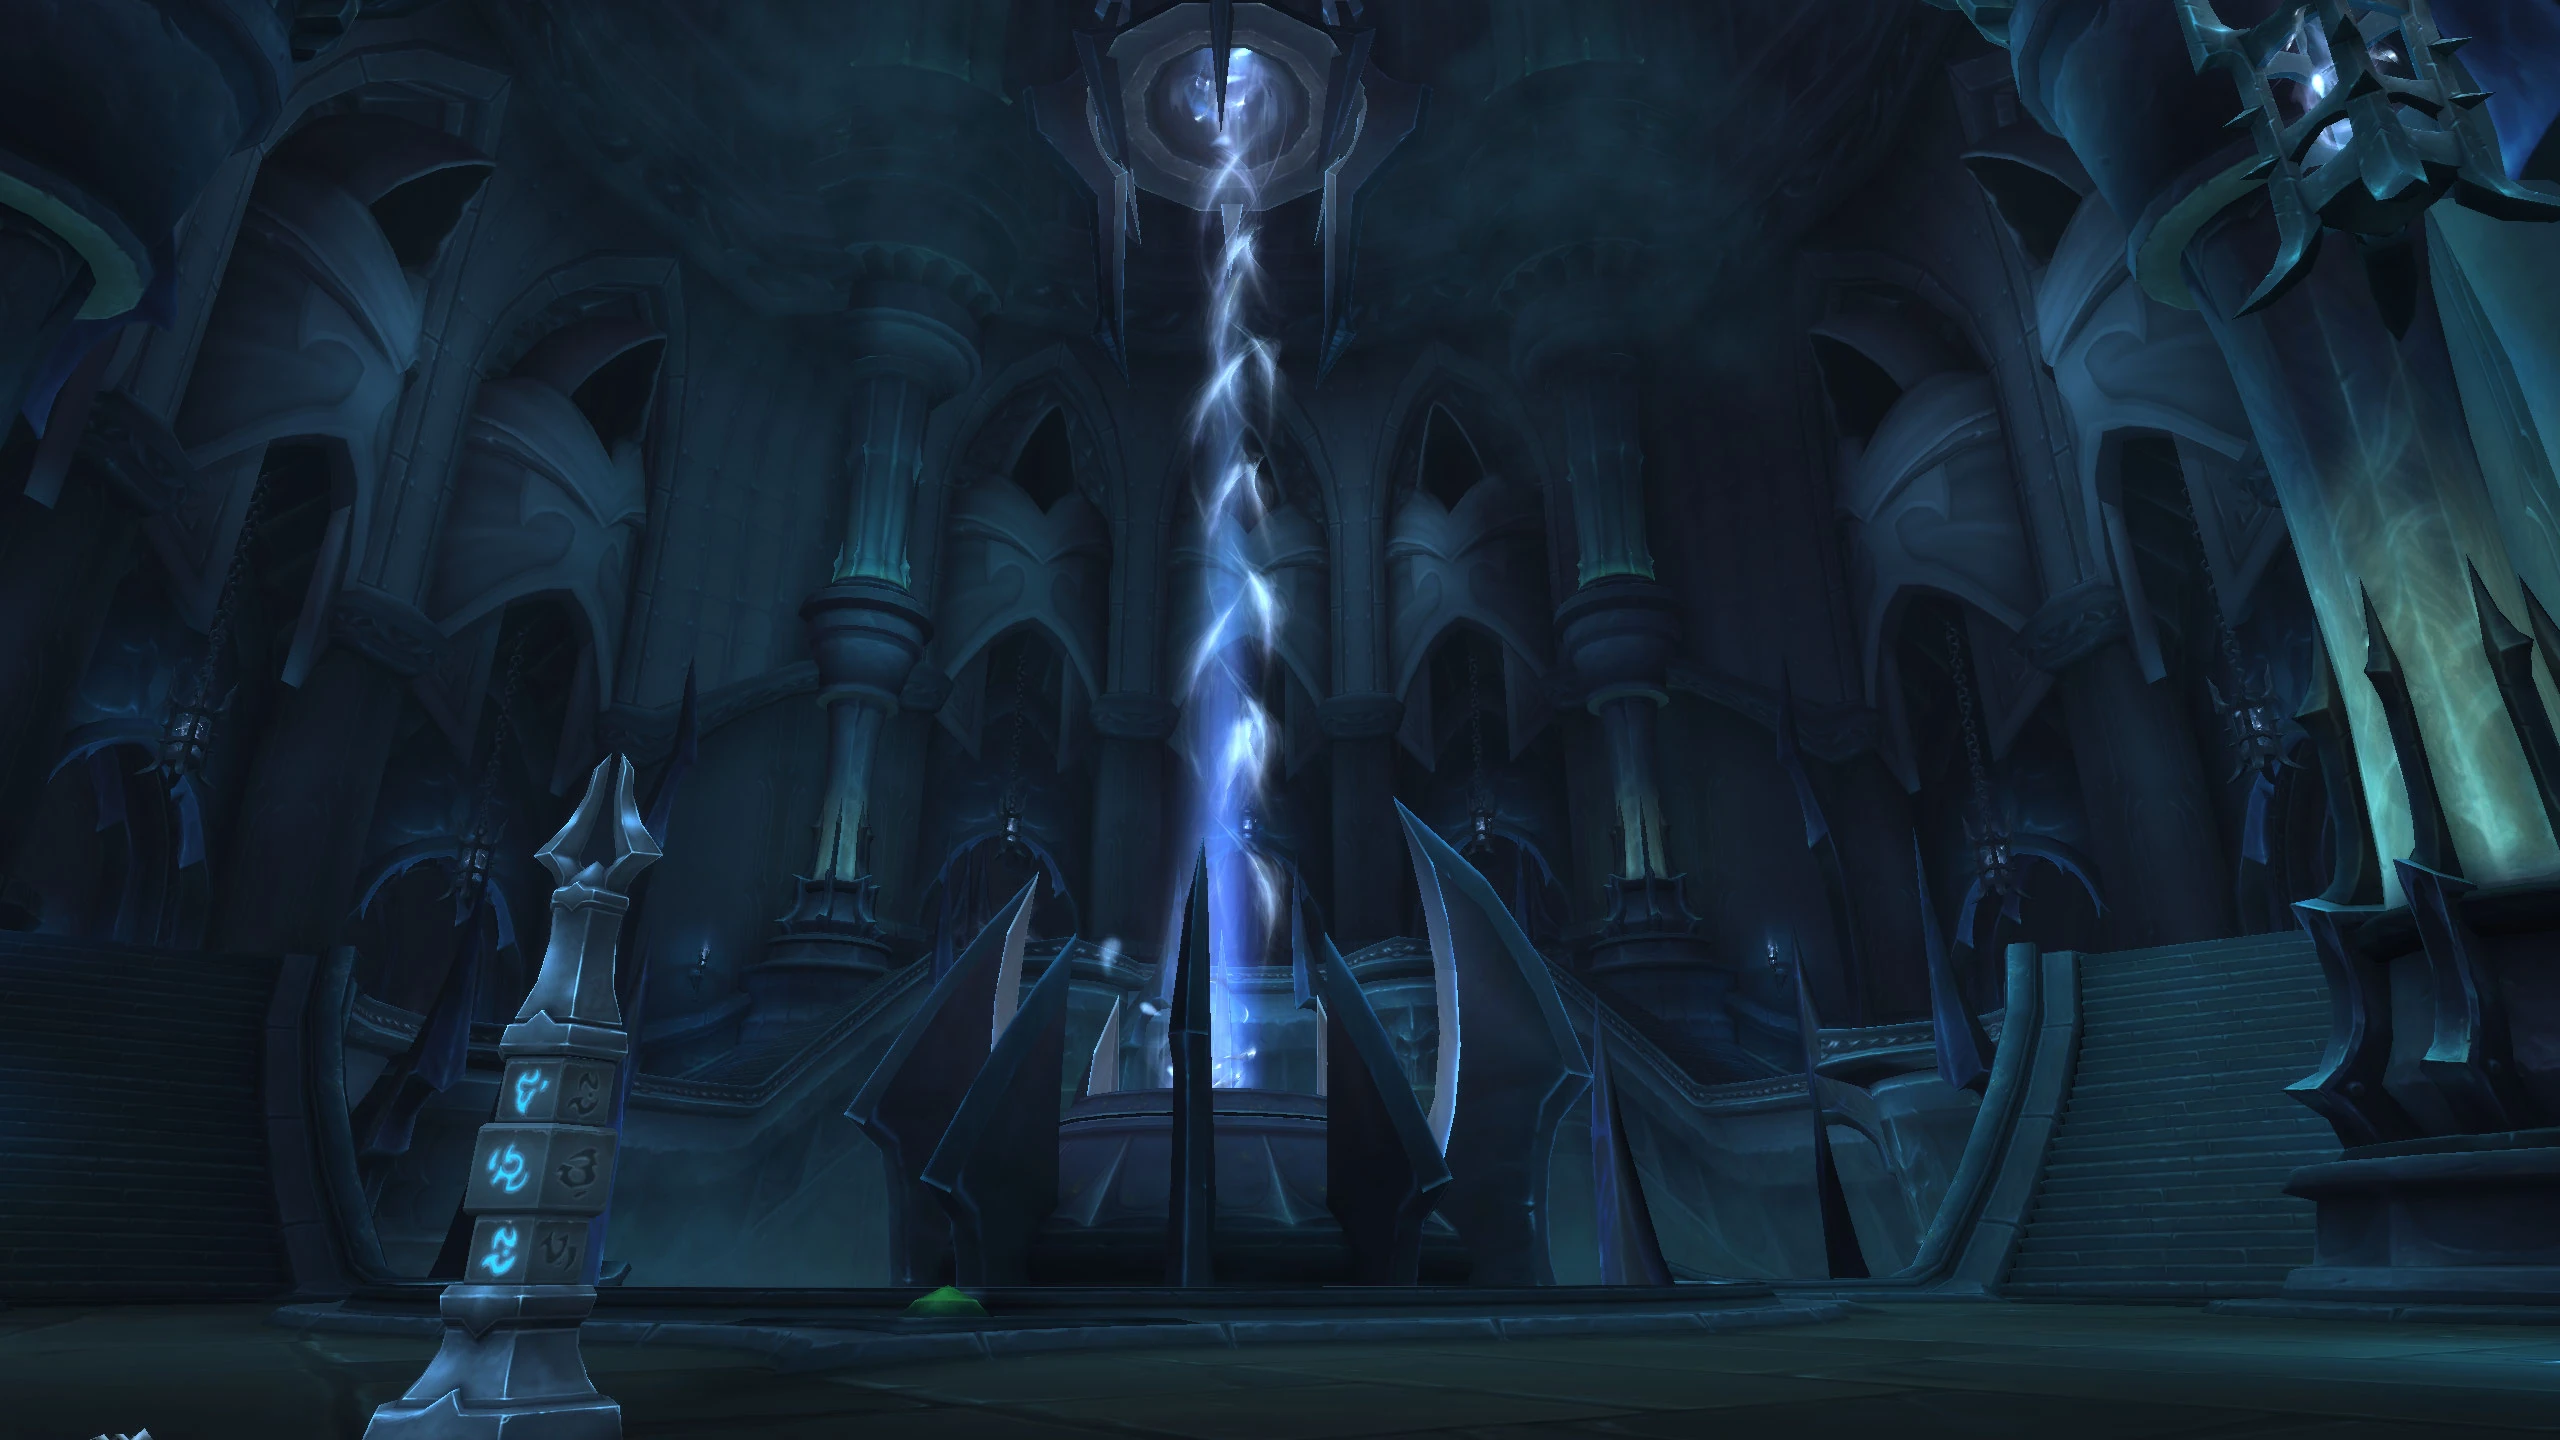
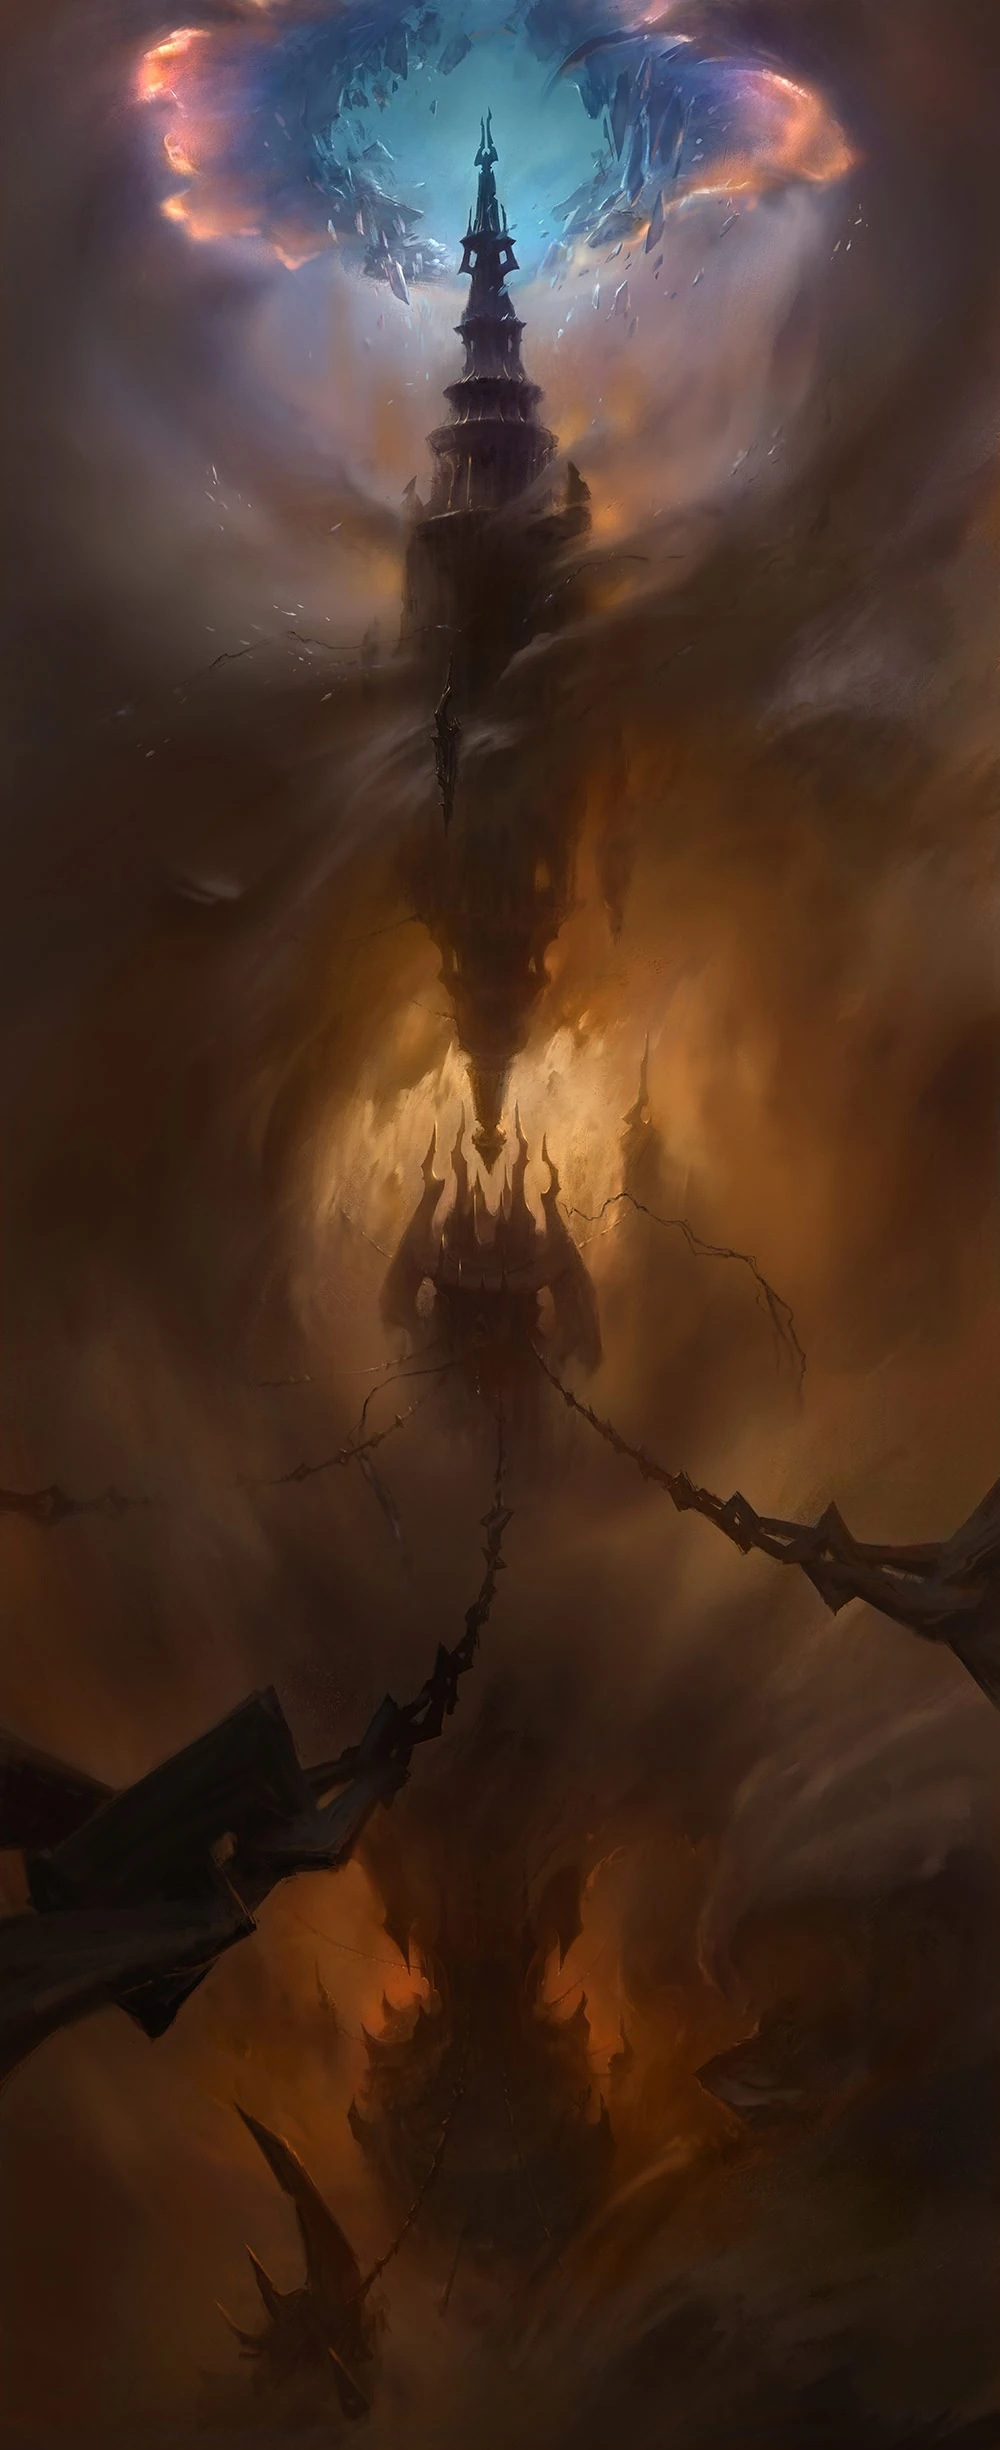 Art of Torghast | |
| Location | Center of the Maw |
| Instance info | |
| Type | Infinite dungeon |
| Advised level | 60 |
| Player limit | 1-5 |
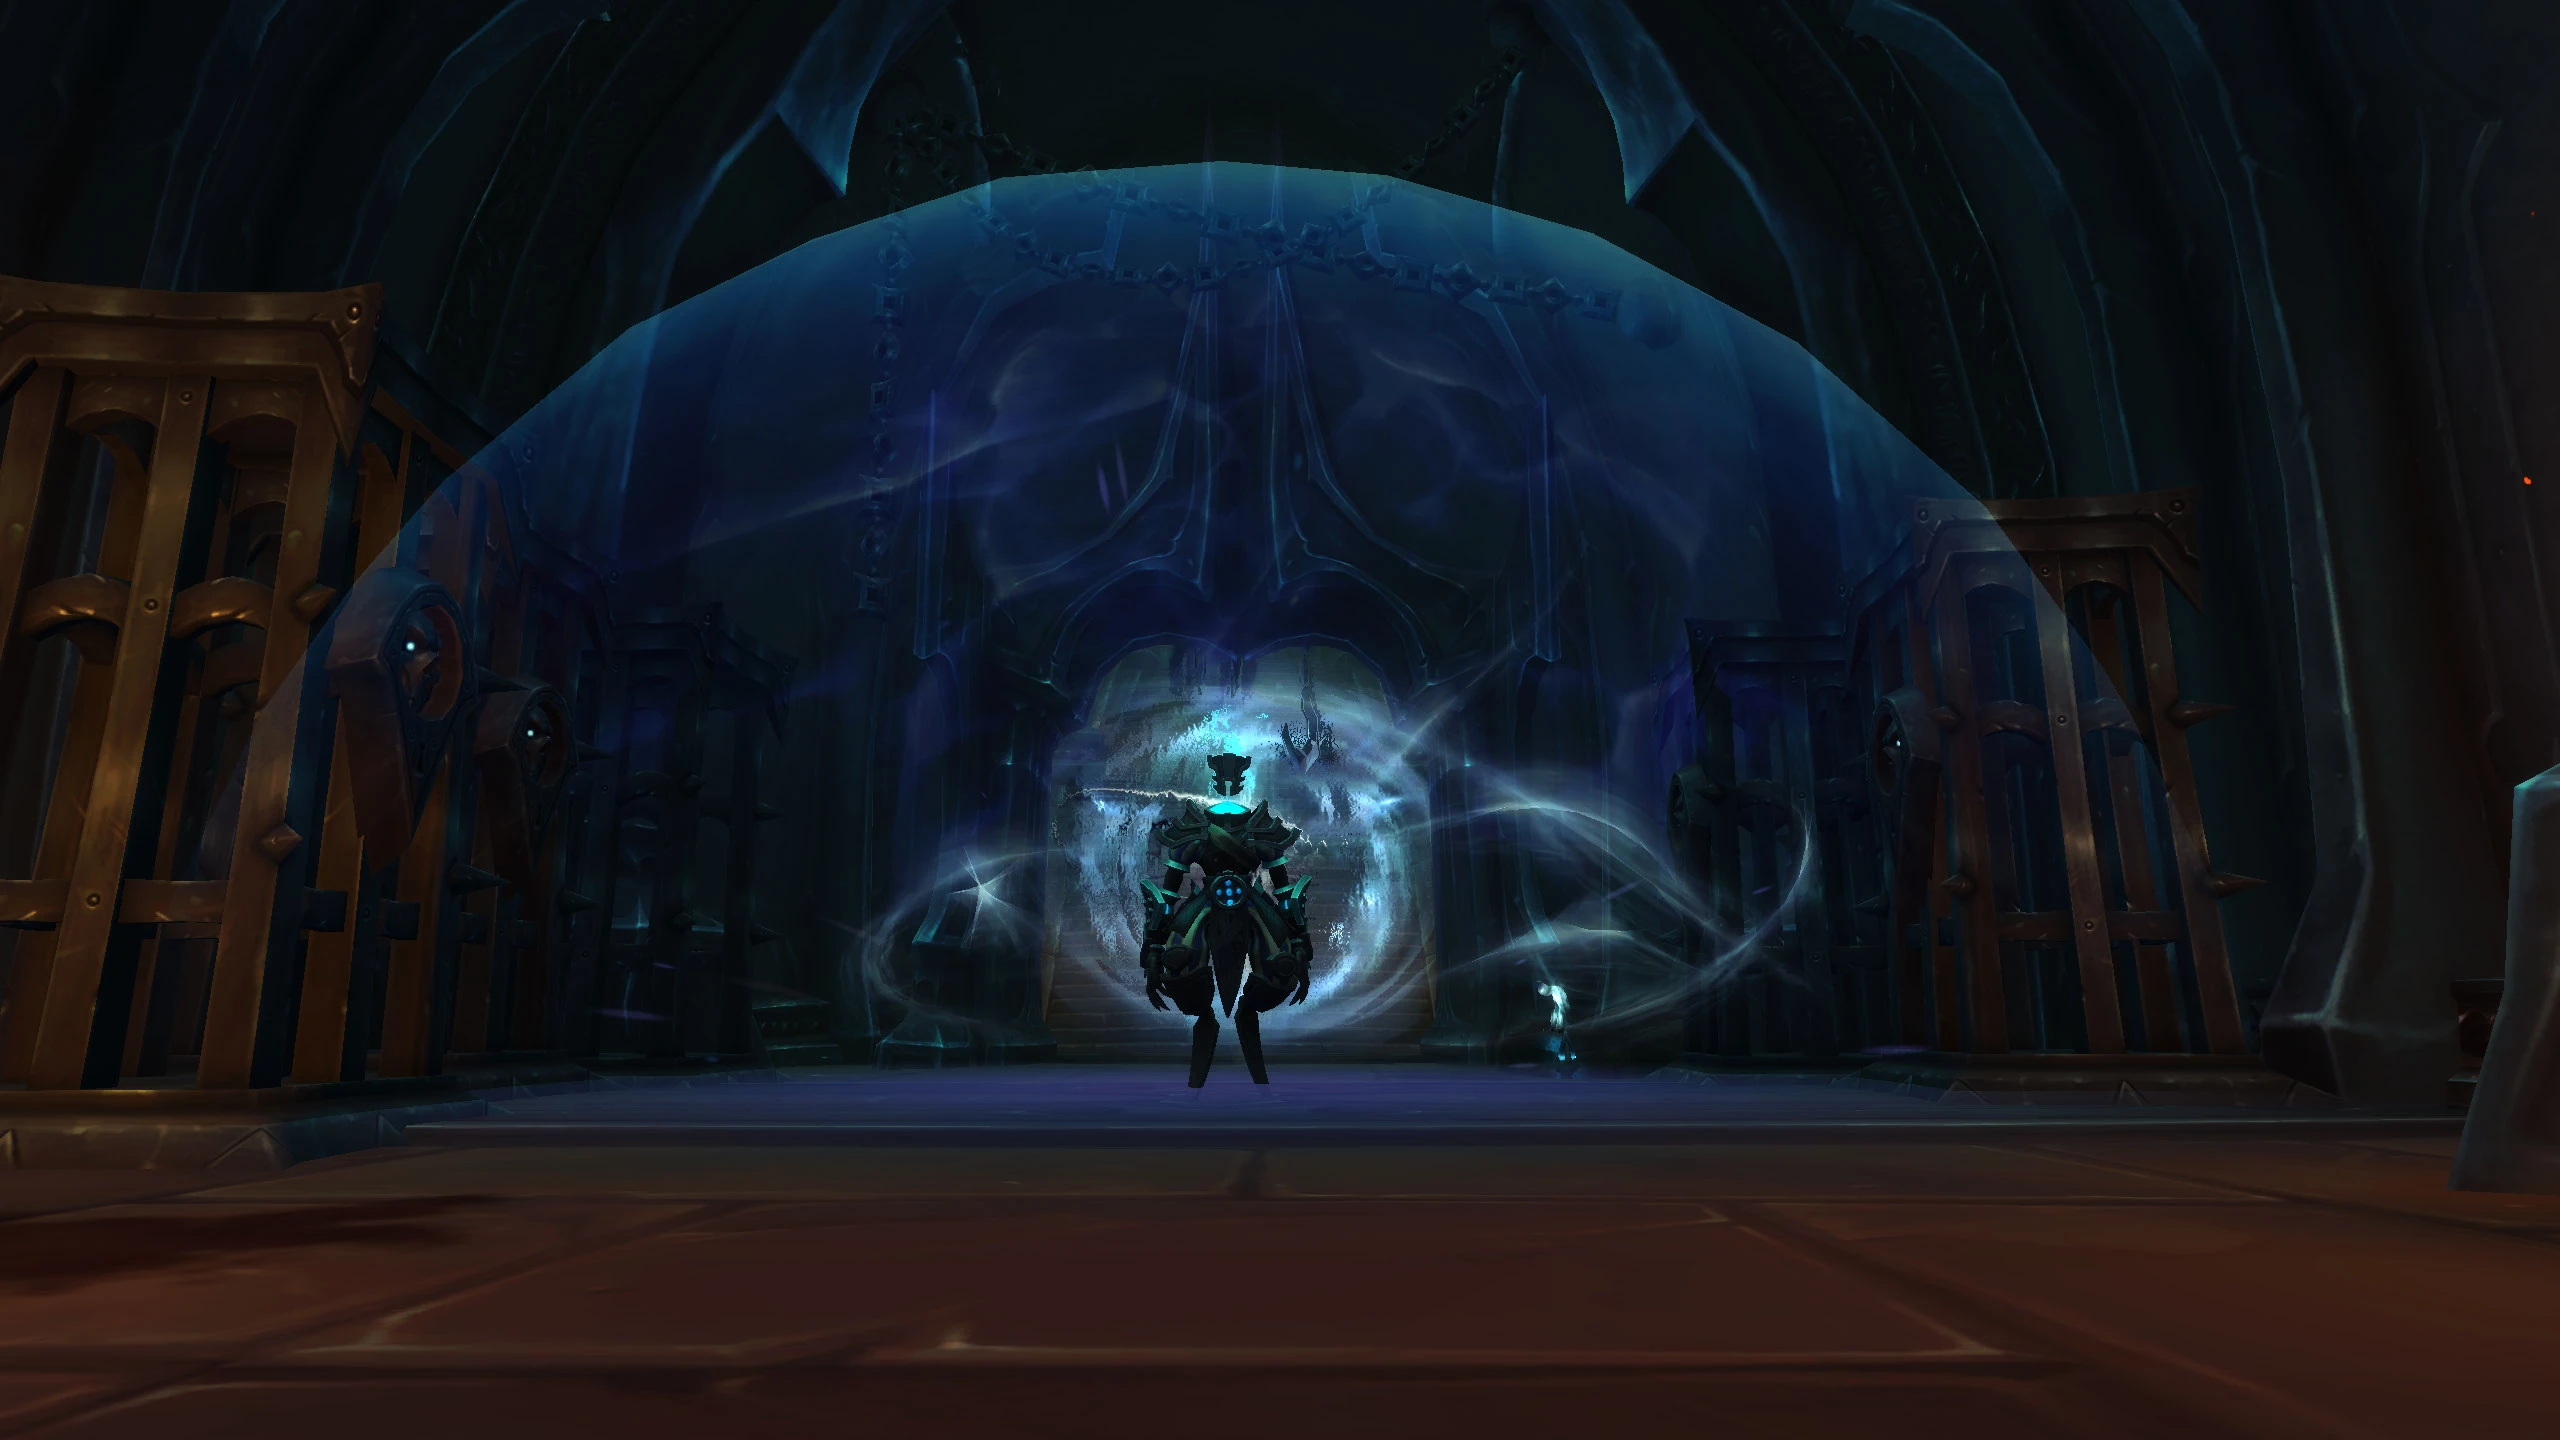
Torghast, Tower of the Damned is an infinite dungeon in World of Warcraft: Shadowlands that can be played by 1 to up to 5 players. It sits at the center of the Maw. Torghast is an endlessly replayable, ever-changing dungeon that can be challenged alone or in a group. Each run will differ, and adventurers will need to explore cautiously, as death comes at a terrible cost. Advance through Torghast's unpredictable challenges to unlock anima powers to enhance damage output or survivability. The goal is ![]() [Soul Ash], used to craft the legendary weapons and armor that will help restore balance to the Shadowlands.[1]
[Soul Ash], used to craft the legendary weapons and armor that will help restore balance to the Shadowlands.[1]
History
Torghast is the seat of power for the Jailer, the ruler of the Maw. It serves as an eternal prison for the most dangerous souls in the cosmos[1] and is one of the most dangerous towers in all of existence.[2] Like the Maw itself, the power of Domination is woven into Torghast's very fabric,[3] and the Jailer's malevolence permeates everything within it.[4] It is a place devoid of all hope or redemption. Each floor that rises into the endless abyss is crueler than the last; to climb Torghast is to ascend deeper into despair.[5] The tower's interior defies all traditional logic:[2] its corridors are vast and seemingly endless, to the point where one could spend an eternity wandering them,[4][6] and they are constantly shifting and changing according to the will of the Jailer.[7][8] The deeper one journeys into Torghast, the closer one also gets to the Jailer himself.[9]
Gaining access and storyline
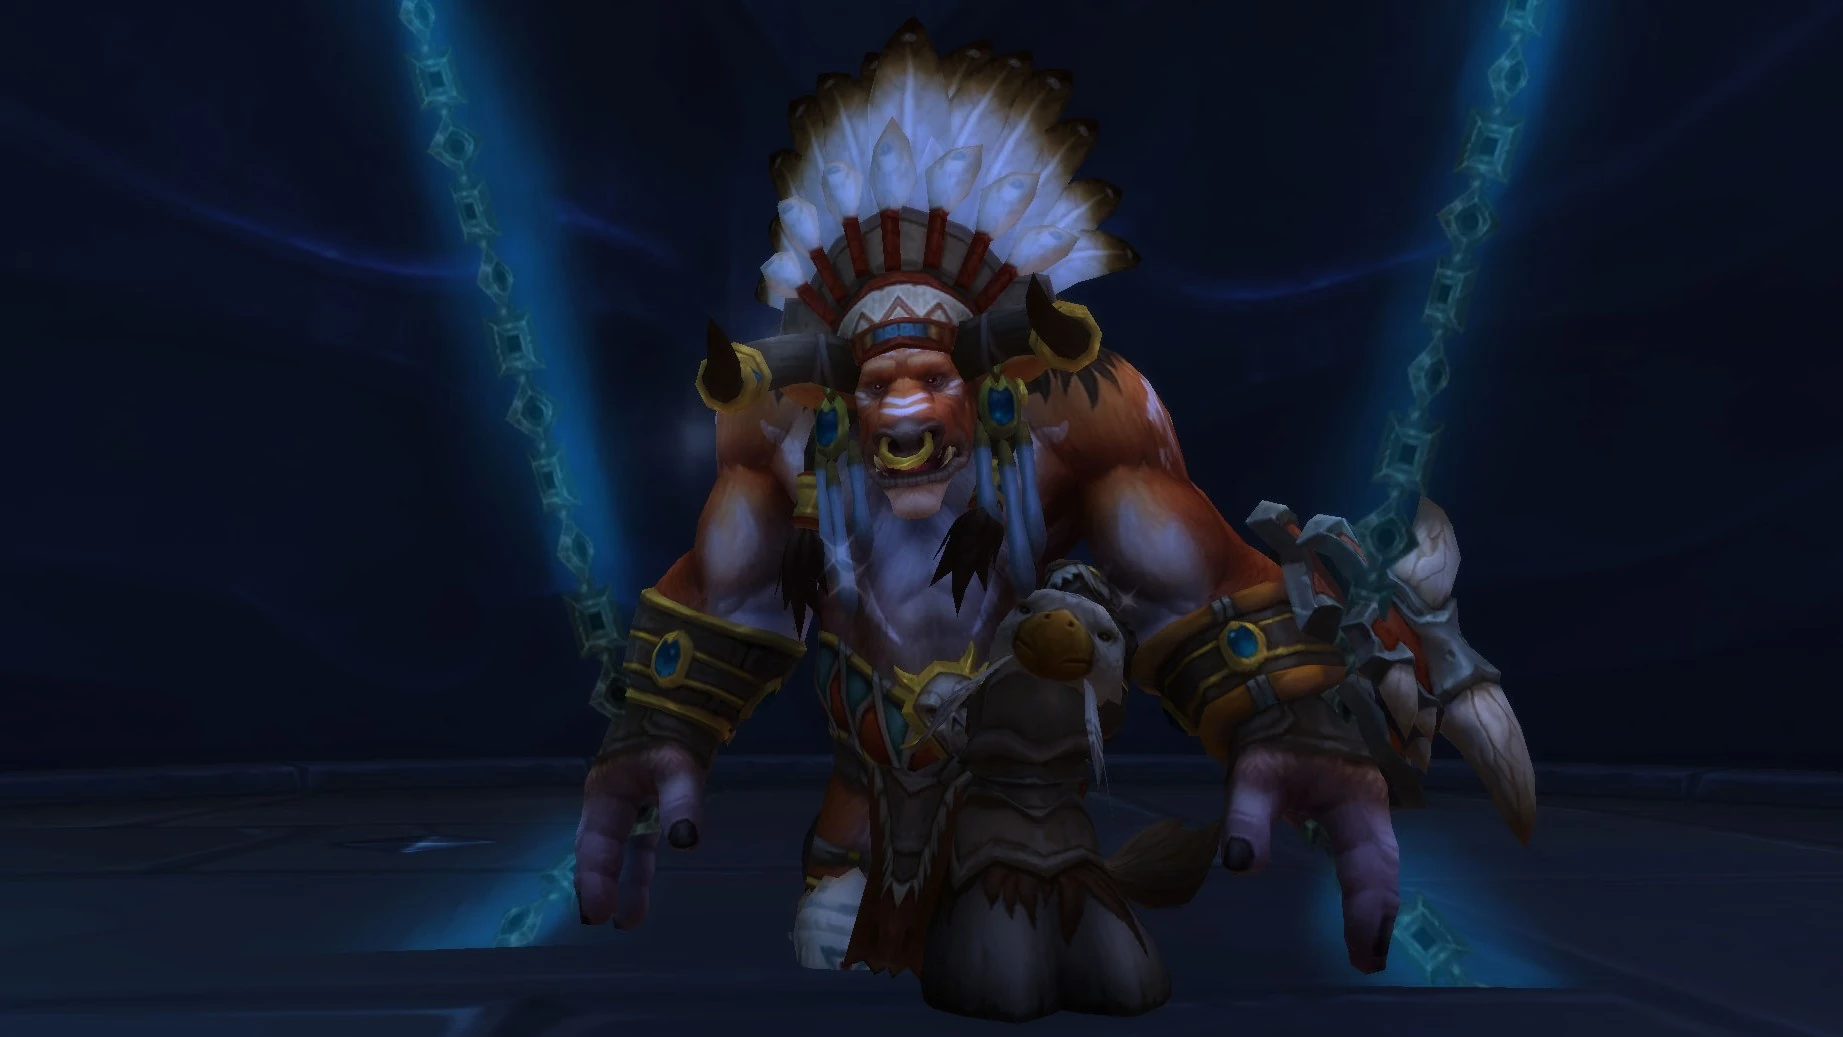
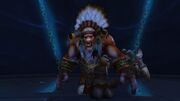
Baine, captured
Torghast is unlocked through a quest chain, started by Bolvar Fordragon in Oribos. Max-level players must first pledge themselves to one of the Covenants and complete the first chapter of their covenant campaign, at which point they will be offered ![]() [60] The Highlord Calls, a breadcrumb back to Bolvar in Oribos.
[60] The Highlord Calls, a breadcrumb back to Bolvar in Oribos.
For alts, access to Torghast is on an account-wide basis. Unlock access on one character and all subsequent characters will gain access after reaching level 60.
The campaign covers freeing some of the characters that were left behind and unlocking the Runecarver. Quests are generally offered on a weekly basis, or on a 20-hour time gate for players who are catching up. If Bolvar does not immediately offer a follow-up quest, check back with him 20 hours later.
- [60] The Highlord Calls
- [60] Into Torghast
- [60] The Search for Baine
- [60] Prison of the Forgotten
- [60] Deep Within
- [60] Reawakening
- [60] A Damned Pact
- [60] A Grave Chance
- [60] The Weak Link
- Optional side chain to unlock Runecrafting:
- [60] Ashes of the Tower, [60] The Final Pieces, One of: [60] The Vessels of the Thread, [60] The Vessels of Leather and Bone, [60] The Vessels of Metal, [60] The Vessels of Jewels
- [60] Explore Torghast
- [60] Remnants of Hope
- [60] Information for a Price
- [60] Torment Chamber: Jaina
- [60] Finding a Witness
- [60] Lest the Trail Go Cold
- [60] Torment Chamber: Thrall
- [60] Signs of the Lion
- [60] The Captive King
Basic mechanics

An anima cell
A normal Torghast run is comprised of six floors, with increasingly powerful enemies on higher floors.
Found or dropped anima cells unlock anima powers, which can drastically change how runs are played out, by unlocking some temporary abilities.
Souls can be freed, and will stack an untimed +1% primary stat (agility/intellect/stamina) buff for the duration of the run.
Friendly NPCs will offer optional side quests near the beginning of a floor, asking players to find another friendly NPC or an object near the end of a floor, or kill a specific enemy, and will award an anima cache on completion.
Treasure chests can occasionally be found, and will need to be opened with three keys found elsewhere in the floor, or via solving lever puzzles.
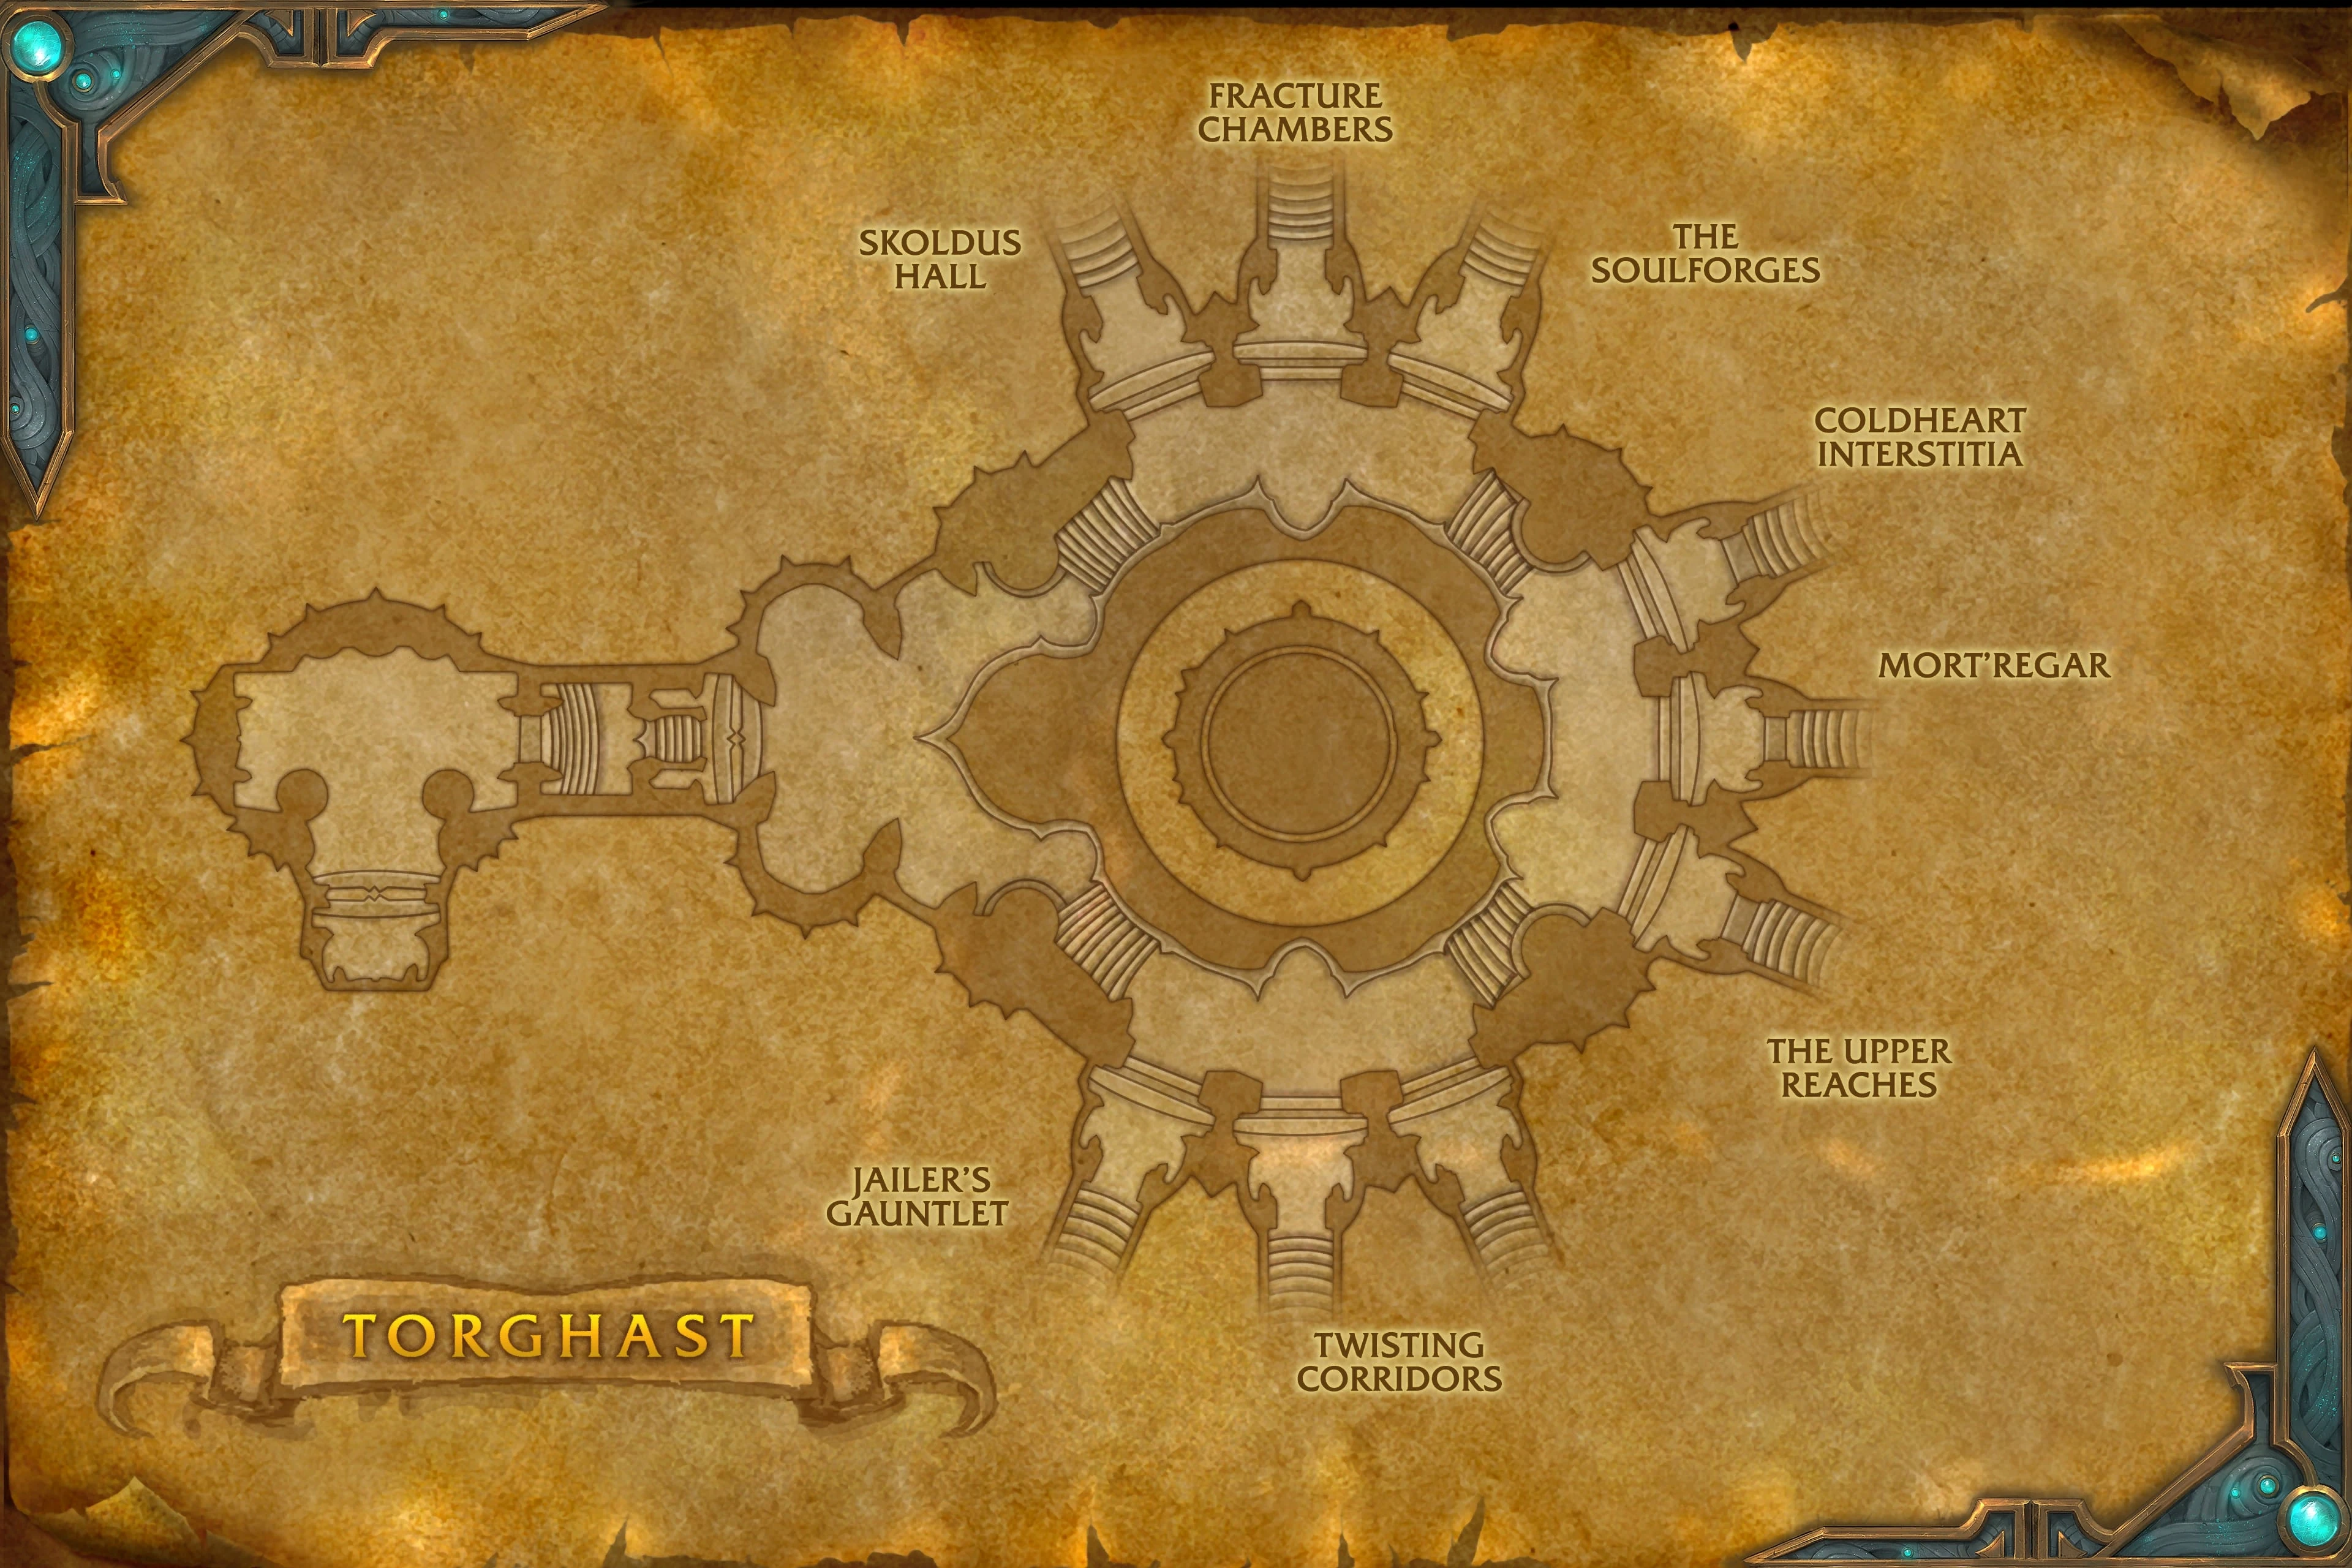
Wings, layers, and floors
Map of Torghast's antechamber[10], entered by Portal to Torghast in Ve'nari's Refuge.
The layer selection interface for Coldheart Interstitia
Players first arrive in the Torghast Antechamber, which provides access to all of the wings. Torghast is divided into six primary wings, with eight layers of six floors per layer. All wings play similarly, but each wing has its own twist on a mechanic.
A normal Torghast run is of a single six-floor layer. Floors have the following pattern:
- Baseline enemy set with a floor boss
- Stronger enemy set with a floor boss
- Break room, no enemies, a broker vendor
- Even stronger enemy set with a floor boss
- Strongest enemy set with a floor boss
- Broker vendor and layer boss
Each floor raises the difficulty incrementally by increasing enemy health, the mix of enemies spawned, the size of spawn packs, and the damage enemies deal. Higher layers raise the difficulty even further.
At expansion launch, higher layers were locked behind a weekly gate:
| Week | Layers |
|---|---|
| 1 | 1-3 |
| 2 | n/a |
| 3 | 4-6 |
| 4 | 7-8 |
Players must complete a run on any given layer to unlock the next. The layer-unlocking carries over between the six primary wings. For instance, once players complete layer five in Skoldus Halls, they will be able to attempt layer six in Skoldus or any of the other wings, like Coldheart Interstitia. However, the layer-unlocking does not apply to the Twisting Corridors, which keeps track of its own layer unlocks.
As an example of the difficulty scaling, for a solo DPS-specced player, a Mawsworn Sentry has the following health values:
| Layer | Floor | ||
|---|---|---|---|
| 1 & 2 | 4 | 5 | |
| 1 | 6,552 | 8,190 | 9,828 |
| 2 | 8,181 | 10,226 | 12,272 |
| 3 | 9,433 | 11,792 | 14,150 |
| 4 | 10,877 | 13,596 | 16,315 |
| 5 | 12,541 | 15,676 | 18,811 |
| 6 | 14,459 | 18,074 | 21,689 |
Soul remnants

Bound Soul Remnant
Soul remnants are a common sight in Torghast - Once freed, they will give the last of their strength in the form of the buff Soul Remnant's Blessing, which increases agility/intellect/strength by 1% per soul saved in Torghast. The Soulforges wing has a special variant that instead can provide a stacking 10% crit damage/healing and 10% haste buff, but it only lasts for three minutes.
- Soul Remnant's Blessing — The Soul Remnant grants you its blessing, increasing Strength, Agility, and Intellect by 1%. Untimed buff. Stacks
- Soulbound Armaments — Equipping the armaments increases your critical damage and healing by 10% and Haste by 10%. 3 minute buff. Stacks 5 times
Such souls include:
- Boiling Soul Remnant
- Bound Soul Remnant
- Heavily Bound Soul Remnant
- Partially-Infused Soul Remnant
- Tormented Soul Remnant
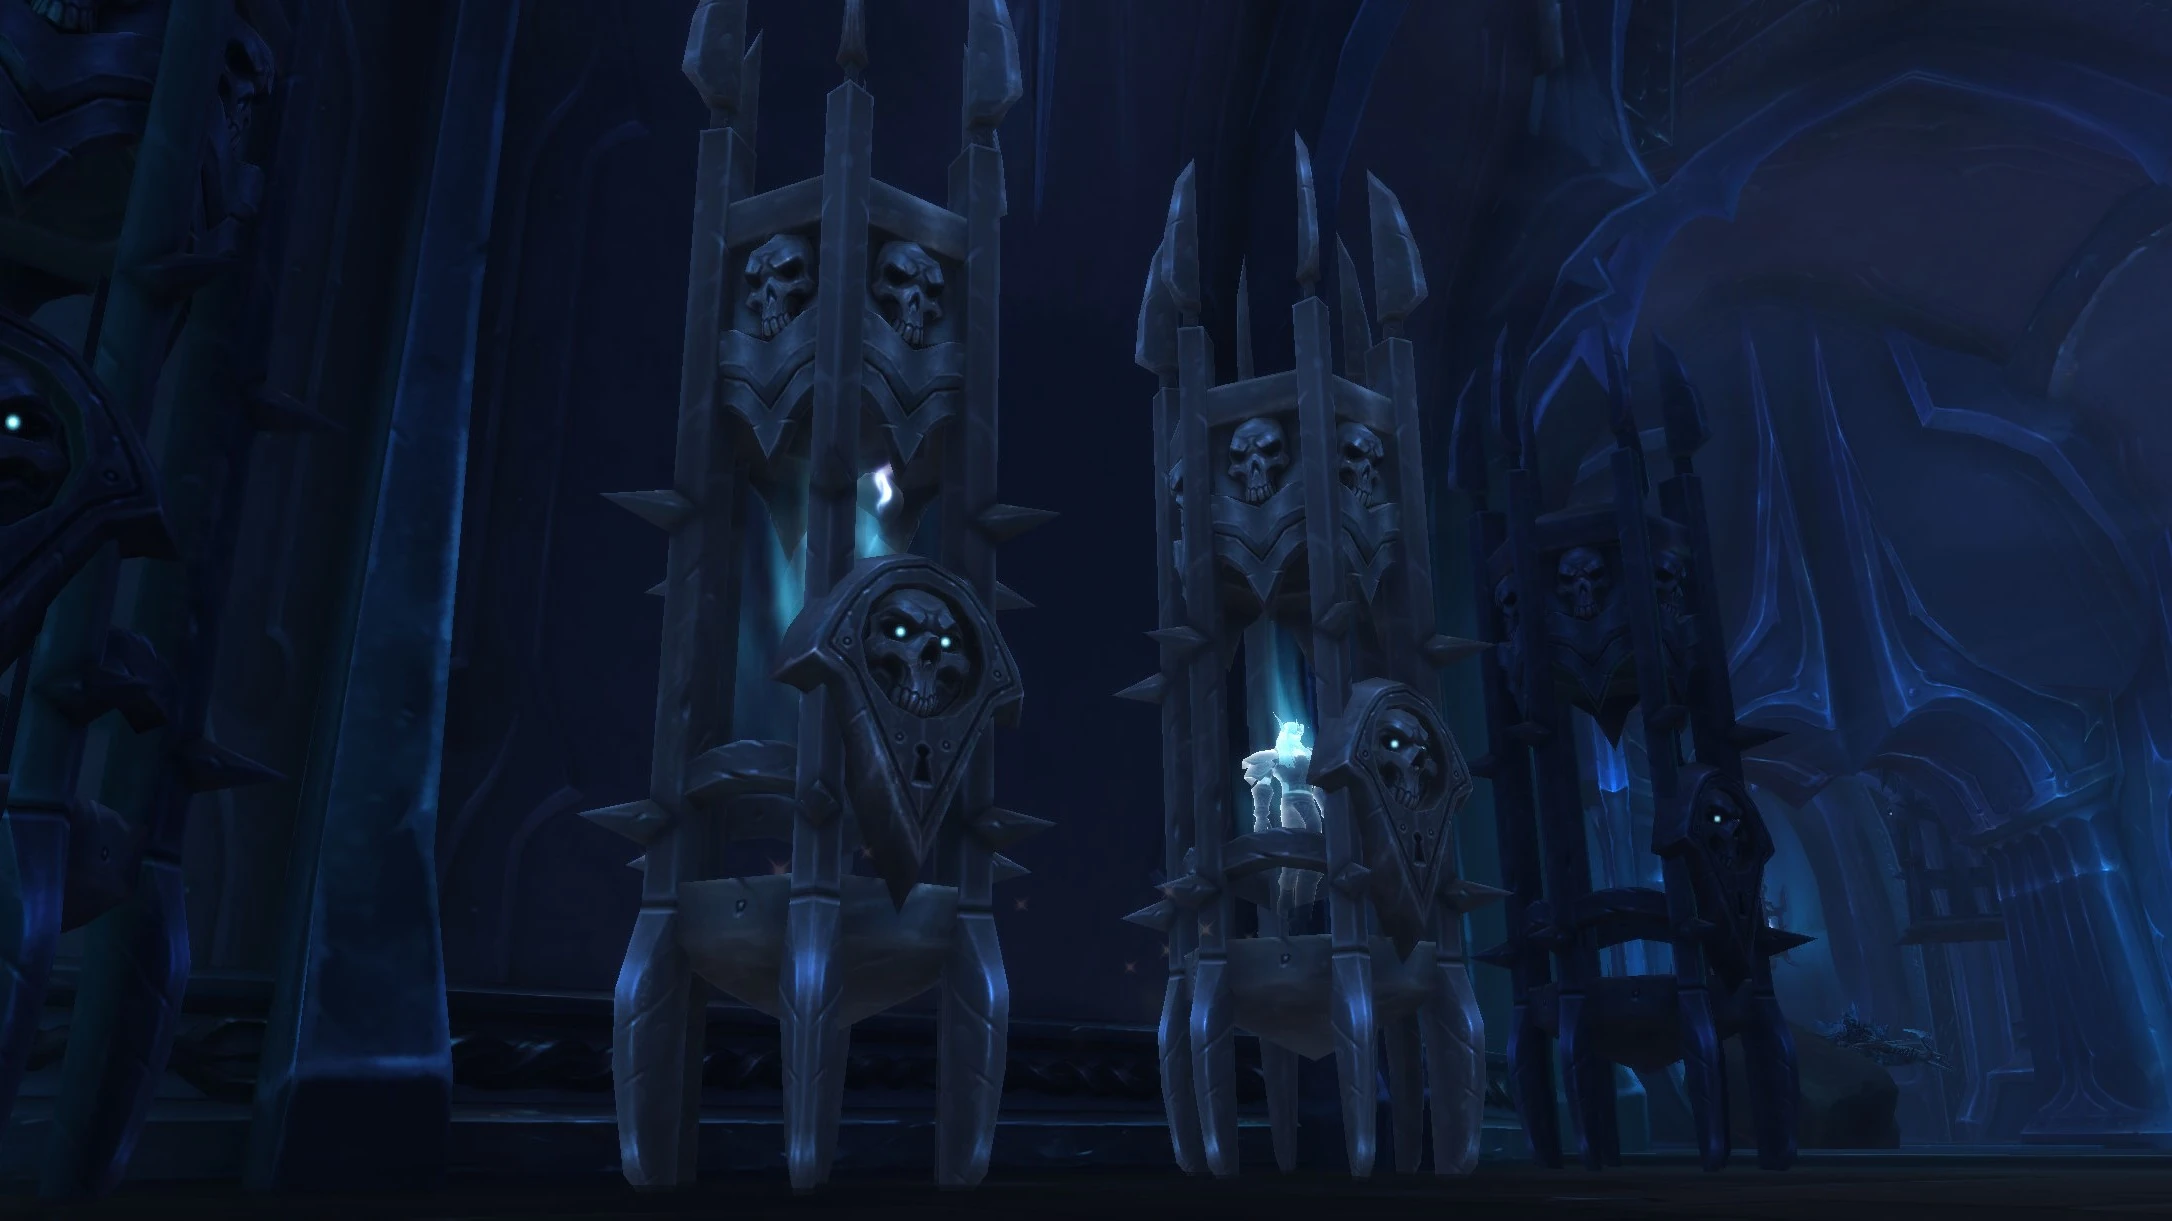
- Unraveling Soul Remnant
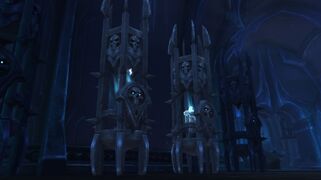
Two Soul Cages holding Tormented Soul Remnants
The Jailer's Chains

Broker Ve'ken's refuge
Outside of very few exceptions, players are prevented from adjusting their equipment, talents, or specializations while on a run. The exceptions include at the entrance of the first floor, and near the broker on the third floor, who provides Refuge of the Damned:
- The Jailer's Chains — The Jailer's chains prevent Equipment, Talent and Specialization swapping.
- Refuge of the Damned — You may change your Equipment, Talents and Specialization while in this area. Enemies have a harder time detecting you. Suppresses the effects of Torment of the Tower and The Jailer's Chains.
Phantasma and brokers
![]() [Phantasma] is the Torghast-specific currency. Most mobs and ashen phylacteries will drop some Phantasma, which can then be traded in to brokers Ve'ken and Ve'nott on floors three and six for a selection of anima powers. Phantasma cannot be carried over between runs, and will be lost should players exit Torghast prematurely or end their runs normally after defeating the layer boss.
[Phantasma] is the Torghast-specific currency. Most mobs and ashen phylacteries will drop some Phantasma, which can then be traded in to brokers Ve'ken and Ve'nott on floors three and six for a selection of anima powers. Phantasma cannot be carried over between runs, and will be lost should players exit Torghast prematurely or end their runs normally after defeating the layer boss.
Brokers offer a selection of anima powers, and some special items, not all of which are available on each broker, including:
- [Plundered Anima Cell] - spawns an anima cell
- [Ravenous Anima Cell] - turns a non-elite enemy into a themed anima cell
- [Obscuring Essence Potion] - removes a death from the counter
- [Blinding Smoke Capsules] - throw it in an area to obscure it, allowing players to sneak past
- [Rejuvenating Siphoned Essence] - a Torghast-specific rejuvenation potion
- [Fleeting Frenzy Potion] - increases damage by 30% in combat, lasts for the duration of the combat
Anima powers
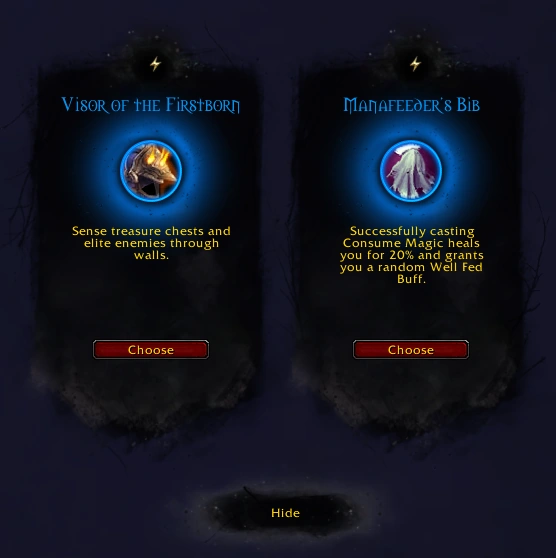
A choice of powers
Anima powers are gained by interacting with anima caches that can be found scattered about, either just spawned out in the open, dropped by mobs, rewarded from completing bonus objectives, or found in treasure chests or selected ashen phylacteries. Each selected power will modify the rest of the run. Many powers can be stacked, increasing the effect of the power.
There are hundreds of unique anima powers. Common powers are available to all players (straight stat or health increases like ![]() [Obleron Spikes], or general powers like
[Obleron Spikes], or general powers like ![]() [Curious Miasma]), while others are class- or spec- based (like
[Curious Miasma]), while others are class- or spec- based (like ![]() [Dimensional Blade]:
[Dimensional Blade]: ![]() [Blink] through a Mawrat to kill it instantly and gain bonus Blink charges), and there are covenant-based powers as well (like
[Blink] through a Mawrat to kill it instantly and gain bonus Blink charges), and there are covenant-based powers as well (like ![]() [Strigidium]: your summoned steward can heal or buff you in combat).
[Strigidium]: your summoned steward can heal or buff you in combat).
Anima powers can also synergize with previously-selected anima powers. For instance, mages can select ![]() [Everwarm Socks] to move while under an
[Everwarm Socks] to move while under an ![]() [Ice Block], then they can later choose
[Ice Block], then they can later choose ![]() [Creeping Freeze], which freezes enemies that are near the mage while it moves when Ice Blocked.
[Creeping Freeze], which freezes enemies that are near the mage while it moves when Ice Blocked.
Deaths

The Tarragrue
Players (or the party) are allotted a set amount of deaths per run, starting with five for solo players and scaling up to 15 for a party of five. These deaths are spread across the party, and not that each player has fifteen deaths each. Once the death counter reaches zero, the very next death will trigger a 30-second timer. Once that timer expires, The Tarragrue spawns at the beginning of the floor and slowly walks all the way to the exit.
The tarragrue will one-shot any players it comes across. Should the entire party die or the tarragrue reach the end of the floor, the run will end and the Jailer will eject players from the tower. Drop everything and get to the end of the floor to continue the run, but be warned that more deaths will spawn another tarragrue on the next floor.
Soul ash
| Layer | Ash | Cinders |
|---|---|---|
| 1 | 180 | 0 |
| 2 | 150 (330) | 0 |
| 3 | 130 (460) | 0 |
| 4 | 105 (565) | 0 |
| 5 | 90 (655) | 0 |
| 6 | 75 (730) | 0 |
| 7 | 70 (800) | 0 |
| 8 | 60 (860) | 170 |
| 9 | 55 (915) | 60 (230) |
| 10 | 45 (960) | 40 (270) |
| 11 | 40 (1000) | 40 (310) |
| 12 | 30 (1030) | 40 (350) |
Once per week, layer bosses will drop ![]() [Soul Ash], with the amount increasing based on the layer cleared. Soul ash is used by the Runecarver to make legendary equipment, with a base (item level 190) item costing 1250 Soul Ash. Only the six normal wing bosses will drop Soul Ash - bosses in the Twisting Corridors or any quest-specific wings will not have any Ash to loot.
[Soul Ash], with the amount increasing based on the layer cleared. Soul ash is used by the Runecarver to make legendary equipment, with a base (item level 190) item costing 1250 Soul Ash. Only the six normal wing bosses will drop Soul Ash - bosses in the Twisting Corridors or any quest-specific wings will not have any Ash to loot.
In an effort to not force players to run every layer in a wing, they can skip back to that layer in future runs. The end boss will drop all soul ash from lower layers. Thus, if players skip to layer three for their first run of a week, they will loot 305 Soul Ash from the wing boss, as seen in the table to the right. Afterwards, should the player clear layer 4 of the same wing, they will come up with 70 more Soul Ash.
By virtue of two wings being available each week, should players manage to full-clear both wings they will gain 1140 Soul Ash each week.
Torments
Starting in layer three, torments will be added to the mix. The effect increases on every floor (with the exception of the break room on floor three). So, if an enemy has +5% health on floor 1, it will have +25% health on floor six. Higher layers start with additional stacks of the buff. So on layer five, the first floor will have three stacks. Torments include:
- Torment: Eye of Skoldus — Skoldus' Eye is upon the target, calling forth Mawsworn Seekers every 40 sec while the target is not in combat. These minions have 10% increased health. This effect stacks.
- Torment: Fracturing Forces — The Fracture Chambers seeks out new prey, calling forth a Mawsworn Shadestalker every 30 sec while the target is not in combat. These minions have 10% increased health. This effect stacks.
- Torment: Soulforge Heat — Oppressive heat from the Soulforges inflicts 1% of the target's maximum health in Fire damage every 5 sec. This effect stacks.
- Torment: Breath of Coldheart — The empowering breath of the Coldheart Interstitia increases enemy maximum health by 5%. This effect stacks.
- Torment: Mort'regar's Echoes — Remnants of Mort'regar increase enemy Magic damage done by 3%. This effect stacks.
- Torment: Might of the Upper Reaches — The might of the Upper Reaches increases enemy Physical damage done by 3%. This effect stacks.
Ve'nari upgrades
Ve'nari, at her refuge in the Maw sells some permanent upgrades to a few mechanics in Torghast, as a form of meta-progression. They require ![]() [Stygia] gathered from the Maw and higher reputation standings with her:
[Stygia] gathered from the Maw and higher reputation standings with her:
| Reputation | Item | Cost | Purpose |
|---|---|---|---|
| Apprehensive | 527 | Torghast upgrade (death) | |
| 800 | Torghast upgrade (obleron armaments) | ||
| Tentative | 1135 | Torghast upgrade (broker powers) | |
| 230 | Torghast Mawrat skill | ||
| 210 | Torghast lock bypass | ||
| Ambivalent | 1025 | Torghast upgrade (anima powers) | |
| 3760 | Torghast upgrade (phantasma) | ||
| Cordial | 1330 | Torghast upgrade (broker powers) | |
| 1575 | Torghast upgrade (broker powers) | ||
| Appreciative | 1525 | Torghast upgrade (anima hoard) |
Wings
Initially, players must complete the tutorial wing, Arkoban Hall, then a selection of two wings are made available each week. Late in the primary quest line, players will unlock access to the Twisting Corridors, a special challenge mode wing, which is always accessible from then on.
Skoldus Hall
Skoldus Hall
Skoldus Hall is but one of Torghast's countless cell blocks. Warden Skoldus utilizes beasts, chains, and traps to torment his prisoners as well as those who intrude upon his domain.
Skoldus Hall is the baseline version of Torghast.
Enemies include:
Fracture Chambers
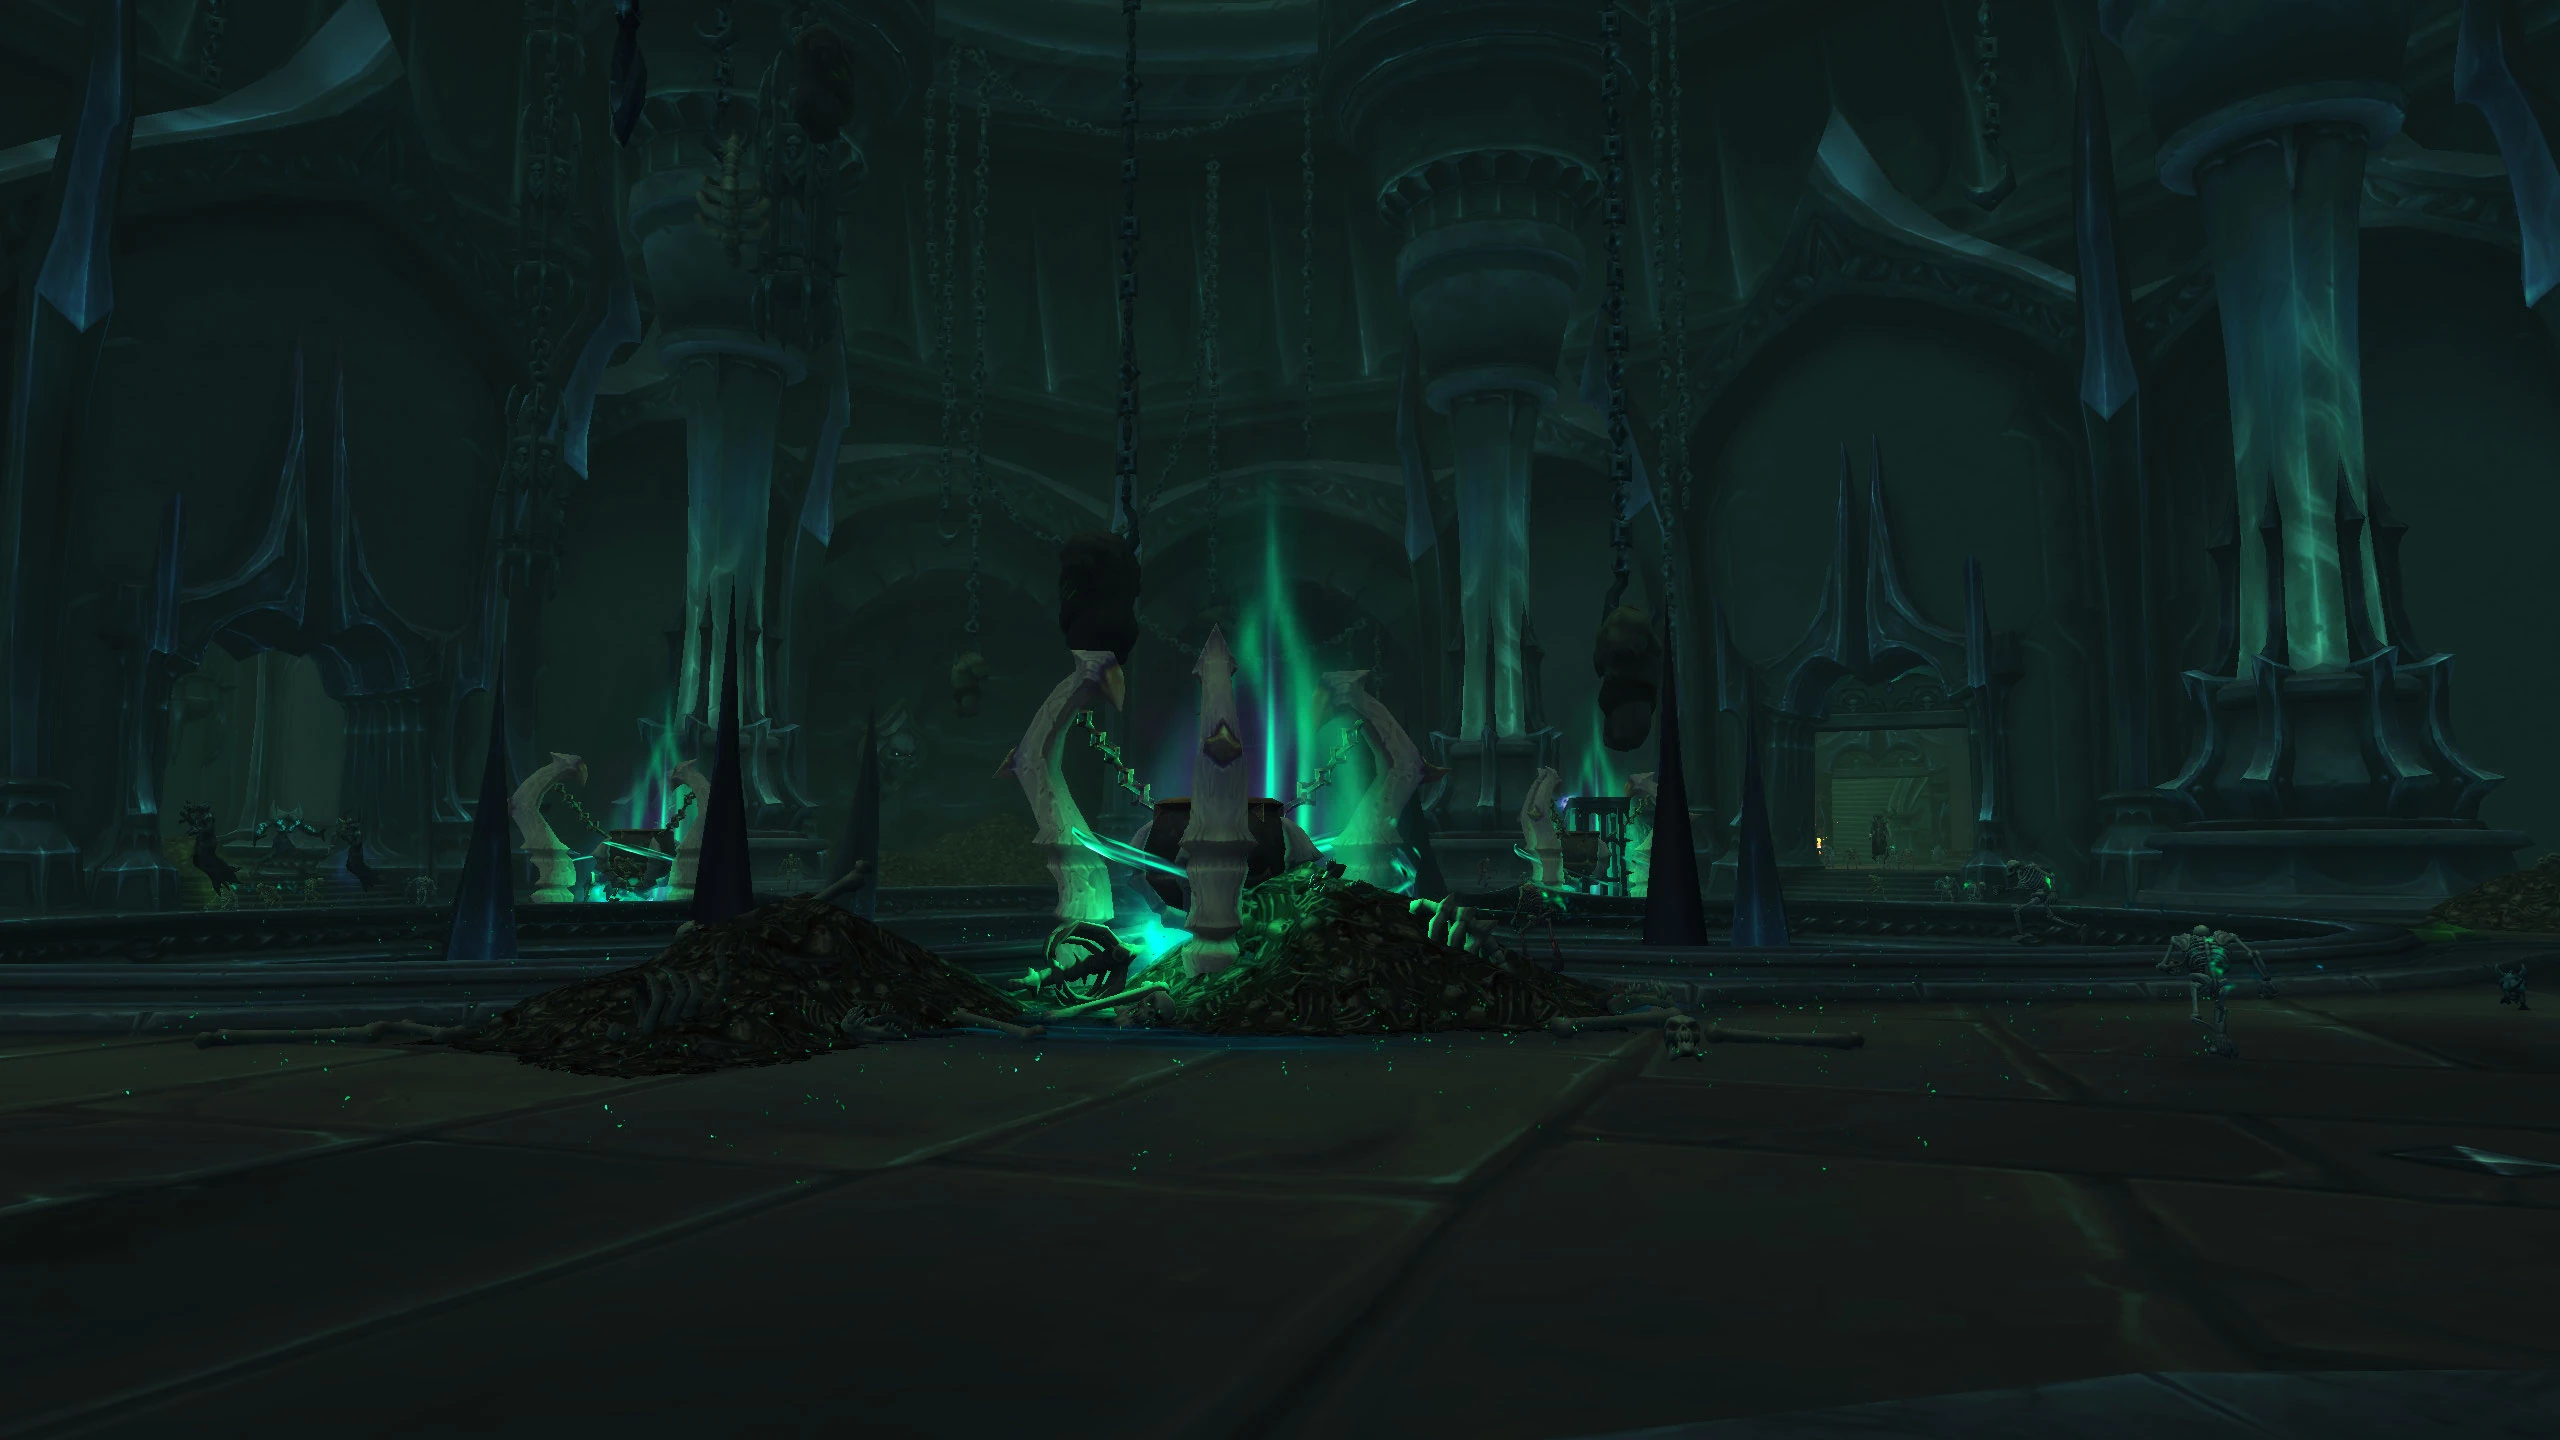
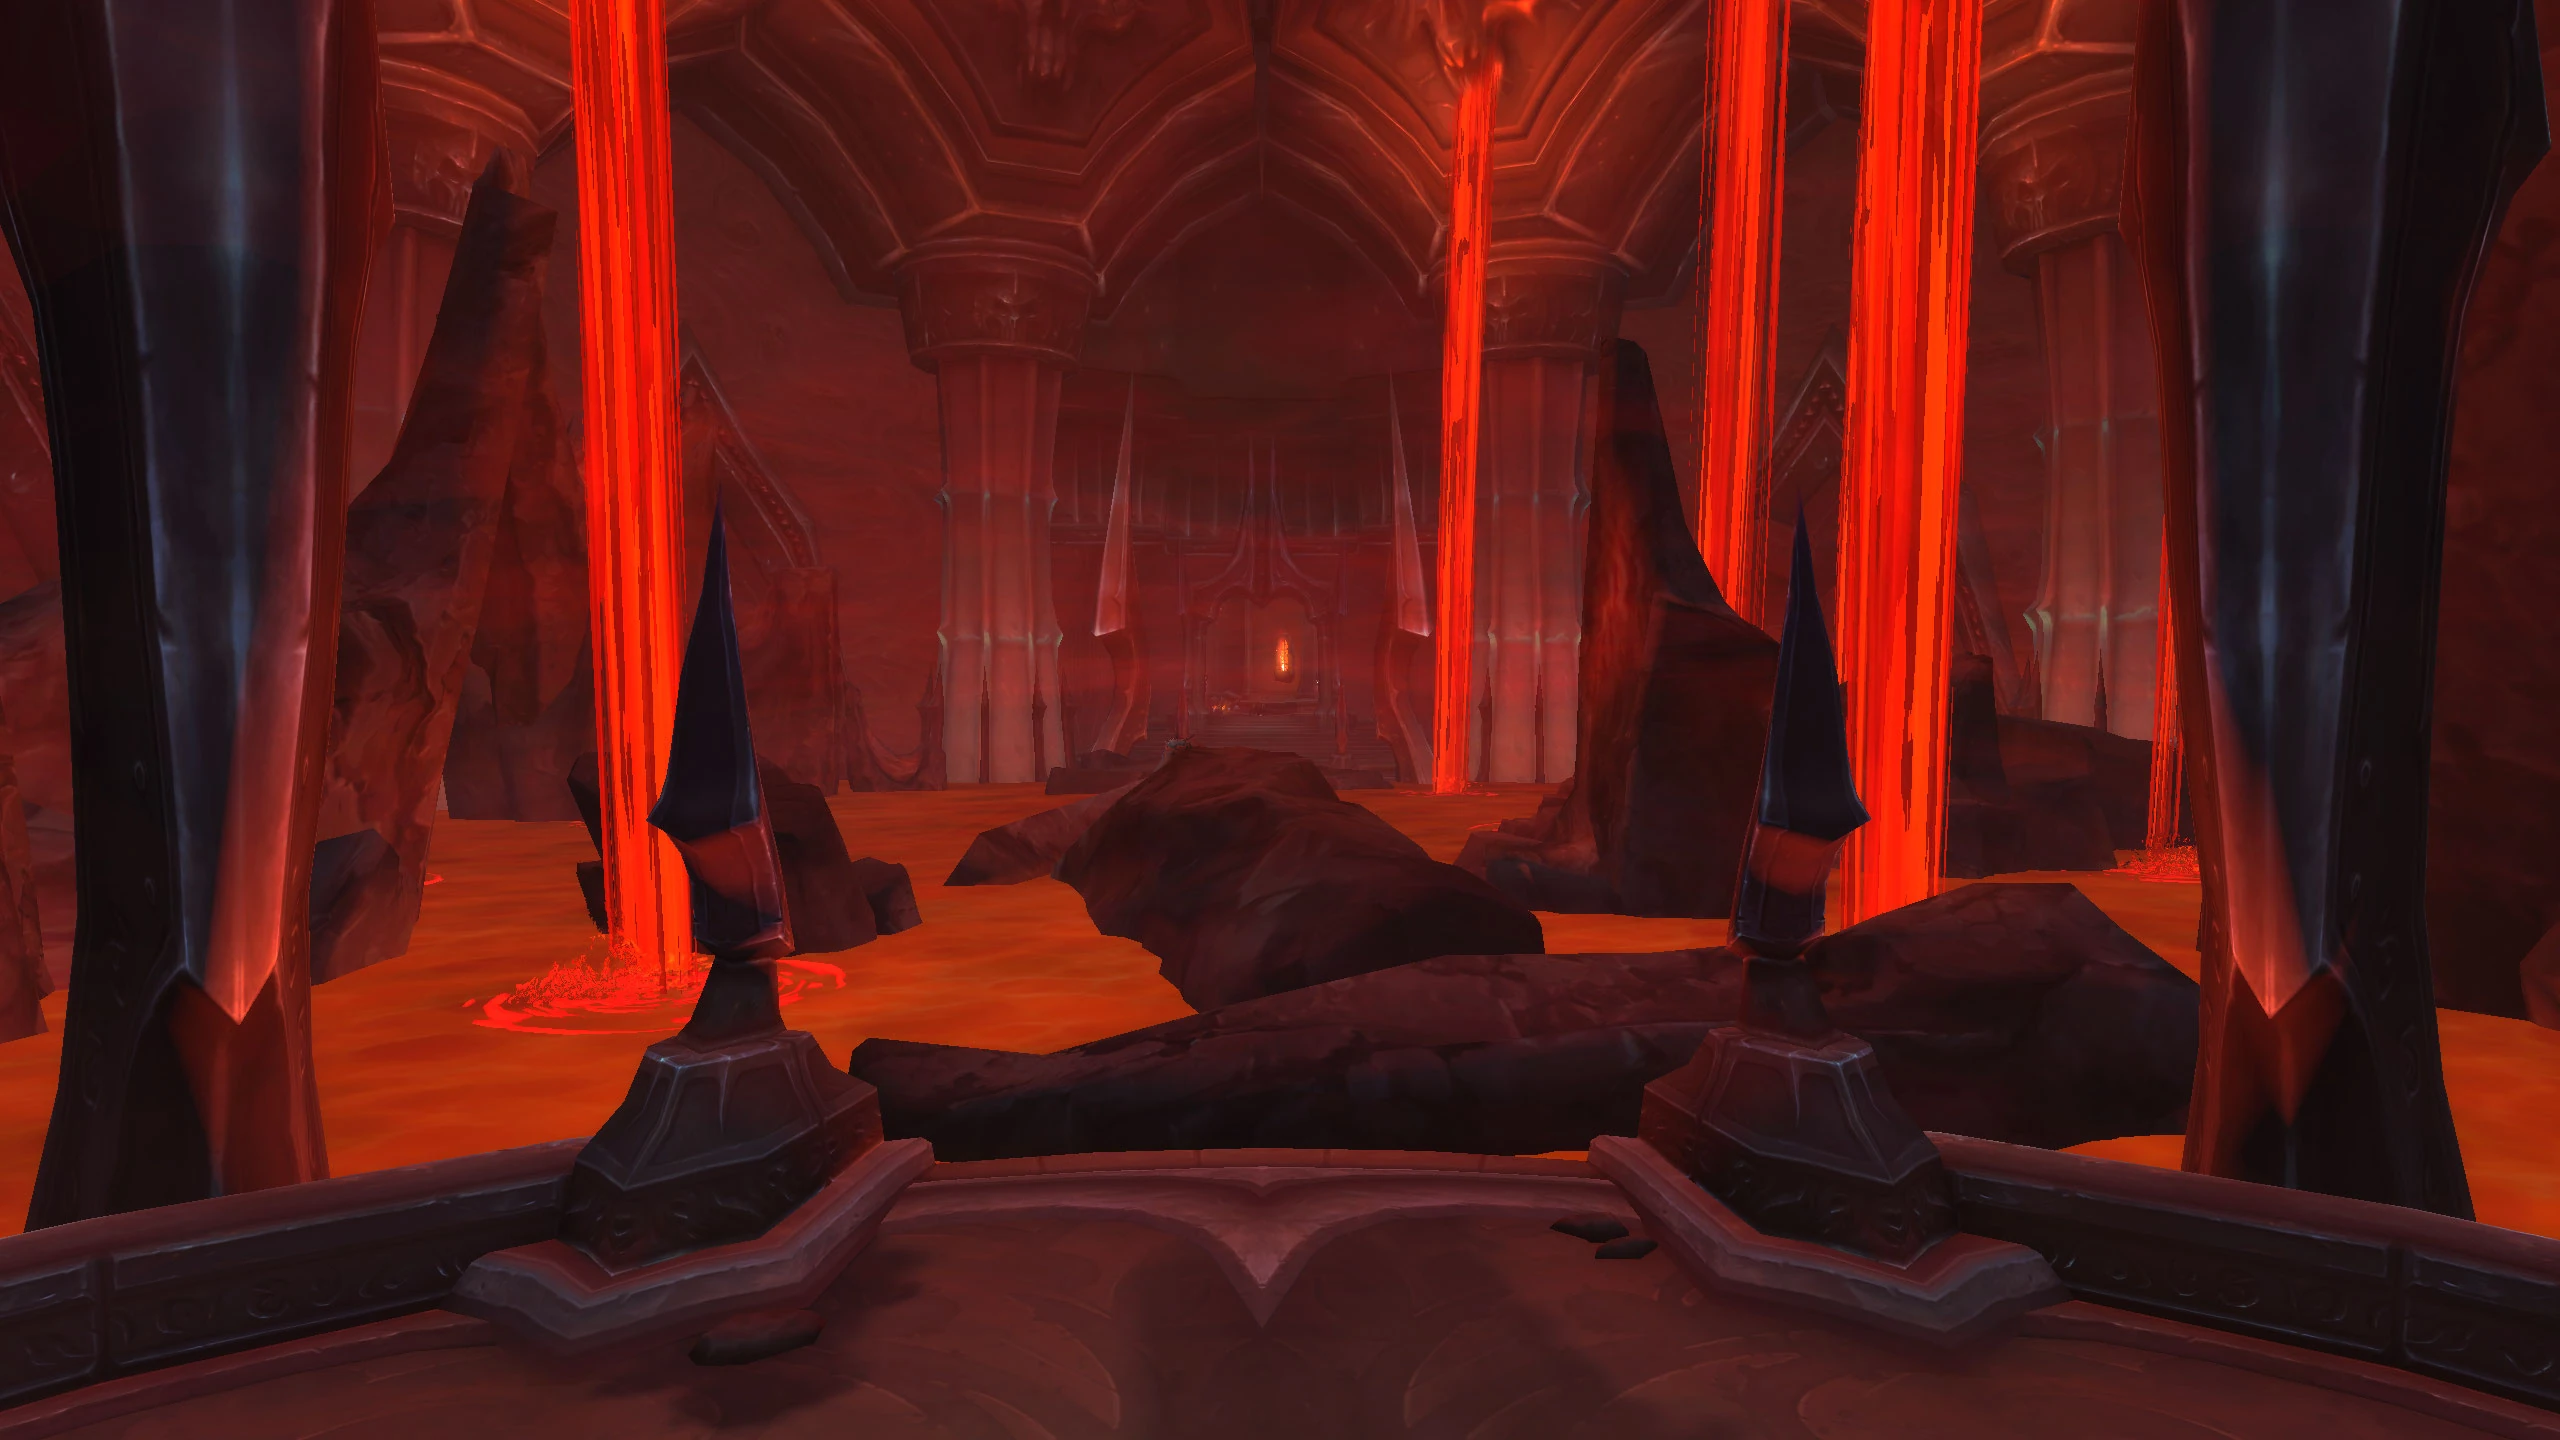
A cauldron room in the Fracture Chambers
Within the Fracture Chambers, prisoners from across the Shadowlands have their bones endlessly broken and mended in a cruel cycle of torture. Release them so they might claim their vengeance.
Full of necromancy and with a green theme, skeletal mobs in the Fracture Chambers, like Lumbering Creations or Skeletal Remains, explode when they die for a decent chunk of damage. Large packs of Skeletal Remains are notorious for this -- make sure to not kill them all point-blank, or the feedback may kill the player in return... Unlike exploding Mawrats, this damage only affects players so this cannot be used to clear out packs of enemies.
- Bone Shrapnel — Shatter on death, inflicting X Physical damage to all players within 8 yds and increasing Physical damage taken by 20% for 4 sec. This effect stacks.
Enemies include:
Soulforges

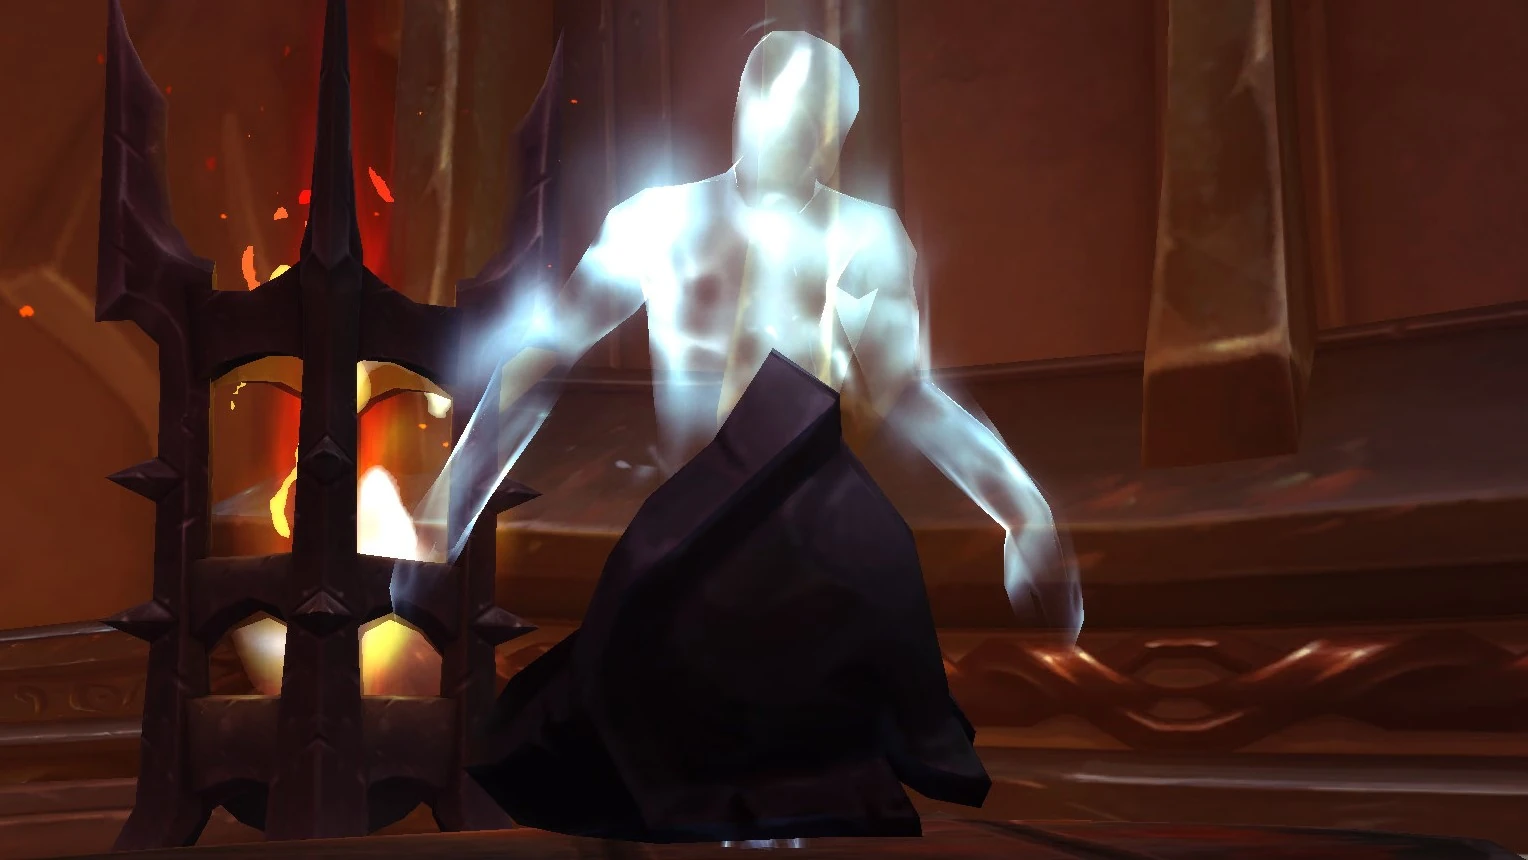
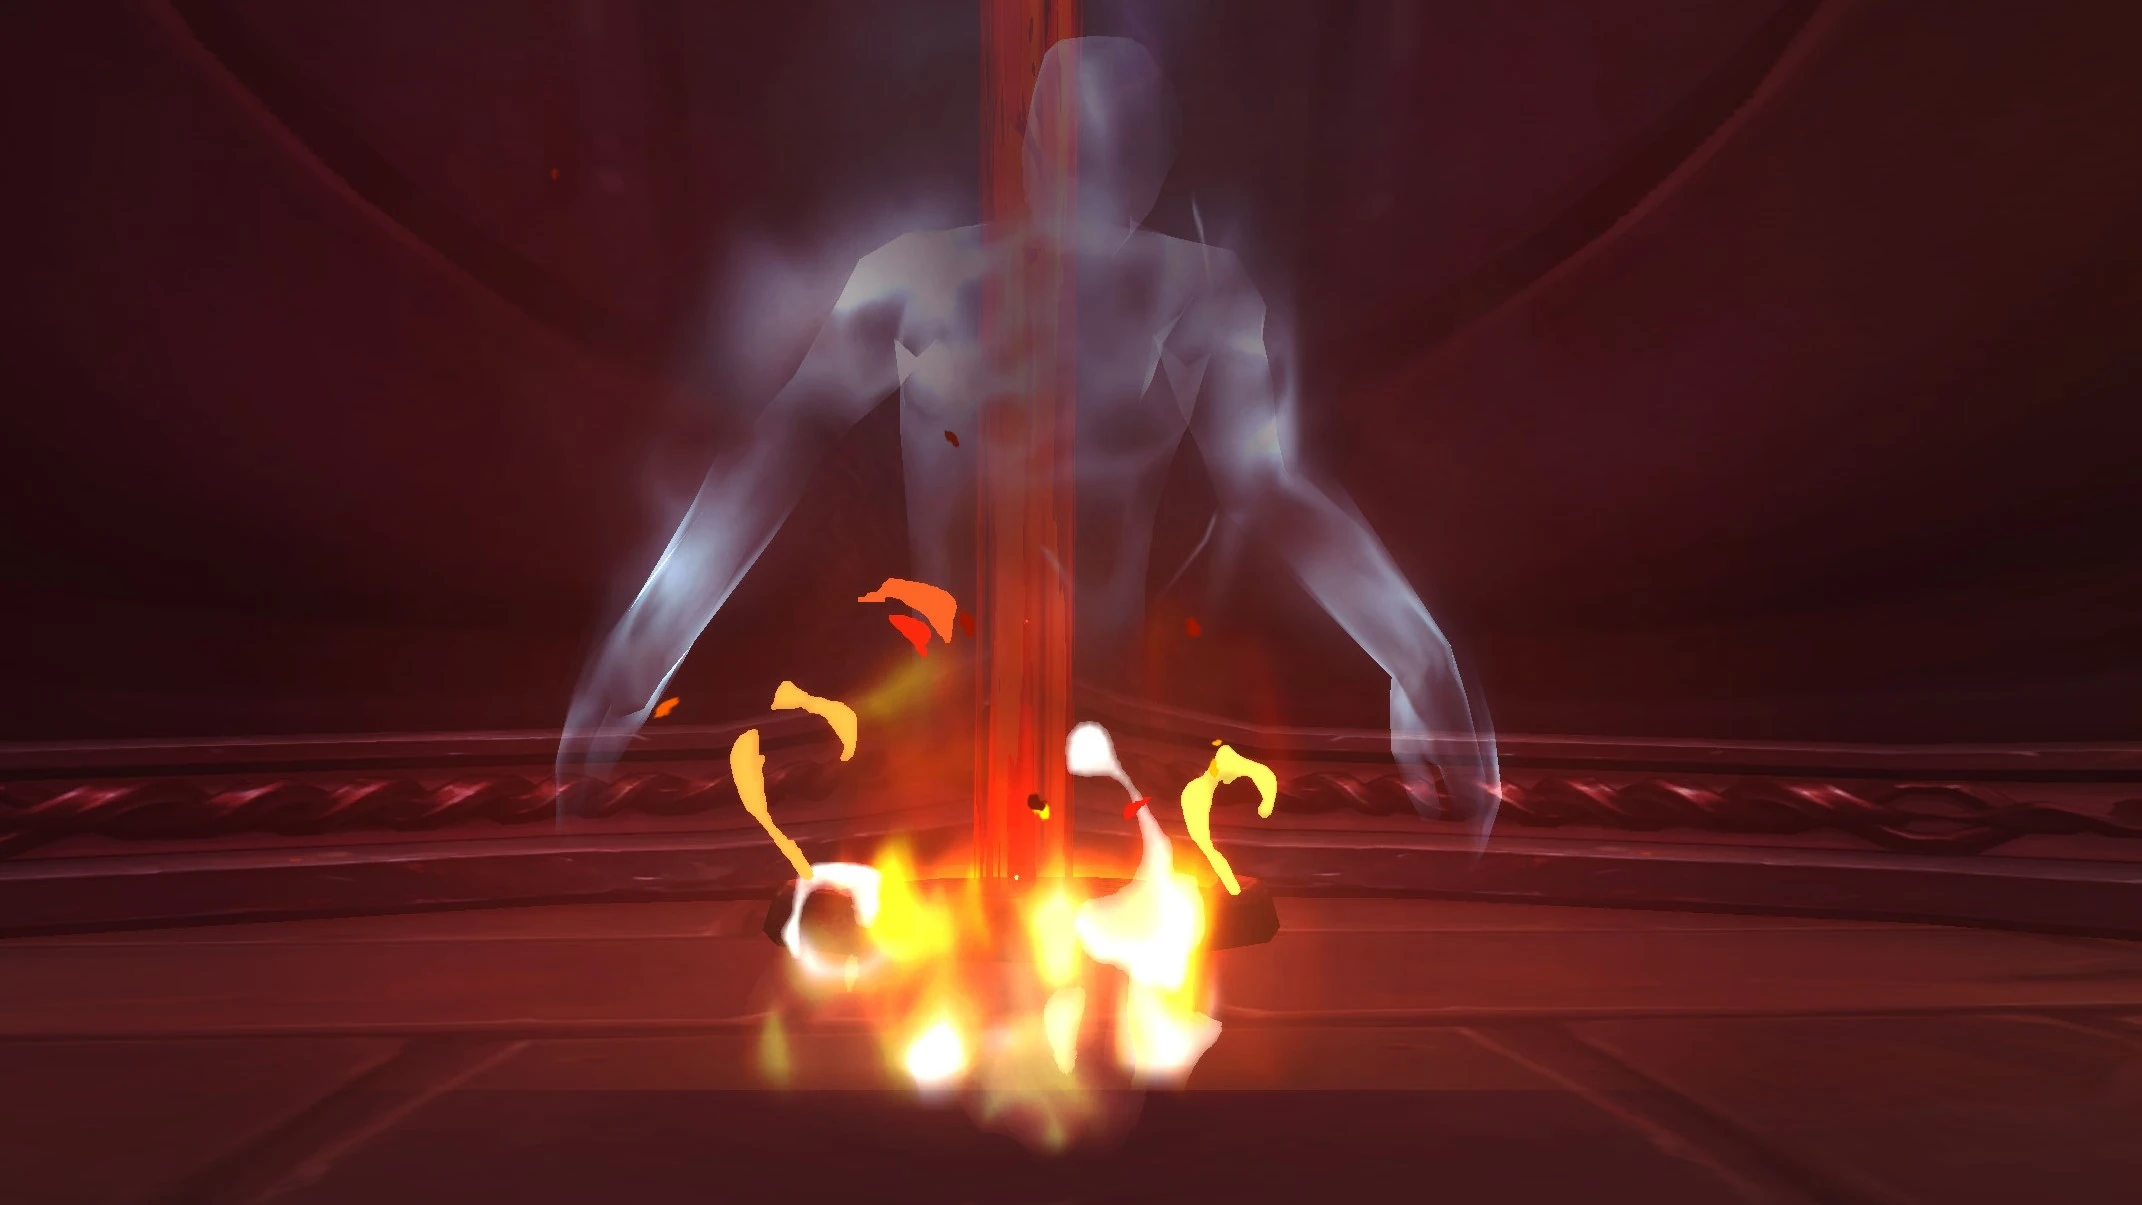
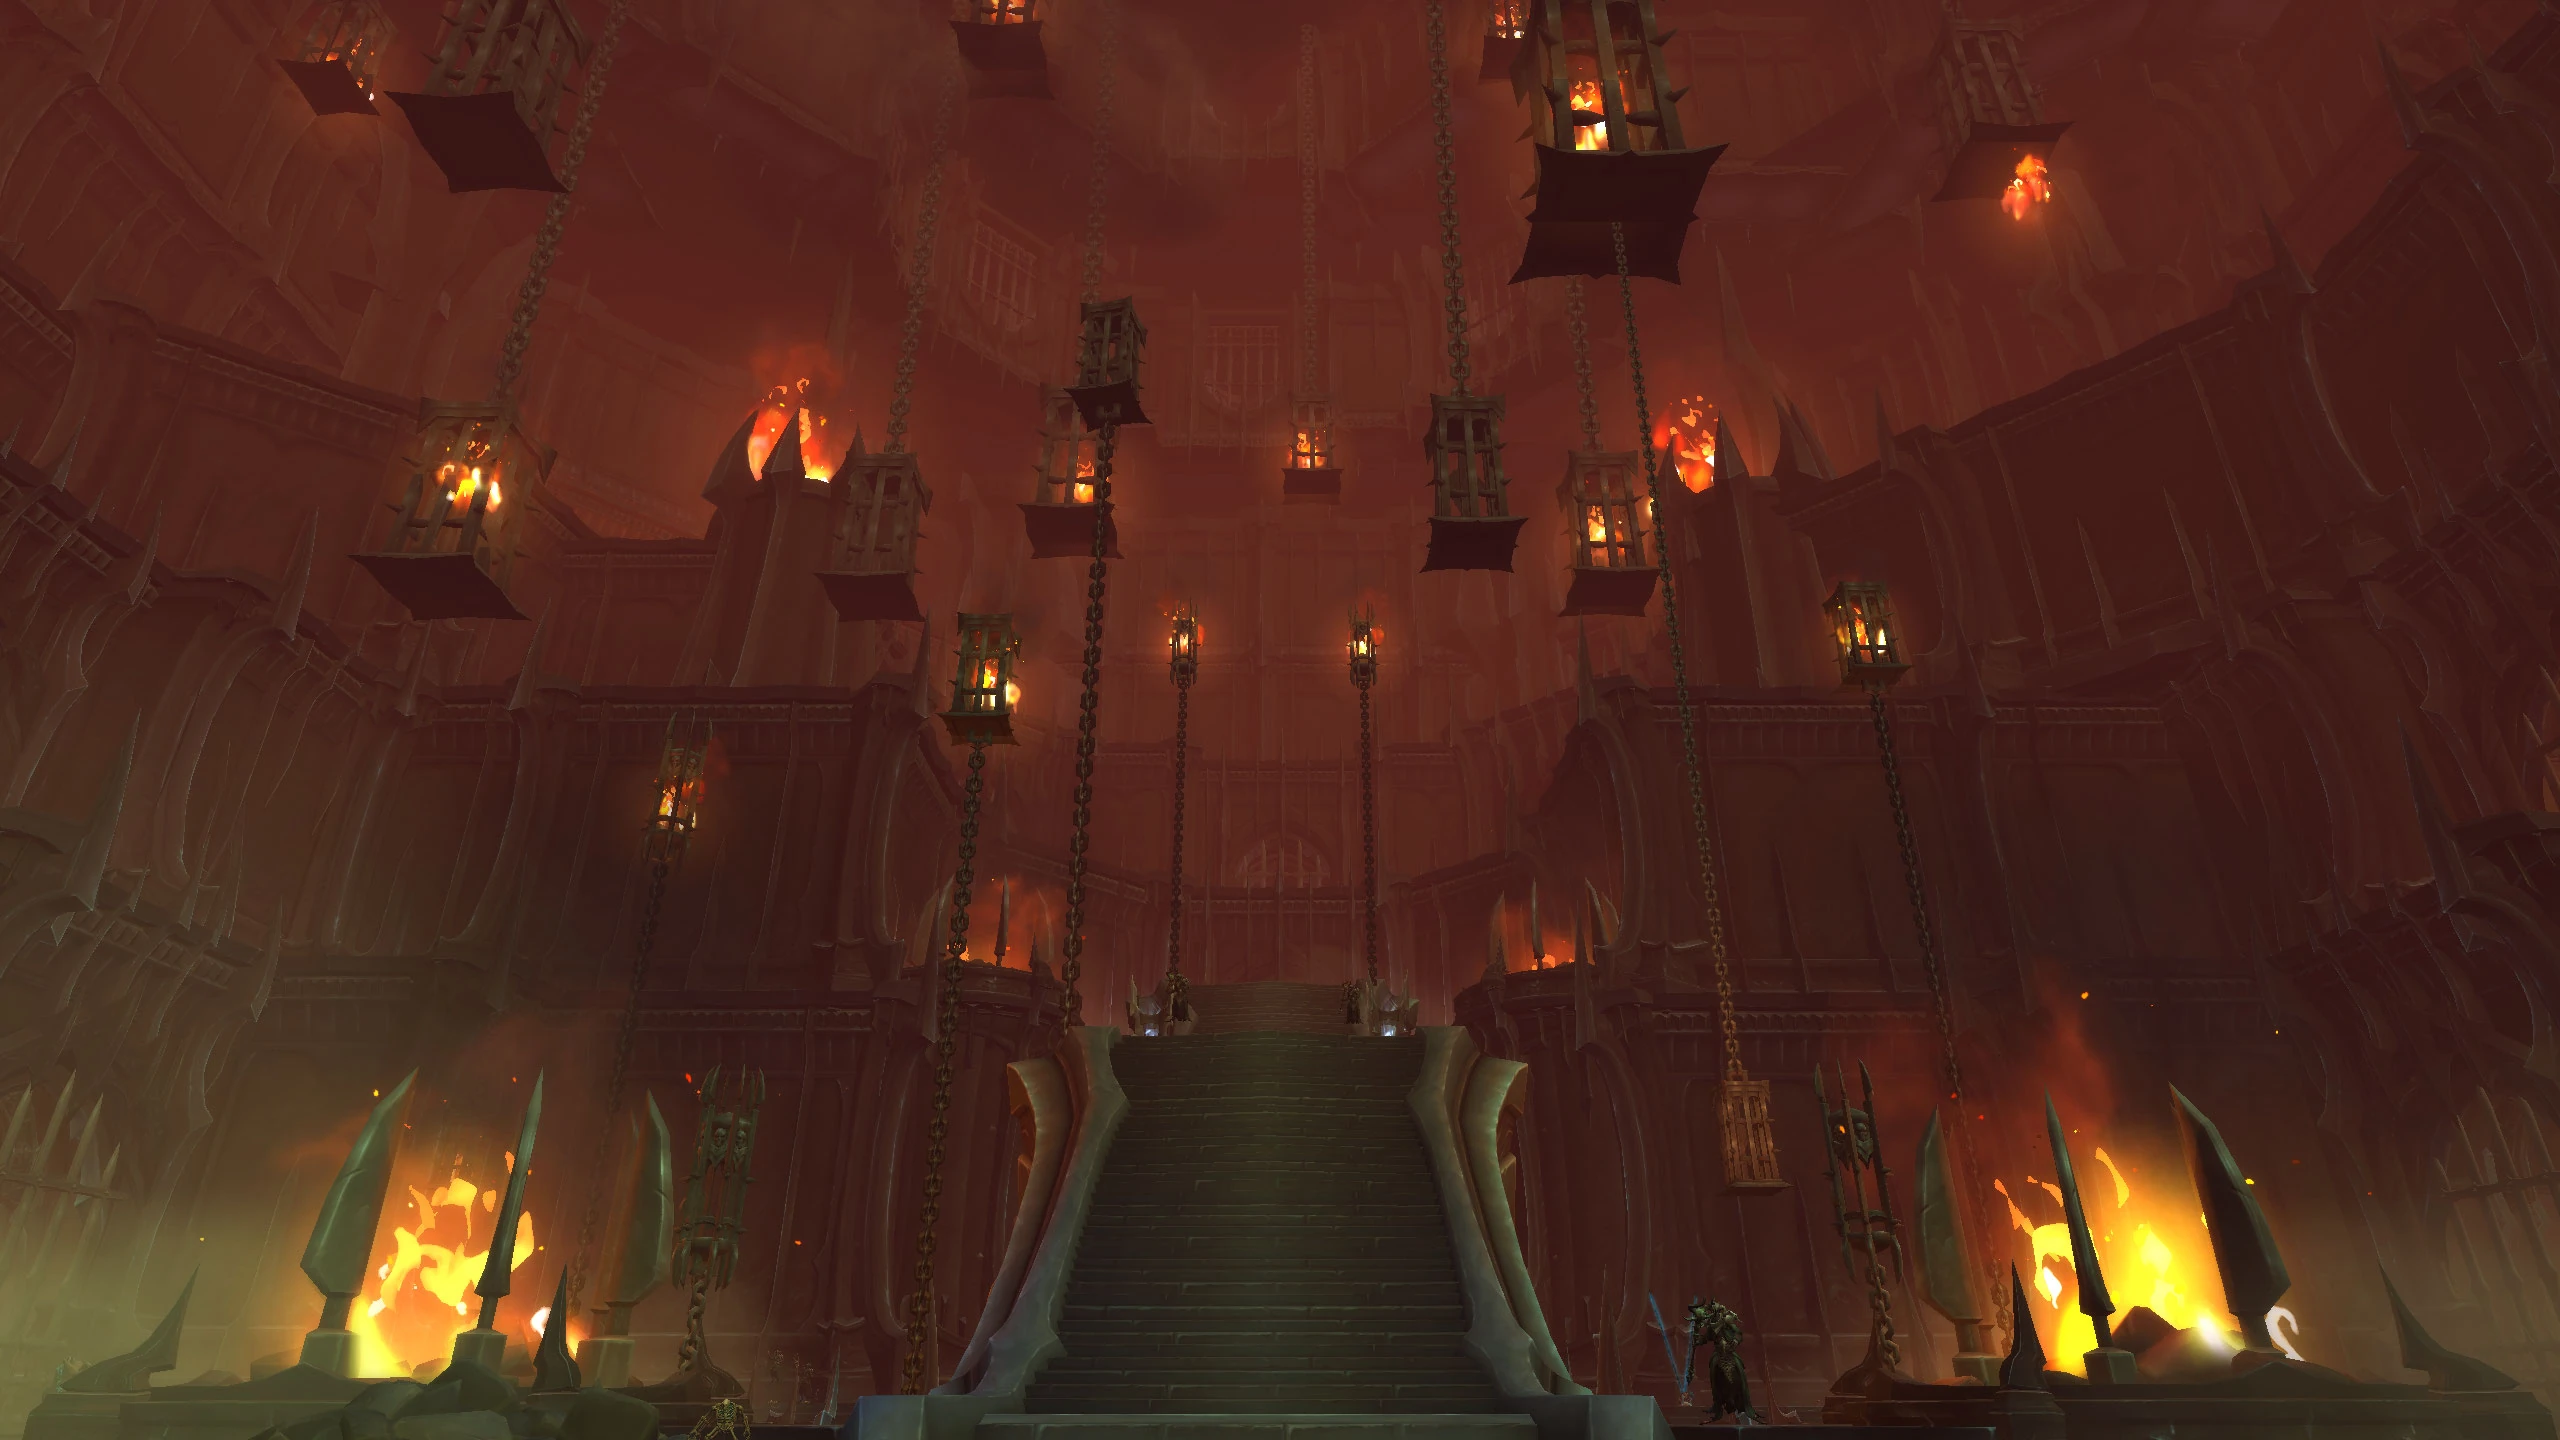
Soulforges
Doomed souls are brought to the Soulforges to be melted down into weapons and armor for the Jailer's army. Beware the rampant flames that burn within these falls.
In the lava and fire-filled Soulforges, the Partially-Infused Soul Remnants found here have been partially bound into armor. Players can choose to finish the binding ritual, gaining a stacking +10% crit damage/healing and +10% haste buff for three minutes, or they can be freed as normal for the usual untimed 1% agility/intellect/strength buff.
- Soulbound Armaments — Equipping the armaments increases your critical damage and healing by 10% and Haste by 10%. 3 minute buff. Stacks 5 times
Enemies include:
- Blazing Elemental
- Flameforge Enforcer
- Flameforge Master
- Forge Keeper
- Mawsworn Firecaller
- Mawsworn Flamecaller
- Mawsworn Flametender
- Mawsworn Guard
- Mawsworn Seeker
- Mawsworn Sentry
- Mawsworn Ward
Coldheart Interstitia

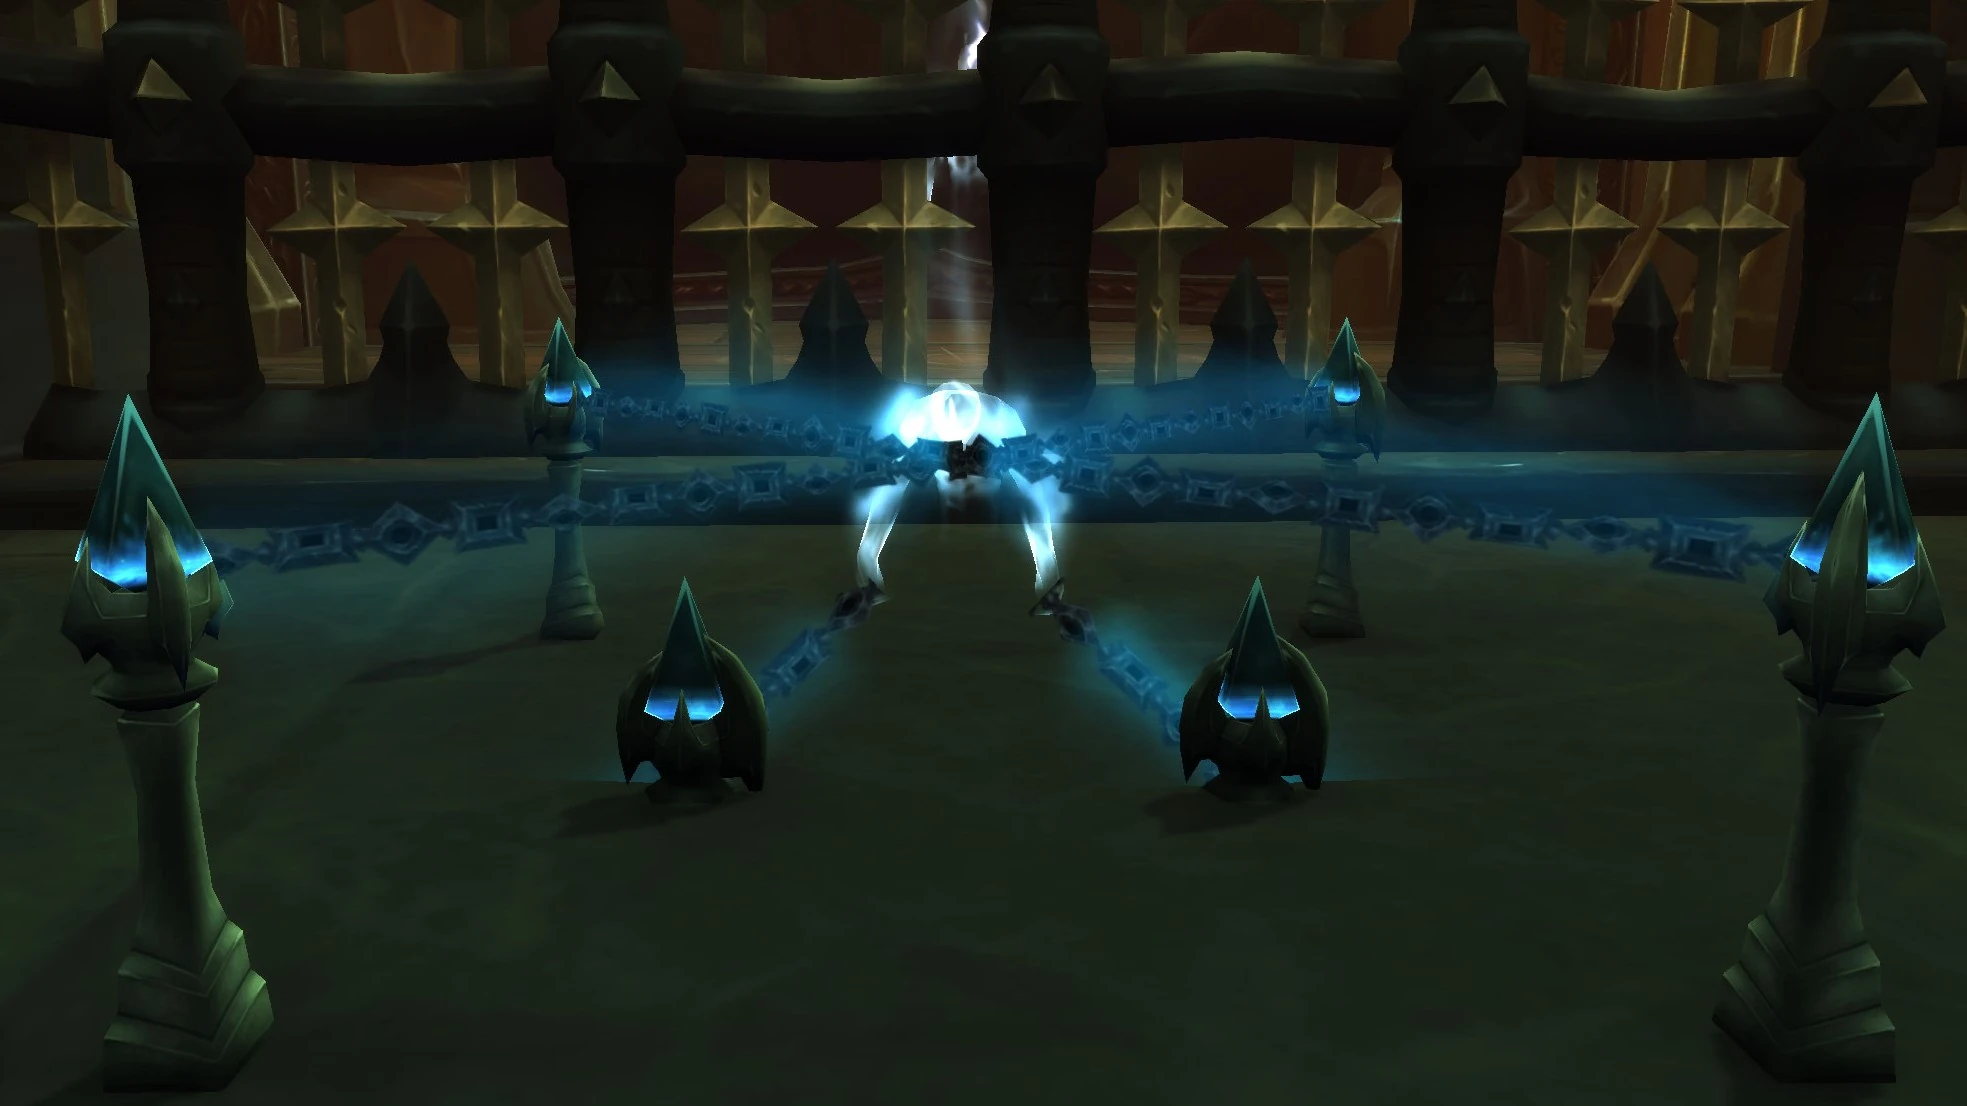
Coldheart Interstitia
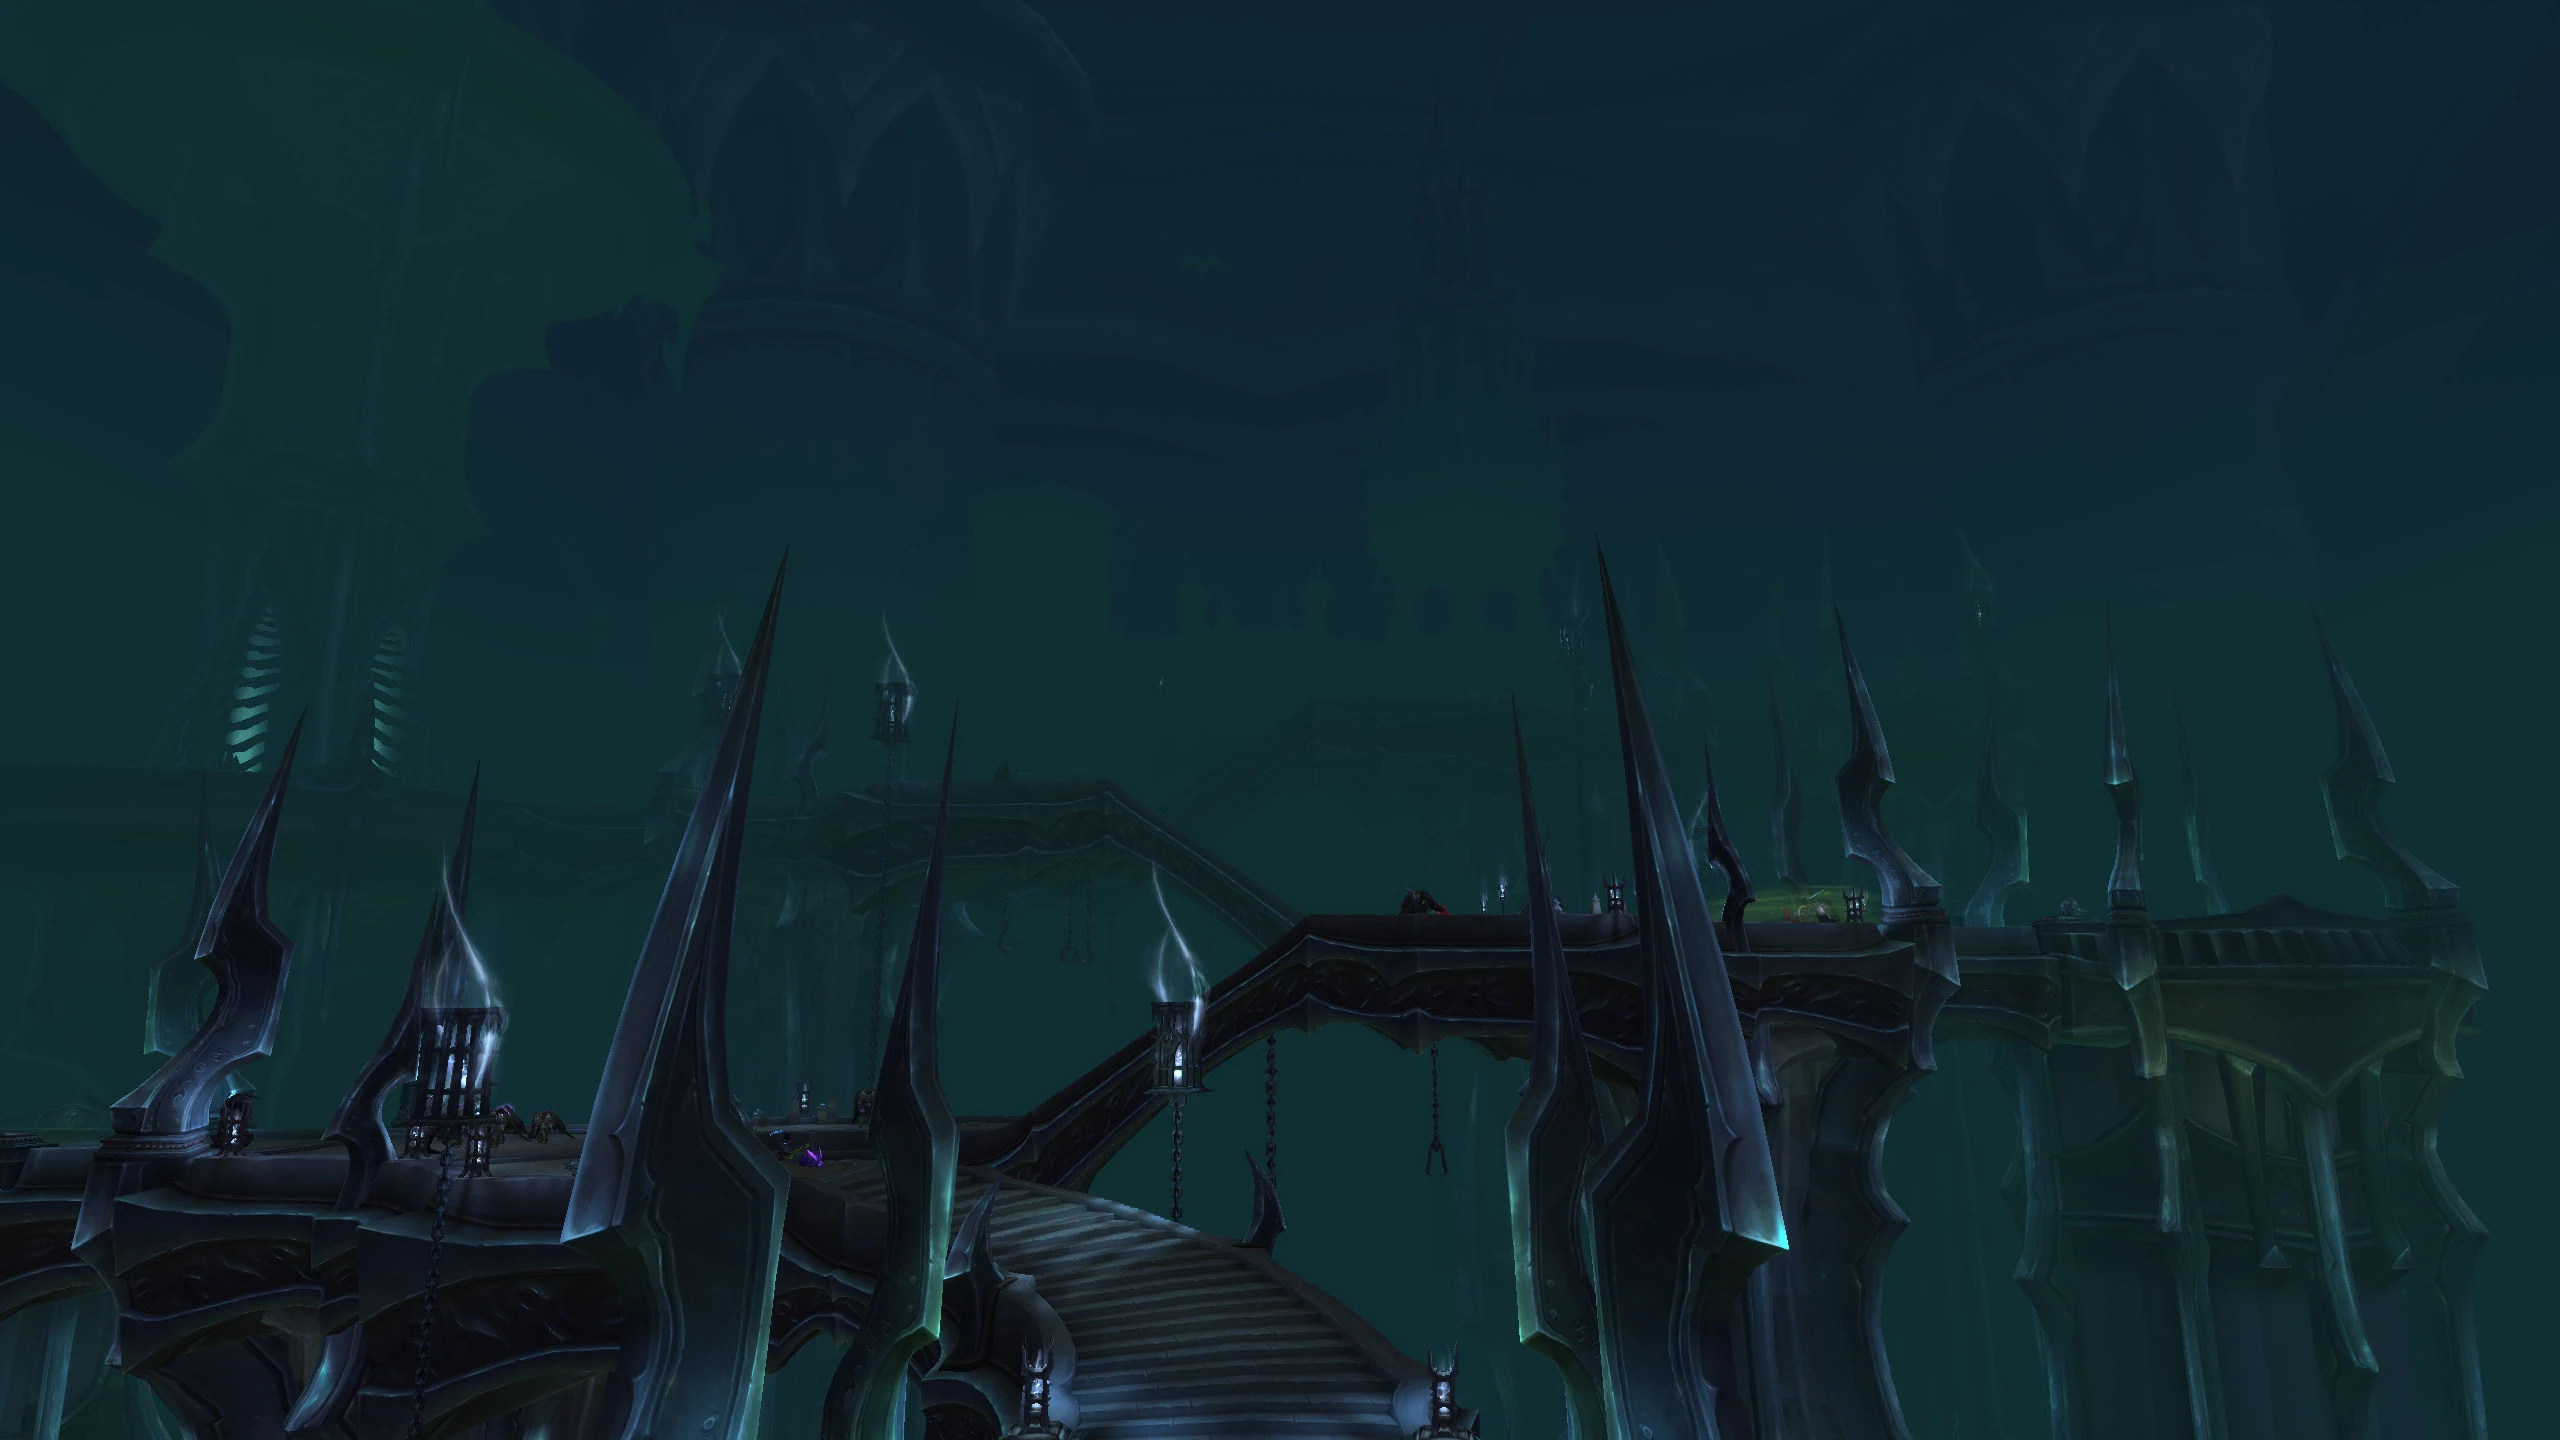
Suspended between the towering spires of Torghast, the Coldheart Interstitia is where the Mawsworn kyrian make their lair. Striking from above, they fling foolhardy interlopers into the darkness below.
Think teal and Mawsworn kyrian in the Coldheart Interstitia. Watch out for the ambushers!
Enemies include:
- Animated Prowler
- Coldheart Ascendant
- Coldheart Agent
- Coldheart Ambusher
- Coldheart Binder
- Coldheart Guardian
- Coldheart Javelineer
- Coldheart Scout
- Grand Automaton
- Winged Automaton
Mort'regar

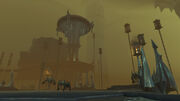
Mort'regar
Like the shifting and malformed terrain itself, the souls trapped within Mort'regar have lost all semblance of who they once were. The Jailer's forces subject them to necromantic experiments, transforming them into horrible monstrosities.
In Mort'regar, the corpses of most mobs slowly spread Death Pools that do not despawn. Take care to avoid killing them in inconvenient spots. Additionally, Deadsoul Spirits cannot be fully killed, and will respawn after 30 seconds with 40% health.
Enemies include:
- Deadsoul Drifter
- Deadsoul Echo
- Deadsoul Miscreation
- Deadsoul Scavenger
- Deadsoul Shade
- Deadsoul Shadow
- Deadsoul Shambler
- Deadsoul Spirit
- Deadsoul Stalker
- Deadsoul Strider
The Upper Reaches
The Upper Reaches
The Upper Reaches are the domain of the Jailer's most devoted servants. Elite Mawsworn forces and their Venthyr allies patrol these halls and maintain their master's most powerful defenses.
The Upper Reaches is the most prison-like wing of the tower. Fewer anima cells, ashen phylacteries, and freeable soul remnants are around, limiting the power gains as well. Many enemies from previous wings make an appearance.
- Armed Prisoner
- Deathspeaker
- Imperial Curator
- Imperial Duelist
- Imprisoned Cabalist
- Lord of Torment
- Lumbering Creation
- Mawsworn Darkcaster
- Mawsworn Disciple
- Mawsworn Endbringer
- Mawsworn Guard
- Mawsworn Interceptor
- Mawsworn Ritualist
- Mawsworn Seeker
- Mawsworn Shackler
- Mawsworn Soulbinder
- Mawsworn Soulweaver
- Prisonbreak Cursewalker
- Prisonbreak Mauler
- Runecarved Colossus
- Skeletal Remains
- Tower Sentinel
Twisting Corridors
True to their name, the Twisting Corridors wind unpredictably throughout the entirety of Torghast's myriad cell blocks and are guarded by all manner of the Jailer's minions. Those intrepid enough to venture into its 18 floors seldom return.
For players seeking cosmetic rewards, the Twisting Corridors will stitch together three wings of floors for a total of 18 floors (six per wing), with the usual break rooms on the third floor and a boss on the sixth. No ![]() [Soul Ash] will be found here. In a small concession to run time, floors are generally much smaller than in normal wing runs; usually a small or medium-sized room per floor. Twisting Corridor wings can be from any of the other six wings listed above, and it is possible two have two Corridor wings be of the same Torghast wing in a row (i.e. first wing is Skoldus Hall, second is Mort'regar, but third is Skoldus Hall again). The difficulty rises steadily within a given wing like normal, and jumps in difficulty between wings.
[Soul Ash] will be found here. In a small concession to run time, floors are generally much smaller than in normal wing runs; usually a small or medium-sized room per floor. Twisting Corridor wings can be from any of the other six wings listed above, and it is possible two have two Corridor wings be of the same Torghast wing in a row (i.e. first wing is Skoldus Hall, second is Mort'regar, but third is Skoldus Hall again). The difficulty rises steadily within a given wing like normal, and jumps in difficulty between wings.
In Layer 3 and above, the standard torments start applying. Players will gain five stacks of a torment over the six floors of each layer, and that debuff will persist for the rest of the run. Should players wind up in the same wing again, the debuff will continue to stack.
Completing specified Twisting Corridors layers will grant cosmetic rewards:
- Layer 2: Pet [Death Seeker]
- Layer 4: Toy [Helm of the Dominated]
- Layer 6: Title <Spirestalker>
- Layer 8: Mount [Corridor Creeper]
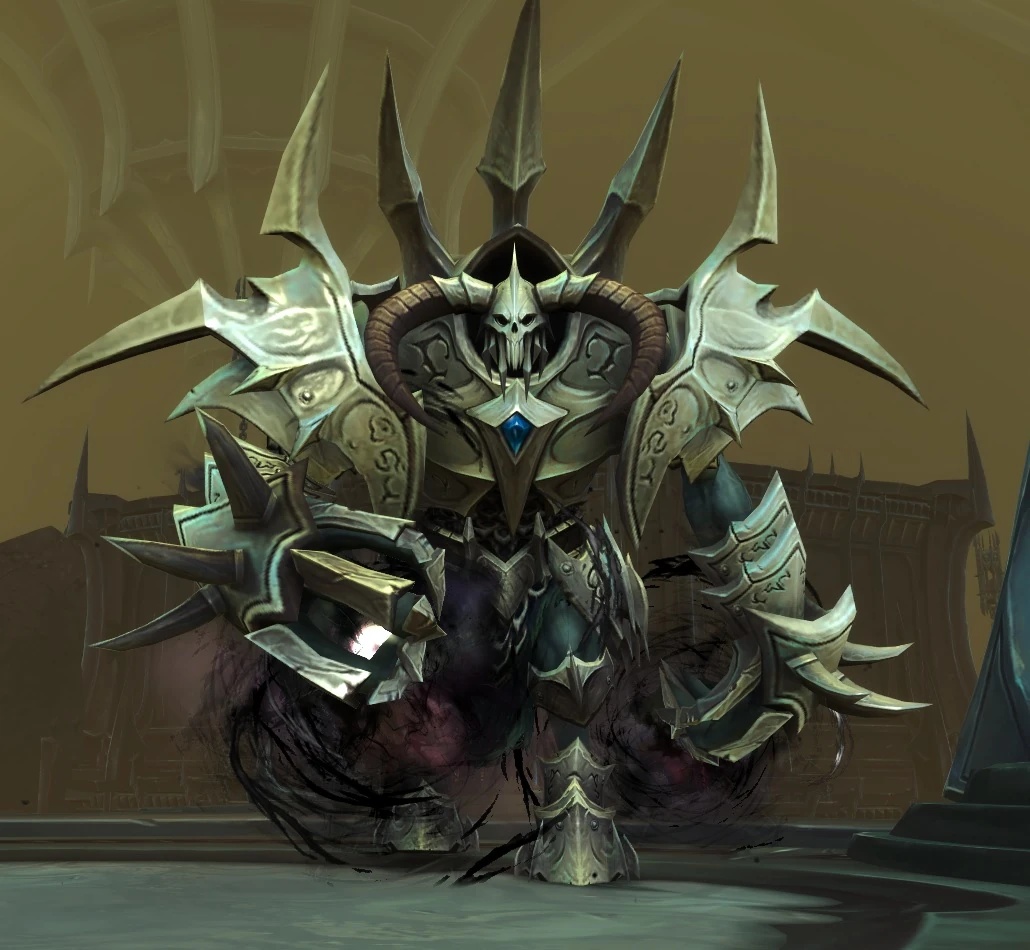
Bosses
- Warden Skoldus
- Dark Aspirant Corrus
- Arch-Suppressor Laguas
- Watchers of Death
- The Grand Malleare
- Custodian Thonar
- Warden of Souls
- Decayspeaker
- Observer Zelgar
- Binder Baritas
- Kosarus the Fallen
- Synod
- Writhing Soulmass
- Gherus the Chained
- Cellblock Sentinel
- Goxul the Devourer
Quests
Players are directed to Torghast several times in the Shadowlands campaign. The first time is late in the Revendreth storyline when Prince Renathal, freed from a cage in the Maw sneaks himself, the Maw Walker, and his enchanted sword into Torghast during ![]() [58-60] Torghast, Tower of the Damned to free some more allies.
[58-60] Torghast, Tower of the Damned to free some more allies.
Later, after players have joined their covenant, the second chapter of their covenant campaign will send them to Torghast multiple times to be introduced to the wings and to free some Azerothian champions. Additionally, they will unlock access to the Runecarver, who will create and upgrade legendary items over the course of the expansion.
Other notable inhabitants
Some notable characters have been captured, and part of the storyline is freeing them, including:
Captured souls and bonus objectives
Captured souls offer a bonus objective, and after completing it, can become the Maw Walker's follower in their covenant sanctum for Adventures. Players will eventually be able to come up with eight followers for their adventures - six covenant-bound and two neutral.
Additionally, there are a handful of frequent-flyer quest givers that the Maw Walker does not save -- they will continually reappear in Torghast.
Achievements
- Wings
- Runecarver
- Phantasma
- Other
Notes
- As shown in the Shadowlands cinematic, the spire of Torghast points directly at the spire of Icecrown Citadel, implying a connection between the two structures. Moreover, according to the Shadowlands presentation at BlizzCon, Torghast's interior also "definitely calls upon the architecture that we saw in Icecrown Citadel, and elsewhere",[11] and concept art for Torghast directly describes it as the source of Icecrown Citadel architecture.[12]
- Some of the wing names have small references of varied sources.
- Skoldus Hall and Warden Skoldus are likely a reference to the Norse norn Skuld, whose name means "debt"
- Coldheart Interstitia is likely a reference to the myocardial interstitium of the heart, whose damage is common in all heart disease.
- Mort'Regar could be based on the Latin words mors and rex, from which we derive words like mortal and regal respectively, and thus could mean Death King.
- Patrician Cromwell may be a reference to Oliver Cromwell, who led the armies of English Parliament against the king during the English Civil War, here instead serving Zovaal.
- The Watchers of Death may be a reference to how the Watchers within Abrahamic mythos had their spirits bound to the earth for all eternity and were part of necromantic practices in antiquity.
- Custodian Thonar may be a reference to Thonar Silver-Blood from Elder Scrolls.
Gallery
Torghast mirroring Icecrown Citadel in the Shadowlands cinematic.
Torghast mirroring Icecrown Citadel on the Shadowlands login screen.
Concept art.
Concept art.
Concept art.
Concept art.
Concept art.
Concept art.
Interior of Torghast.
Antechamber with Wayfinder visible
Patch changes
- Patch 9.0.2 (2020-11-17): Added.
References
- ^ a b Official website
- ^ a b [58-60] Torghast, Tower of the Damned
- ^ Taelia, Jaina, and Calia dialogue in Oribos
- ^ a b [60] The Captive King
- ^ The Art of World of Warcraft: Shadowlands, pg. 201
- ^ [60] Finding a Witness
- ^ [60] Explore Torghast
- ^ [60] The Search for Baine
- ^ [60] Torment Chamber: Thrall
- ^ [60] Prison of the Forgotten
- ^ warcraft.blizzplanet.com: BlizzCon 2019 World of Warcraft: Shadowlands Panel Transcript
- ^ Shadowlands gallery
| |||||||||||
| ||||||||||||||
| ||||||||||||||
| |||||||||||